
For the most part, transferring files from your computer to your Nexus 7 (and vice versa) is a simple process. Just hook up your tablet to your computer with the USB cable and transfer. However, most of the time you'll need additional software on your computer to do this, and then, of course, you need the USB cable.
What if you forget where the USB cable was, or don't like dragging it around with you everywhere? If it's a shoddy third-party cable, you might even have problems transferring period.
If you want a better way to transfer files to and from your Nexus 7, go wireless and use your local Wi-Fi connection to do the dirty work for you.
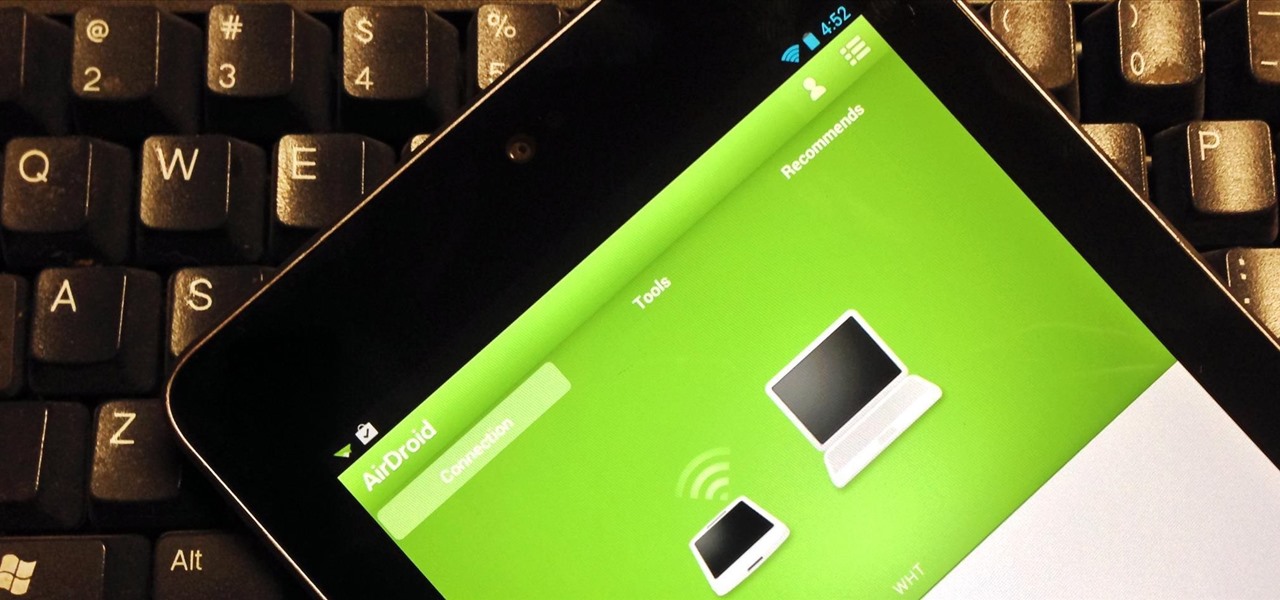
Step 1: Download & Install AirDroid on Your Nexus 7
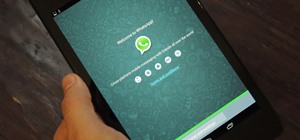
First, go ahead and install AirDroid from the Google Play Store. It's a free app by Sand Studio that lets you transfer music, pictures, APK files, and more—no USB cable required.

Step 2: Create an AirDroid Account
When you open up AirDroid for the first time, you'll be greeted with a screen to either register or skip registration. Obviously, you're not required to register, but I highly recommend creating an AirDroid account, because it will allow you to track the device should you lose it, and gives you the ability to access the device even if it's not on the same Wi-Fi network.

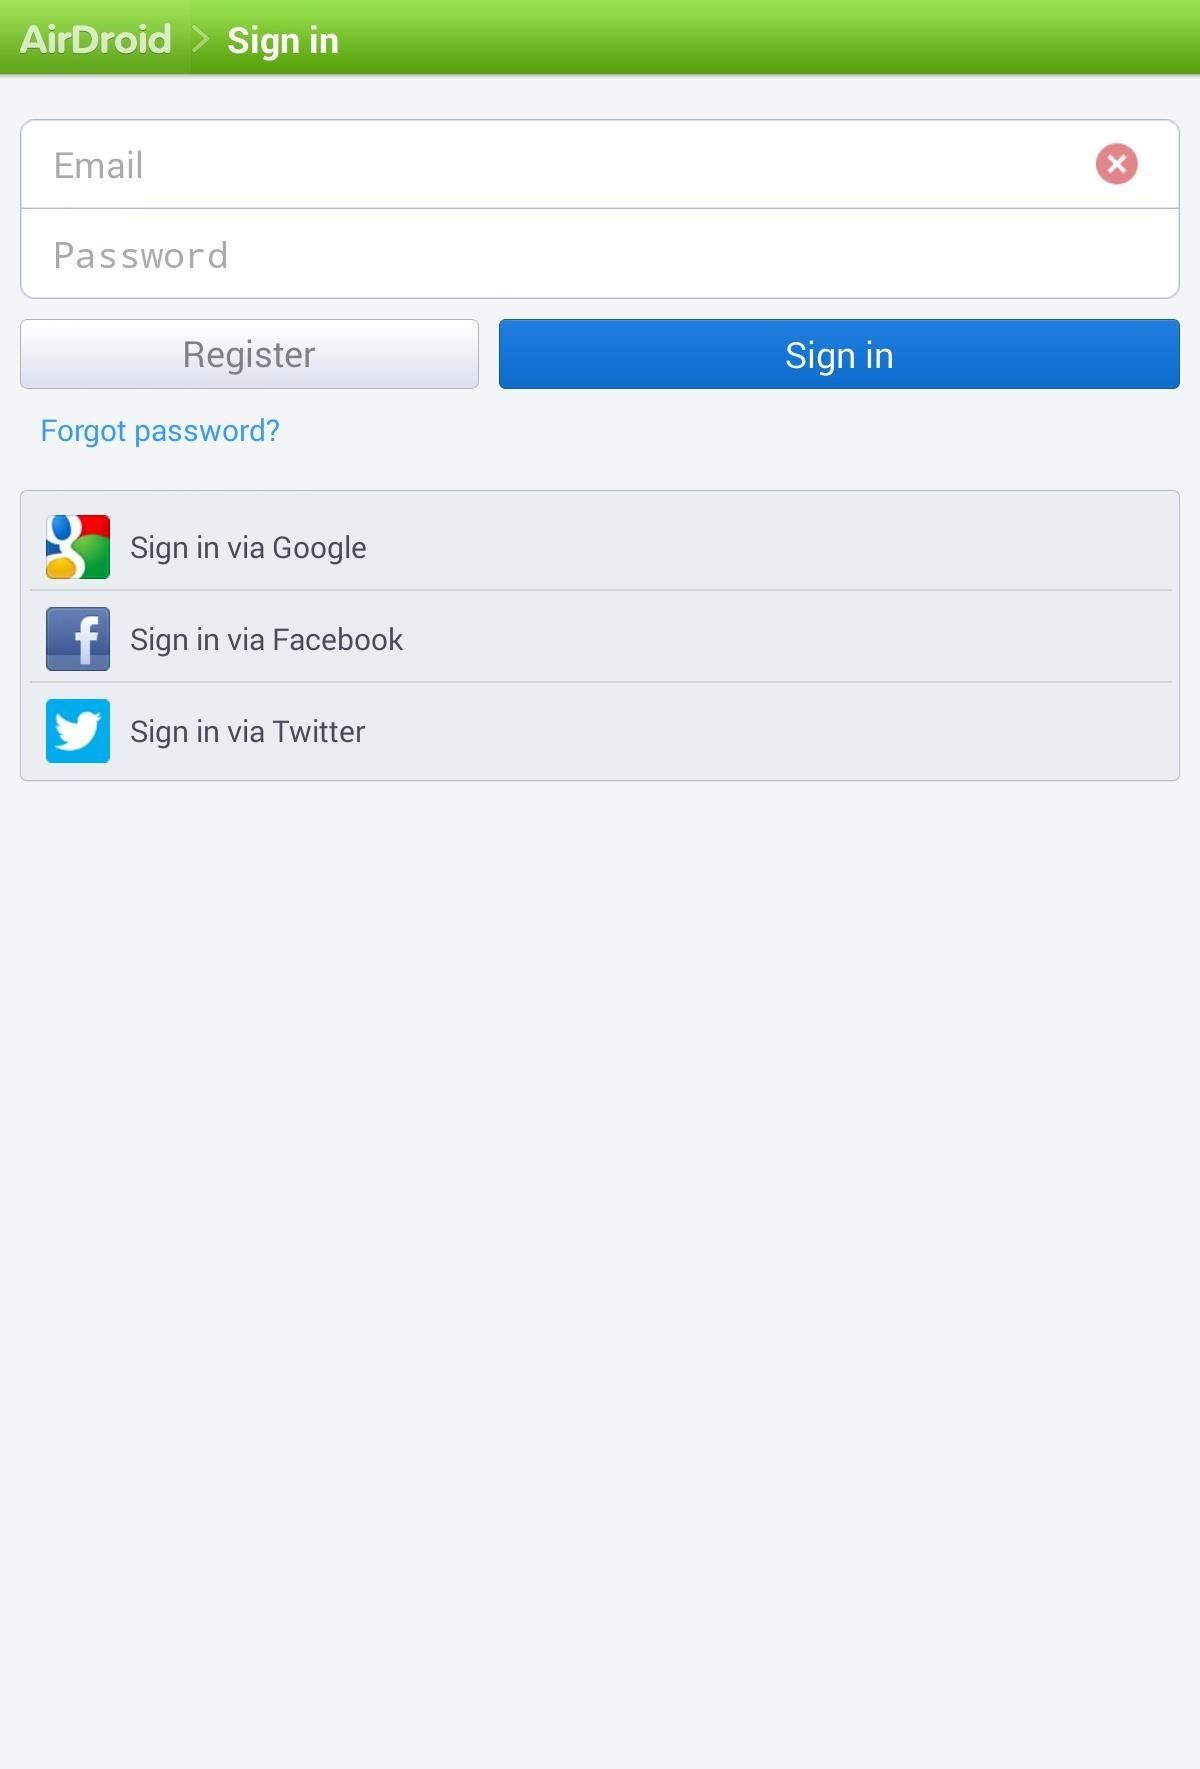
If you're merely interested in transferring files from your Nexus 7 to your computer (and vice versa) at home, then skipping registration is fine—and the easiest method.
Optional: Turn Find Phone On
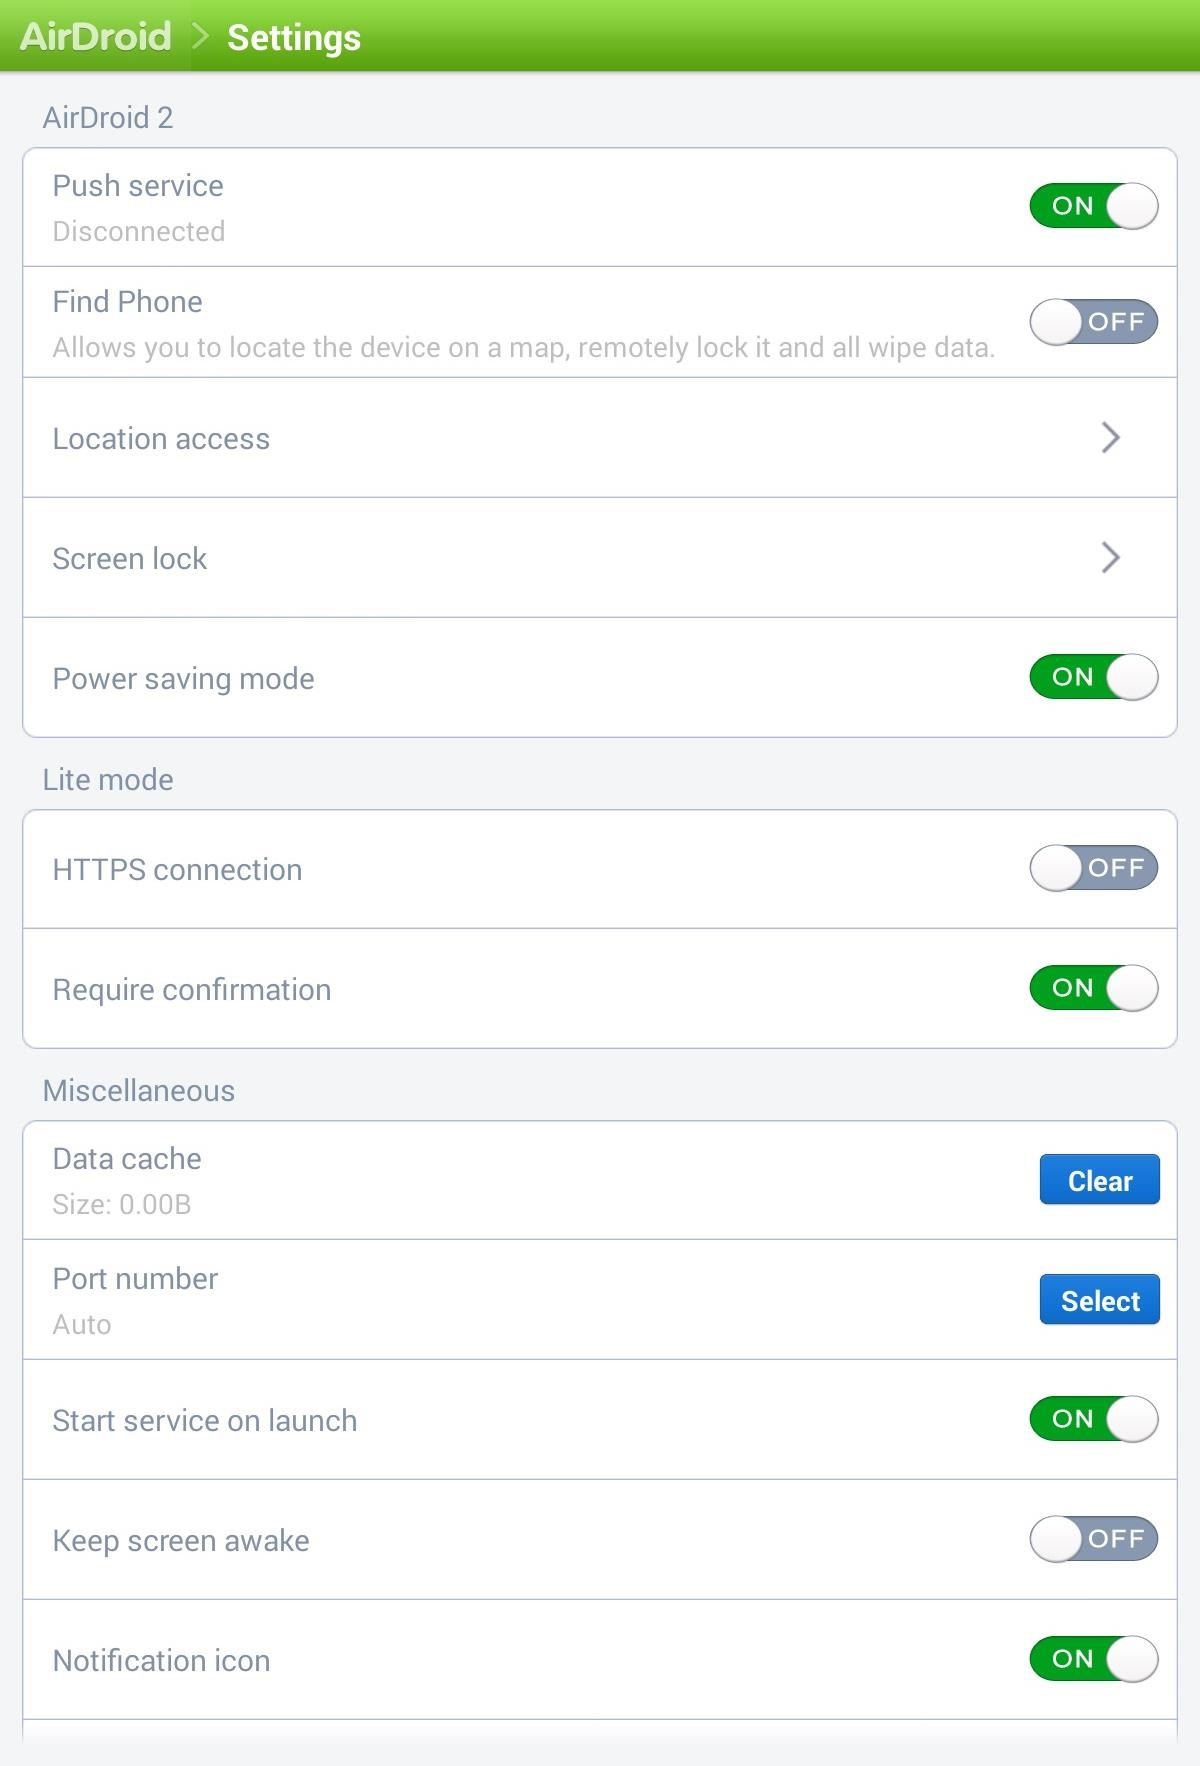
After signing in, you'll be asked whether or not you want to turn the Find Phone feature on. AirDroid has the ability to locate your device, wipe the device, and sound an alert for easy finding. If you don't want to turn these on now, you can enable them from the application settings later.
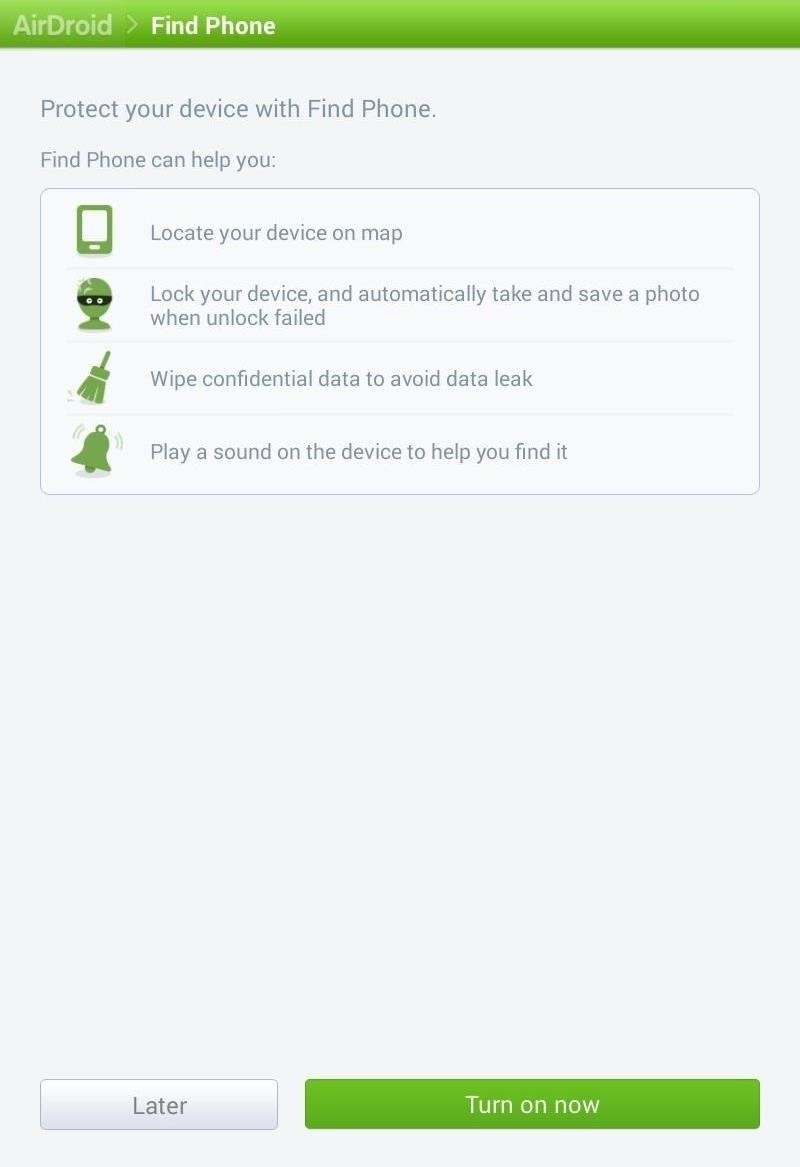
If you did not create an AirDroid account, you won't see this screen.
Step 3: Choose Your Preferred Connection Method
Now it's time to choose how you want to connect your computer and tablet together. AirDroid actually gives you two methods of connecting.
- Using your AirDroid account online. This has a limited transfer quota, but is accessible anywhere, and is useful when your Nexus 7 is not on the same Wi-Fi network as your computer. If you want to transfer files whenever you're away from your computer, this is the way to go.
- Using your local Wi-Fi network. This option is the easiest and gives you unlimited and faster file transfers, but lacks certain features such as the device locator. If you're just looking for simple file transfers at home, this is the way to go.
Step 4: Connect Your Nexus 7 to Your Computer
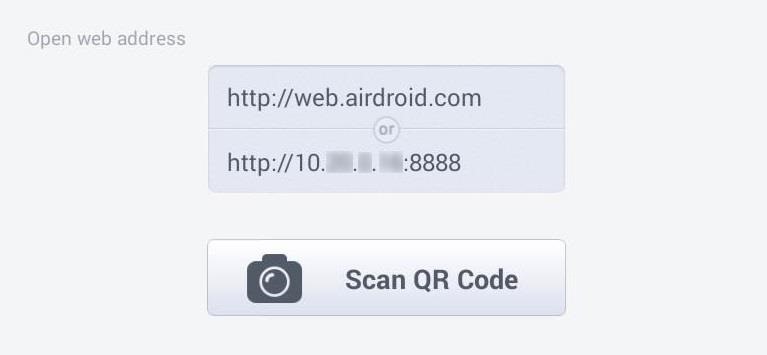
On your Nexus 7, you should now see a screen (like below) that has a web address (Android account) and the device IP address (local Wi-Fi network).
Connecting Through Your AirDroid Account Online
- On your computer, open a web browser window (I recommend Chrome or Firefox for compatibility reasons) and go to http://web.airdroid.com.
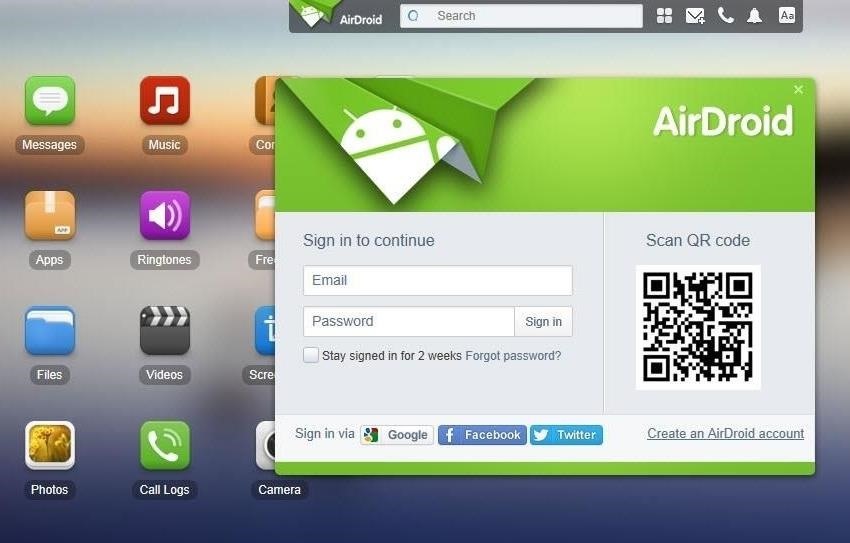
- Simply log in with your account credentials and your Nexus 7 and PC will now be connected. You'll see the AirDroid home screen on your computer where you can start transferring files.
Connecting Through Your Local Wi-Fi Network
- On your computer, open a web browser window and type in the IP address listed on the Nexus 7. For our device, this was http://10.XX.X.XX:8888 .
- On your Nexus 7, you will be prompted to accept the connection.

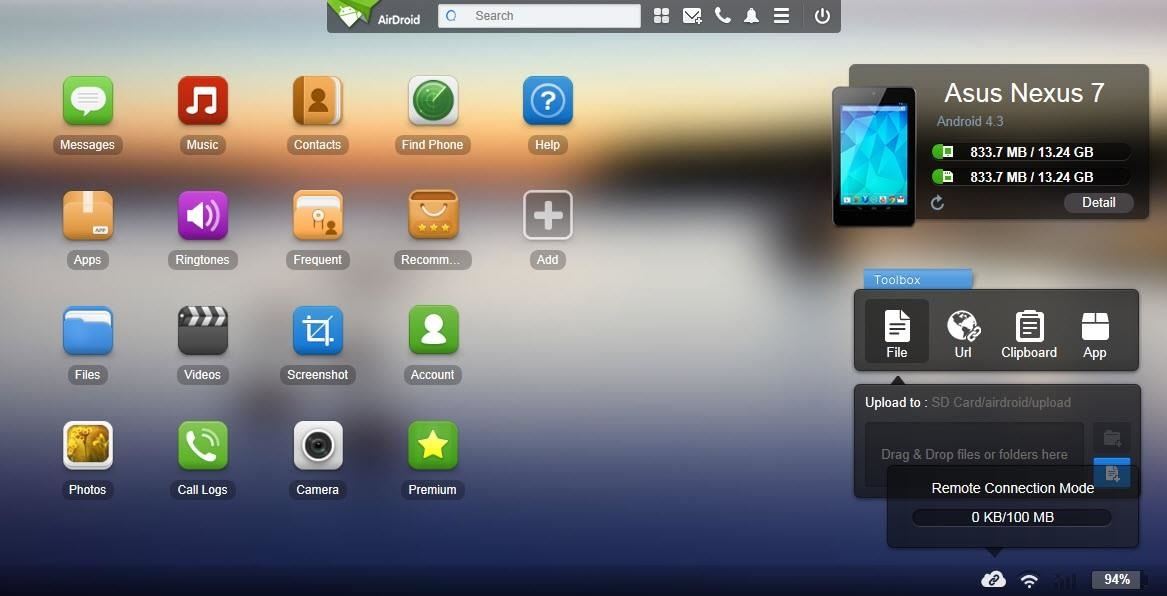
- Accept the connection and you'll see the home page on your computer.

Alternatively, you can also just go to http://web.airdroid.com and scan the QR code with your Nexus 7 (if you have the newer one with the rear-facing camera).
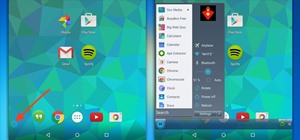
Step 5: Transfer Files Wirelessly
You are now ready to start transferring files to and from your Nexus 7. Each function has a corresponding icon. For example, if you want to upload or download a picture from the device, simple click the "Photos" button.
For an example, to download photos onto your computer, hit the "Photos" icon, select the ones you want in the window, and hit the "Download" button. To upload a picture from your computer onto your Nexus 7, just click on the "Upload" button.
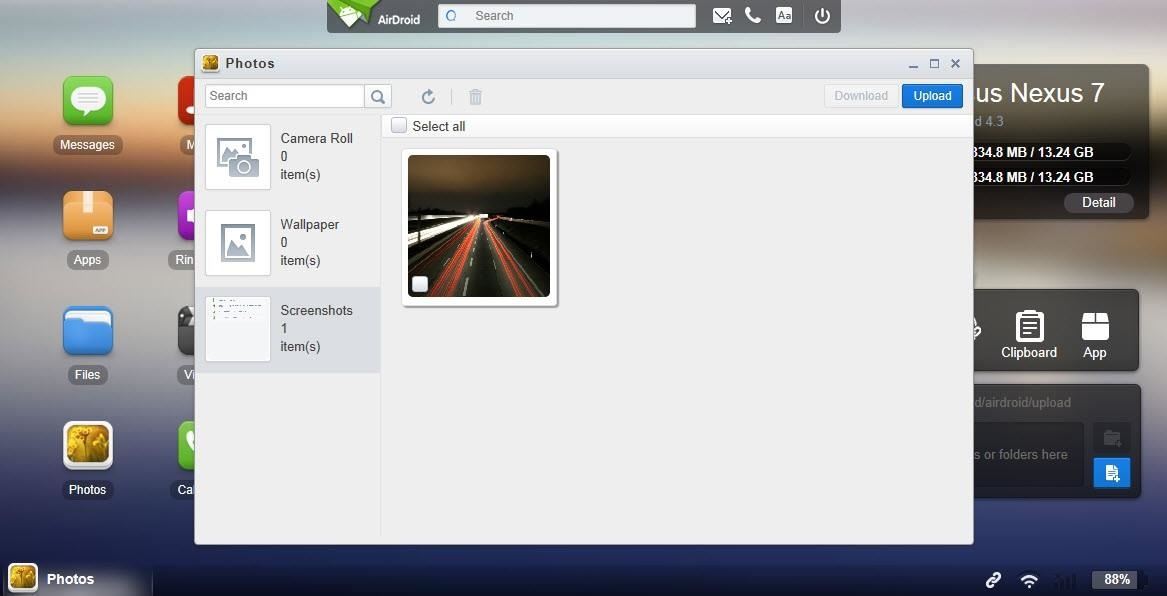
Then either click "Select Files" or drag and drop files onto the window.
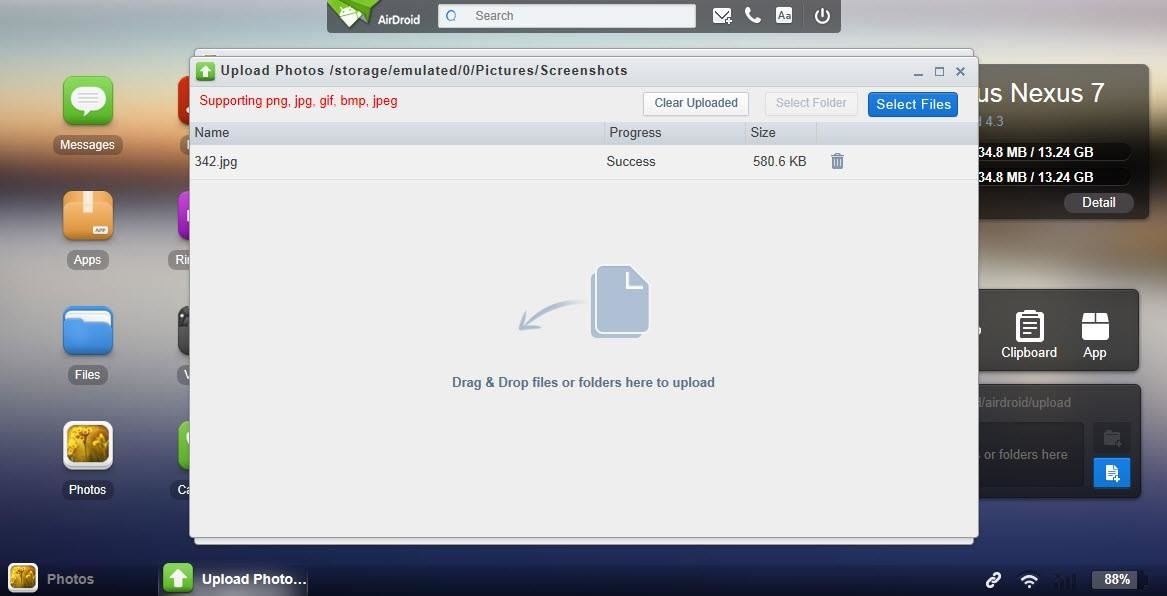
The file(s) should be uploaded onto the device! It's as easy as that. No more messy cables to deal with.
Other AirDroid Features Online
If you're just looking to transfer files to and from your Nexus 7 on a local Wi-Fi network, AirDroid is completely free with no file size restrictions.
If you're using your AirDroid account for remote transfers, they do offer premium features, which include up to 1GB of remote data transfer each month, up to 100MB for a single file transfer, no ads, remote camera access, and more. However, if you just want to transfer a few pictures every now and then, the free account will probably be good enough for you.
Let us know if you have any problems or suggestions on using AirDroid in the comments below.
Just updated your iPhone? You'll find new emoji, enhanced security, podcast transcripts, Apple Cash virtual numbers, and other useful features. There are even new additions hidden within Safari. Find out what's new and changed on your iPhone with the iOS 17.4 update.


1 Comment
This is a wonderful way to transfer the file system.
Share Your Thoughts