
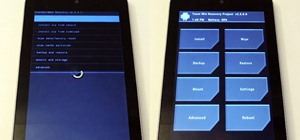
It is really quite easy to flash a custom recovery to your Nexus, and there are many excellent tutorials on how to do so (see the How-To below):
The Easiest Way to Install a Custom Recovery on Your Nexus 7 Tablet « Nexus 7
 Today, I'll show you how to quickly (major understatement there) and safely install a custom recovery on your Nexus 7 tablet! You can't mess up! Let's begin!
I did not write the above article - many thanks to Danny Luo
But, did you know what Android contains a 'Stock Recovery' out-of-the-box? Granted, this is not particularly useful as it only contains a limited number of functions. However, if you do not want to install a custom recovery (whether that be for security or warranty reasons), this may be of some use to you (it is also quite fun just to explore too!).
In this tutorial, we will show you how to access the Stock Android Recovery (bootloader state does not matter) and what you can do once you are there.
Accessing Stock Recovery on Your Nexus 7
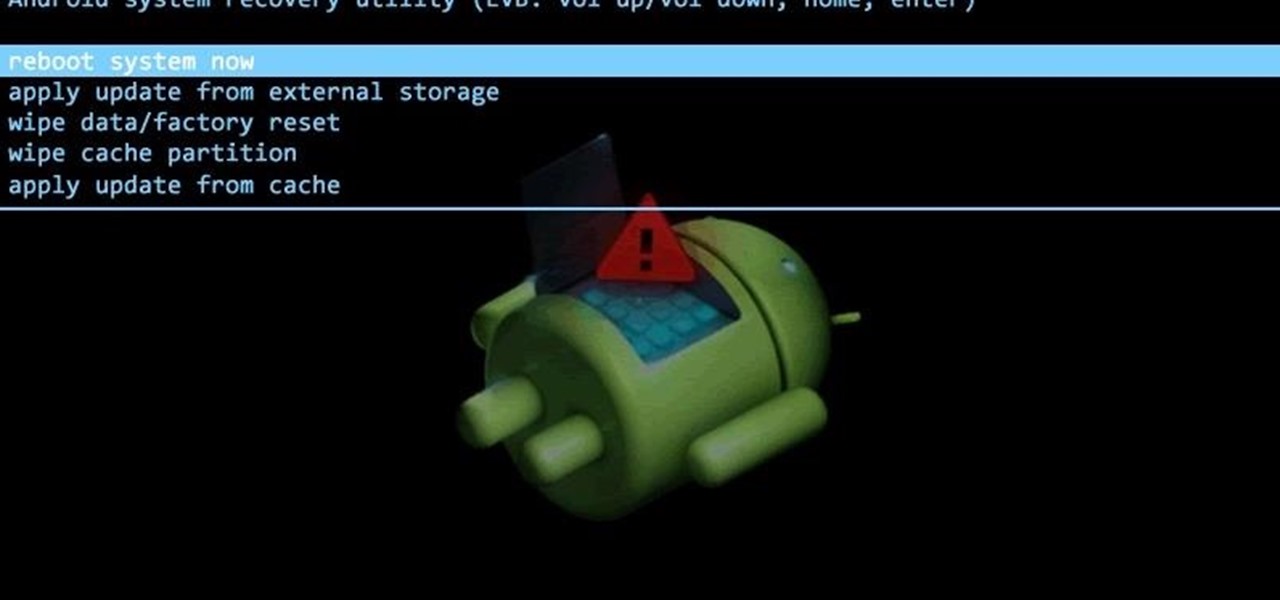
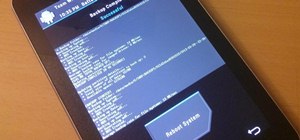
Firstly, power-off your device in the normal way (hold the power button until a dialog-box appears, then hit 'Power Off' and follow the prompt). Once fully powered-off, hold the 'Power' and 'Volume Down' buttons to access the bootloader. Use the volume keys to navigate to 'Recovery mode' and the 'Power' button to select it. You should see an Android on his back with a red 'Exclamation Triangle' above his chest. Finally, hold the 'Power' key, and then press the 'Volume Up' key; before releasing both. You should now see a number of options.
Using Stock Recovery
All options in this mode are highlighted using the volume keys and selected using the 'Power' key.
Exploring Stock Recovery
In Android L's recovery, the following options are listed (these may be different for other Android versions):
- 'reboot system now'
- 'apply update from ADB'
- 'wipe data/factory reset'
- 'wipe cache partition'
- 'reboot to bootloader'
- 'power down'
The Options
The first option is pretty self-explanatory: it pings you straight into Android.
The second is a bit more cryptic: it allows you to push update '.zip's from your PC to your Nexus using 'adb sideload'. Essentially, it allows you to manually update your device (without going through an OTA {'Over The Air'}).
Number three does exactly what it says: it factory resets Android.
The fourth option wipes the cache partition of your Nexus. The cache is where all your temporary files are stored - files that help speed up your device and ensure everything runs smoothly. They build up over time - and it can be good to wipe them now and then. Note that none of your messages, app data or settings will be wiped.
Option number five is also quite obvious: it pings you back to your bootloader interface (the screen that we used to get to the recovery), so you can make changes from there.
And, finally, 'power down' turns off your device. On next boot, it will go back to normal Android.
Roundup
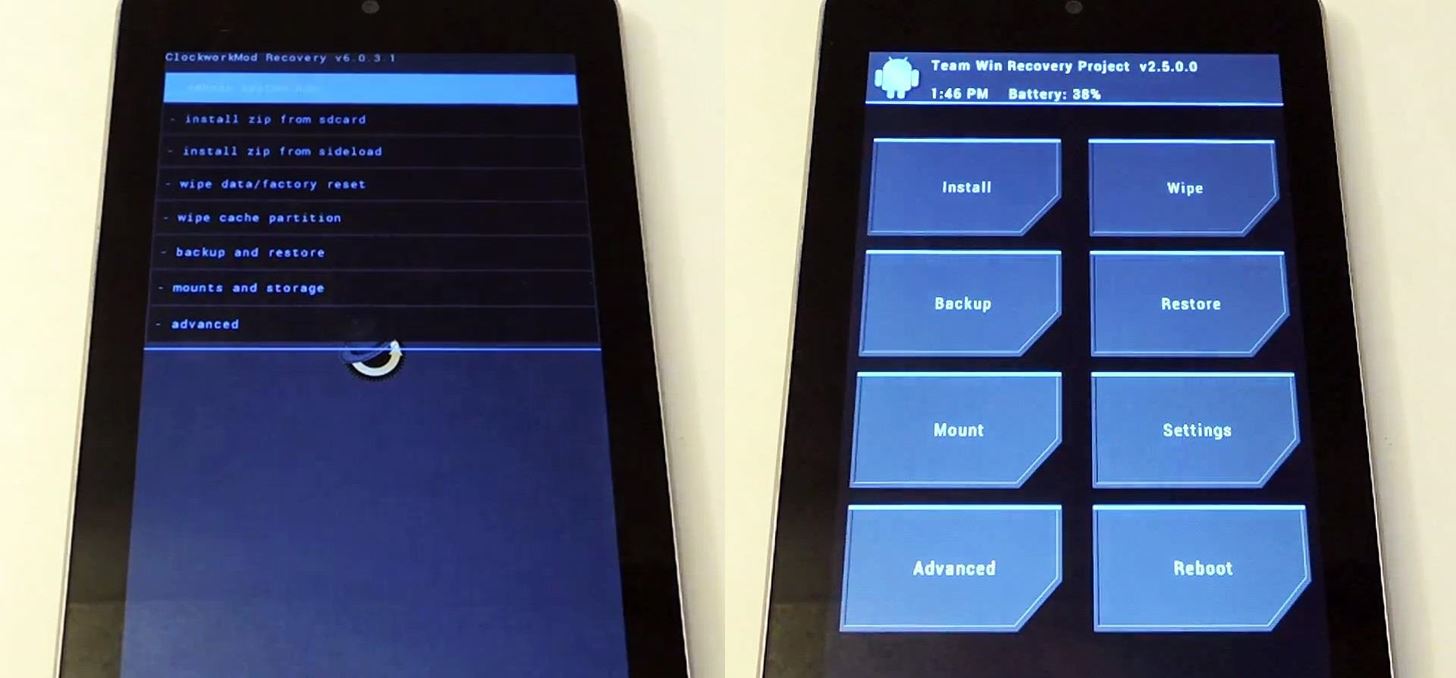
That is what the Stock Recovery does. It is not nearly so useful as a custom recovery such as TWRP or ClockworkMod, but it may help you now and then and it is quite fun to explore.
Just updated your iPhone? You'll find new emoji, enhanced security, podcast transcripts, Apple Cash virtual numbers, and other useful features. There are even new additions hidden within Safari. Find out what's new and changed on your iPhone with the iOS 17.4 update.


Be the First to Comment
Share Your Thoughts