

In the past, we've shown you how to install CyanogenMod 10.1 on your Nexus 7, but that version was based off of the older Android 4.2 Jelly Bean. If you want to stay current, the newer CyanogenMod 10.2 is out in the nightly stage, which is based on Android 4.3, and you can get it right now.
Why Get CyanogenMod?
CyanogenMod is a custom ROM based on AOSP (or stock Android) and features a number of customizations built into it. This makes it easy to customize your device by having the most common tweaks already built right in.
Right now, CyanogenMod 10.2 is in the nightly stage, as mentioned before, which means there are updates released nearly every day. Luckily, the update process has been made very easy once you install a nightly. More on that later.
Warning
You will lose ALL DATA doing this, so back up anything you do not want to lose.
Prerequisites:
- The Nexus Root Toolkit
- Custom recovery (installed with the Nexus Root Toolkit)
- Unlocked bootloader (can unlock using the Nexus Root Toolkit)
- Latest nightly for your device from:
- Latest Gapps (available from here)
Step 1: Complete Prerequisites
If not done already, complete the prerequisites. Download the nightly and Gapps from Chrome on your Nexus 7 to prevent the hassle of copying the files over from your computer.
If you need to unlock your bootloader and flash a custom recovery, see how to do it here for PC and here for Mac.
Step 2: Reboot into Recovery
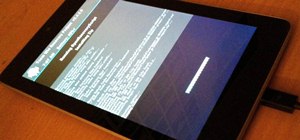
Now that you have the ROM and Gapps package on your Nexus 7's internal memory, and you have a custom recovery installed, you'll need to reboot into the recovery (in my case, it's TWRP). To get to your recovery, just do the following steps.
- Shut the device off.
- Press and hold Volume Down and Power at the same time. This should put the Nexus 7 into the bootloader.

- Scroll down to Restart Bootloader by pressing Volume Down.
- Press the Power button to confirm and the device will boot into your custom recovery.
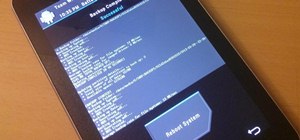
Step 3: Back Up Your Stock ROM
To play it safe, you'll want to back up your current ROM, that way if you need to revert back for any reason, you'll have a version to return to.
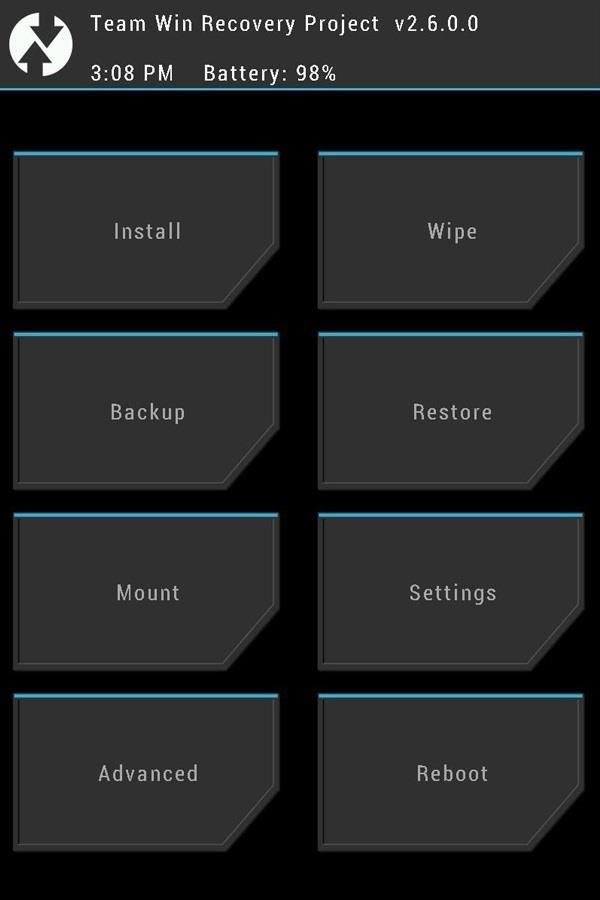
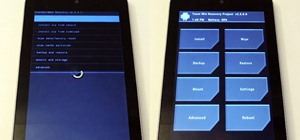
- Tap Backup.
- Check the boxes for System, Cache, Data, Boot, and Recovery, as shown below.
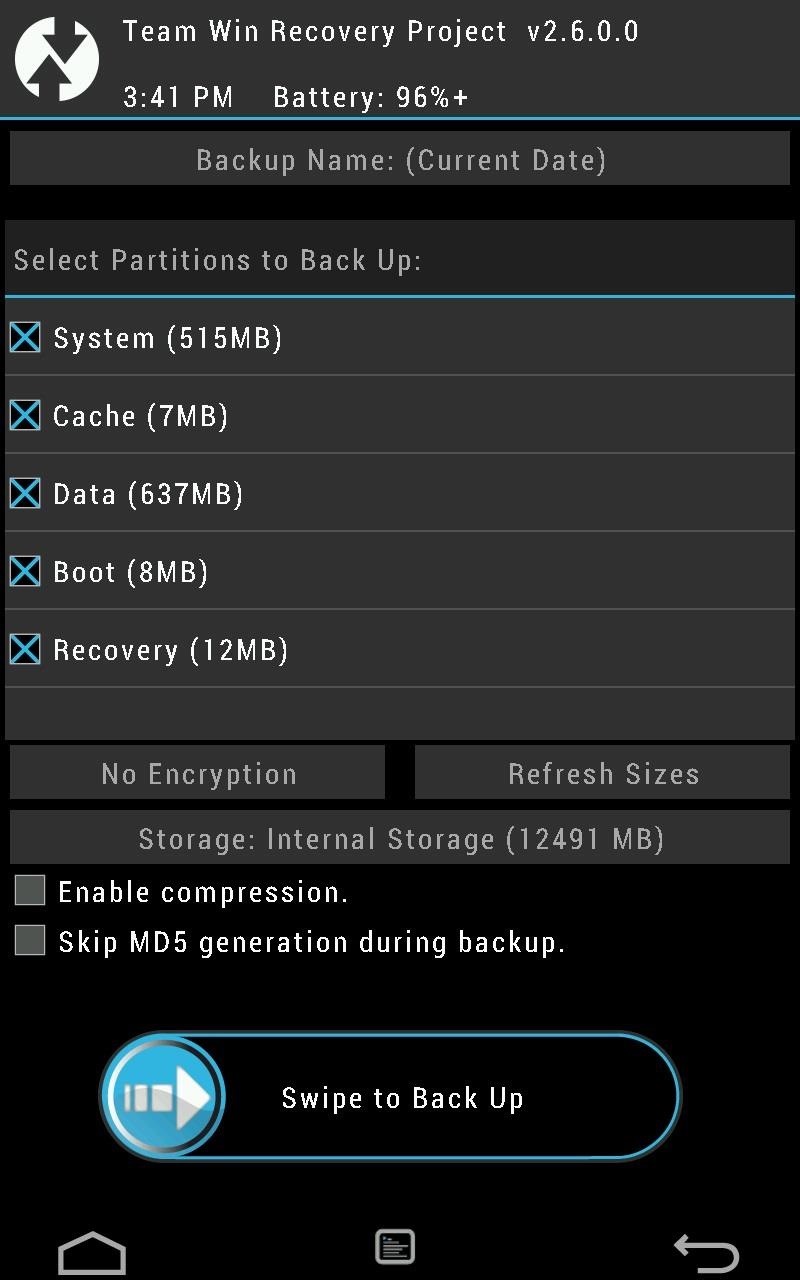
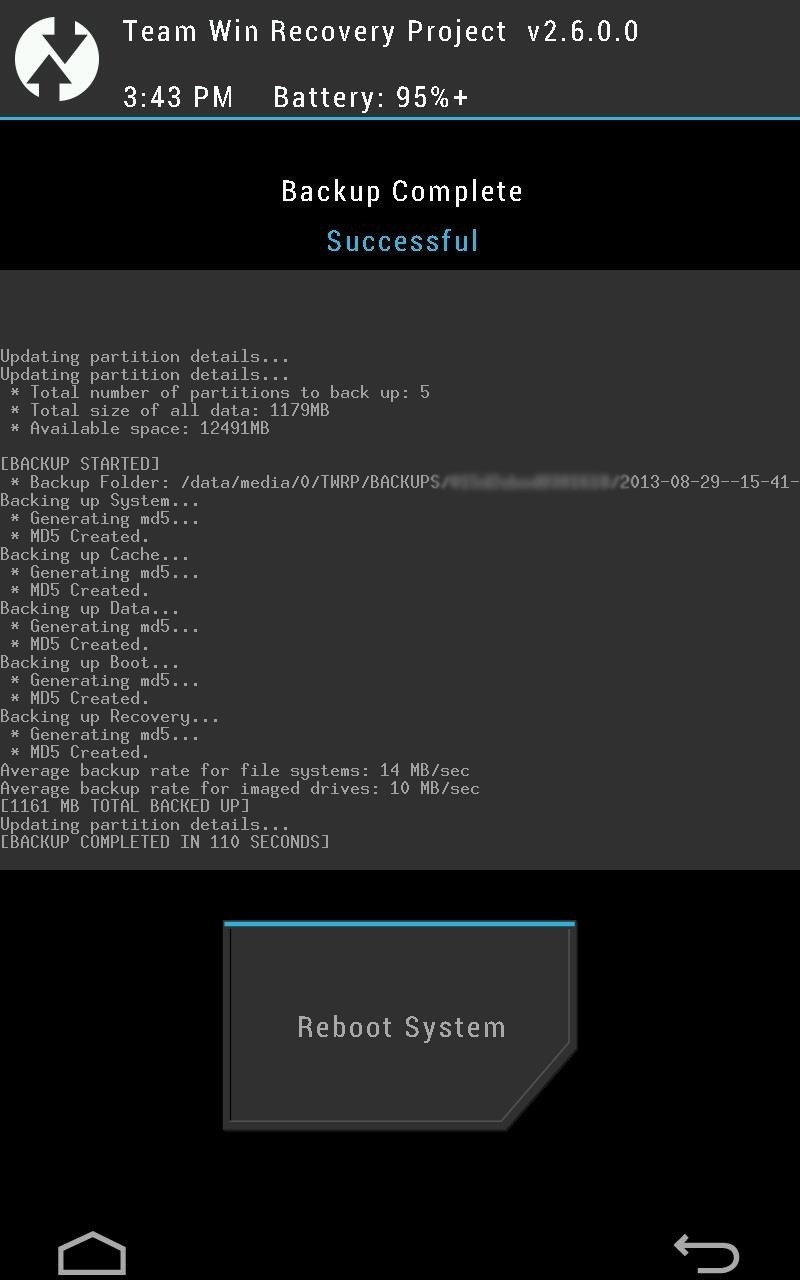
- Swipe to Back Up.
- Tap the Home button once it's done.
Step 4: Wipe Your Data
Now, before we can get CyanogenMod on your Nexus 7, you'll need to delete your data. But don't worry, you backed it up in the previous step for safekeeping, should any problems arise.
- Tap Wipe.
- Tap Advanced Wipe.
- Check the Dalvik Cache, System, Cache, and Data boxes, as shown below.
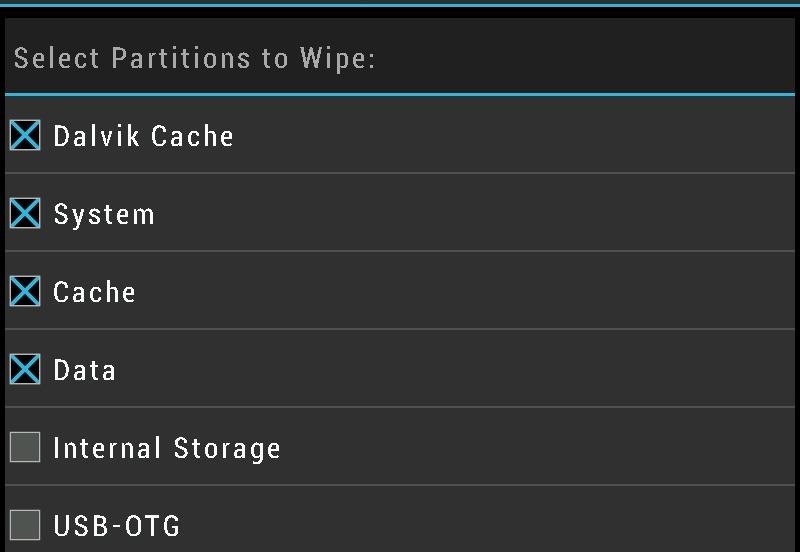
- Swipe to wipe.
- Tap the Home button.
Step 5: Install the ROM
Now that we're all clear, we can begin installing CyanogenMod!
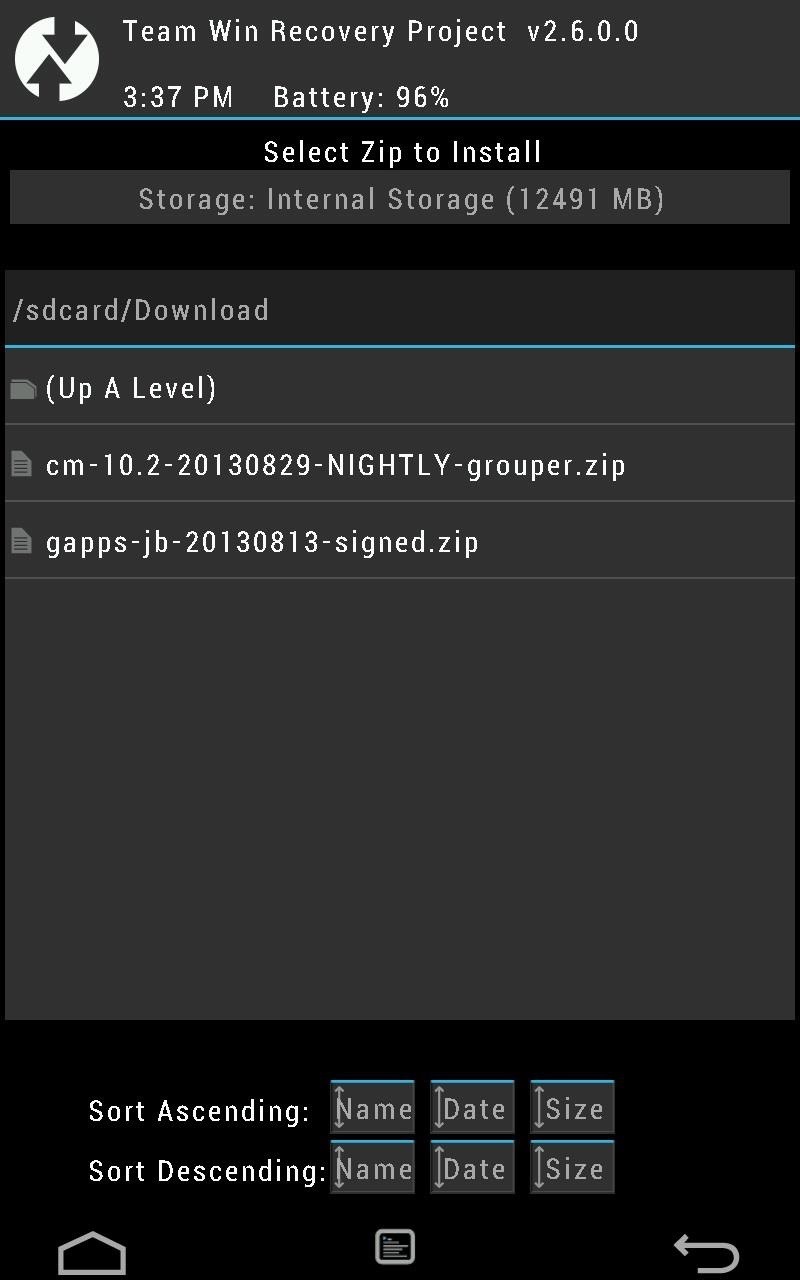
- Tap Install.
- Tap the Download folder; you should see the two .zip files for CyanogenMod and Gapps.
- Tap on the .zip file for CyanogenMod 10.2.
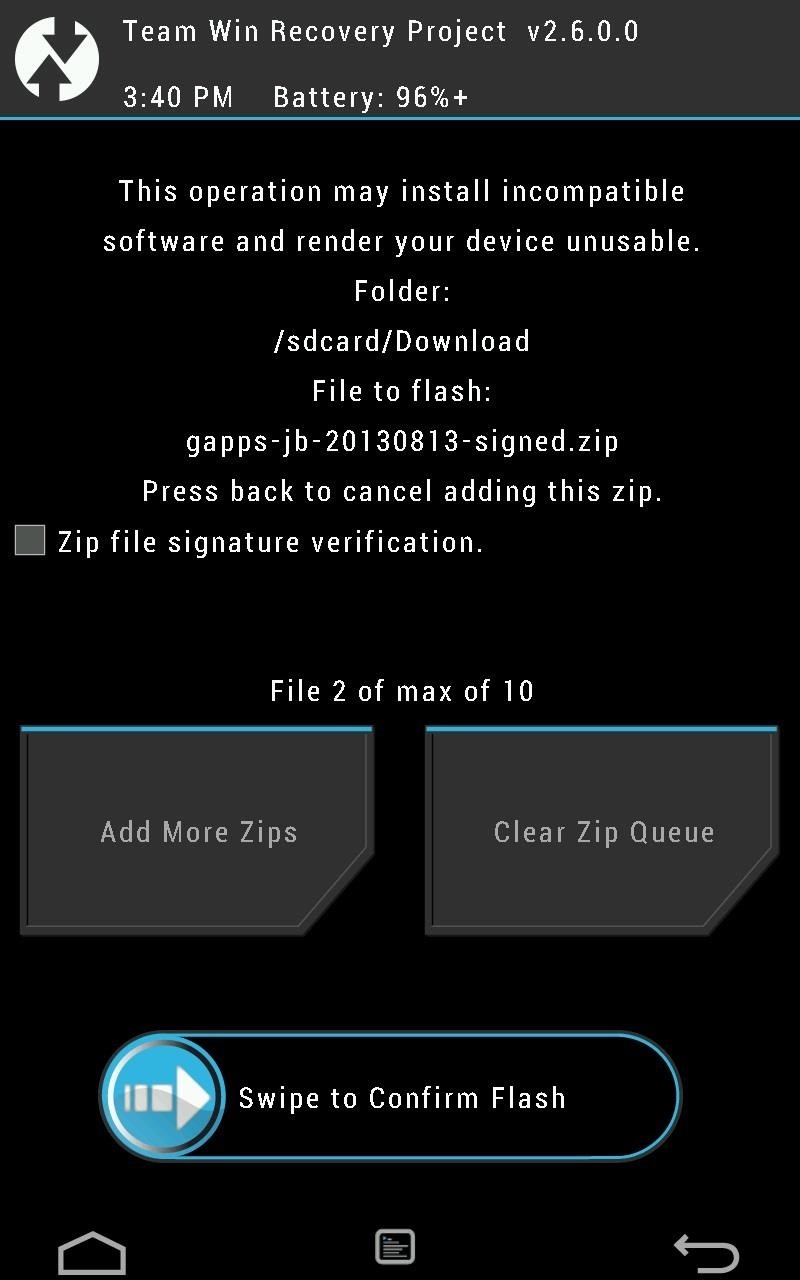
- Tap Add More Zips.
- Tap on the .zip file for Gapps.
- Swipe the slider to install.
- Remove the USB cable once it's done (if connected).
- Tap Reboot System and the device will reboot.

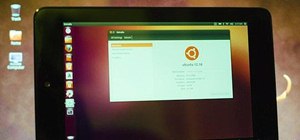
Step 6: Start Using CM!
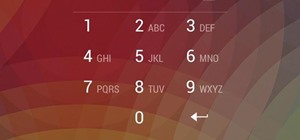
Now, your Nexus 7 will reboot into the Setup Wizard. Set up anything you want to and your Nexus 7 is ready to use with CyanogenMod 10.2.
How to Update CM to the Latest Nightly
At the top, I mentioned that it's easy to update CyanogenMod right from the settings. Now, I'll show you just how easy it is!
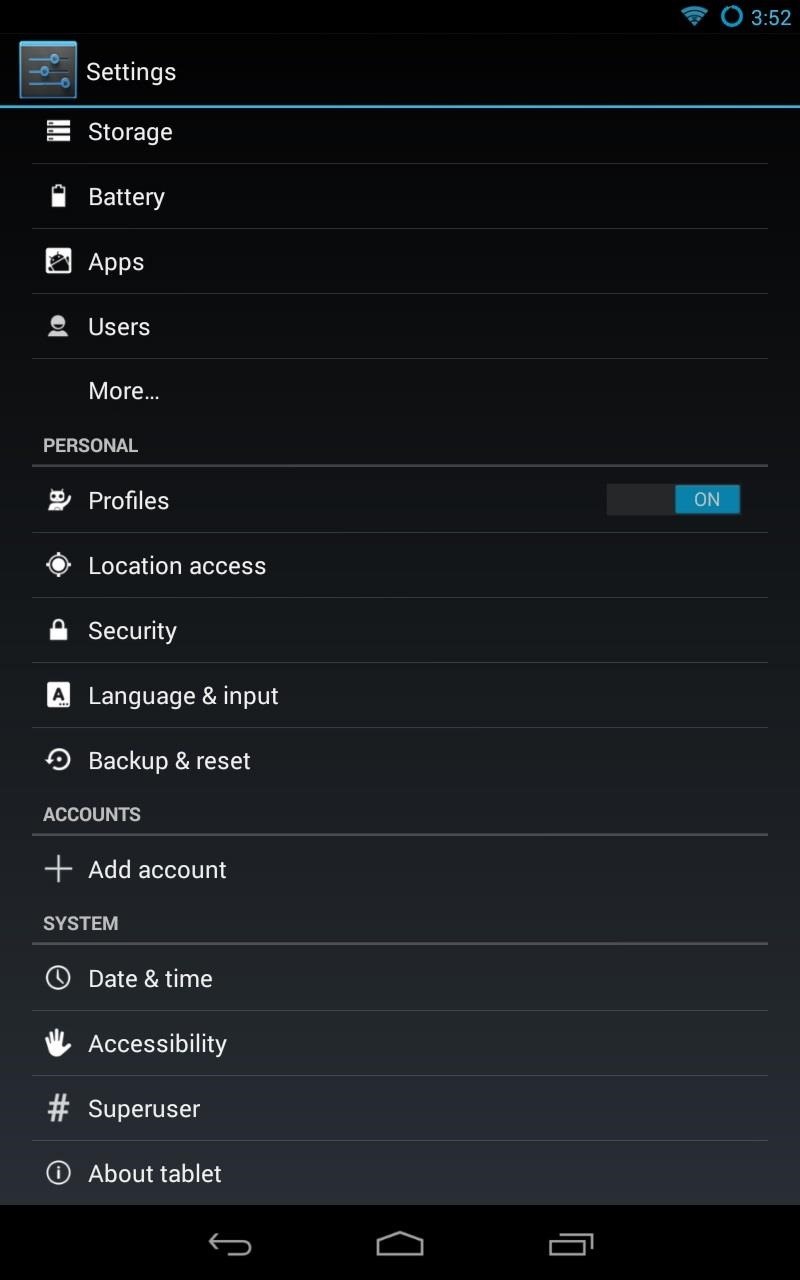
- Open up Settings.
- Go to CyanogenMod Updates.
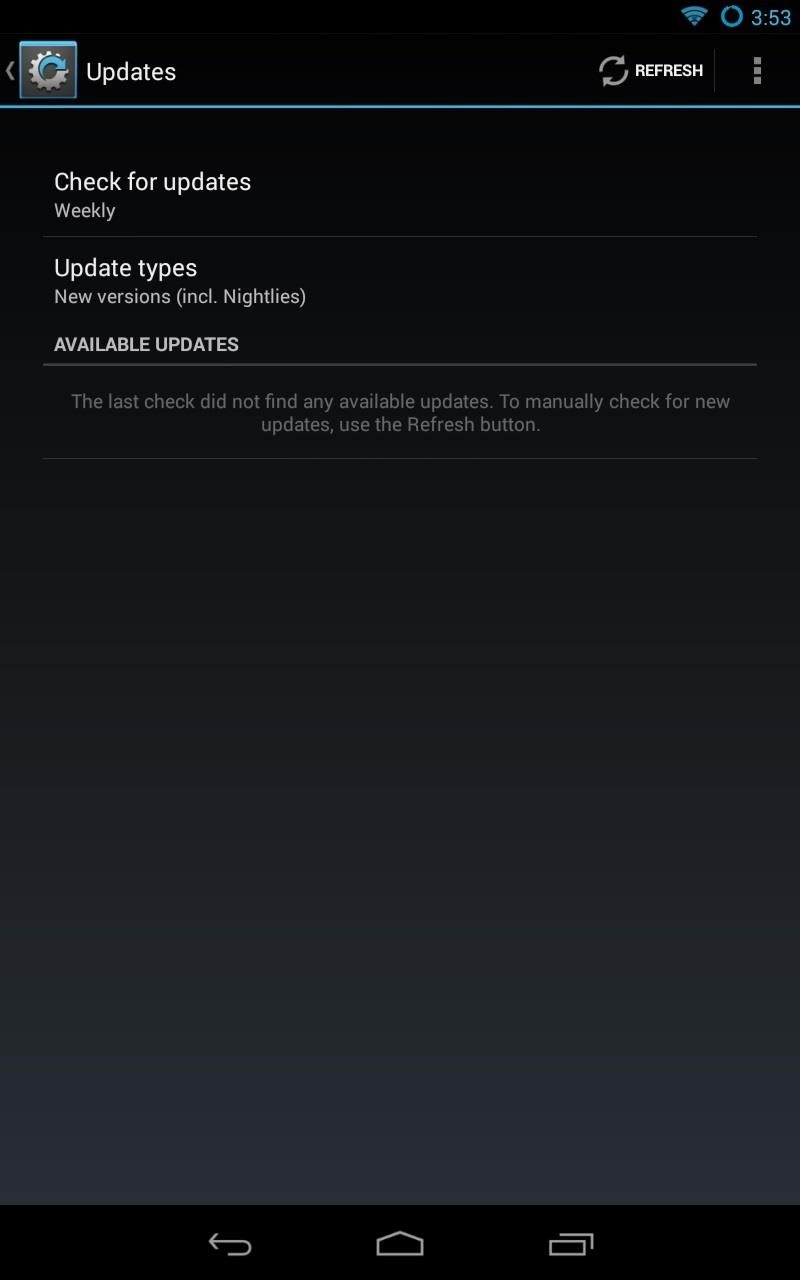
- Change Update Types to New versions (incl. Nightlies).
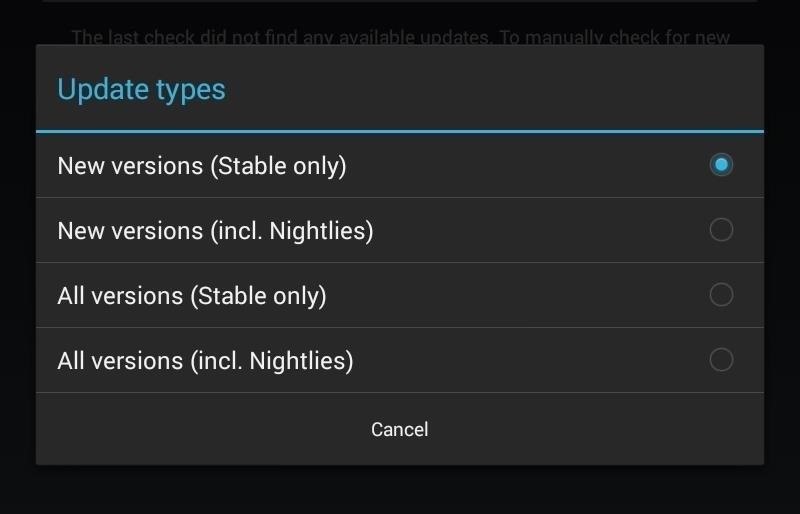
You can change how often it checks for updates, but the default is weekly. Anytime it finds new updates, you'll see them down below and you just need to tap the updated version and it will download and install it for you.
Simple as that!
Just updated your iPhone? You'll find new emoji, enhanced security, podcast transcripts, Apple Cash virtual numbers, and other useful features. There are even new additions hidden within Safari. Find out what's new and changed on your iPhone with the iOS 17.4 update.


10 Comments
Worked perfectly. Thank you so much!
buttery smooth, thanks!
I followed the constructions, but now its not starting and i can't load the Costum Recovery!! HELP
Problem solved ^^ just needed to reload the bootloader, but it's still not working :(
EDIT: Current build is broken -.-
Great, it worked with my nexus 7 2013
will the apps be gone?????
Hi,
I have all that done as explained but always after trial to install CM zip the installation process fails. After reboot the system ends up in a boot loop. I tried several times with no success. Can you help?
Works fine but a big WARNING with the Updates. Do not install them it will crash your device and you will have to reinstall everything!!! It reboots the twrp bootloader all the time.
I'm an idiot, but I managed to install 12.1 first time using this guide.
Thank you.
I did not wipe my data but trying to install rom anyway, it is taking nearly an hour. Should I wait ? or its bricked ?
Share Your Thoughts