
Photo mosaics have interested me since I was a kid. I could never understand how someone took the time and effort to make one large masterpiece out of hundreds of smaller images. Maybe I'm too daft to grasp the concept, but it seems extremely difficult. I certainly don't have the necessary skills to make my own work of art, but luckily my Nexus 7 does.
Thanks to dev Hessan Feghhi, we can use the existing photos on our Nexus to create beautiful mosaics in mere seconds. Go ahead and grab Friend Brush for free on Google Play to start creating your own photographic mosaics.
If you want to help with the continued development, you can also become a tester and grab the beta version instead. It's exactly the same as far as features are concerned, the only difference being a report bug option.
Step 1: Tweak the Output Settings
Before creating a new brush, go into the Settings (three-dot menu in the top right) to adjust the output of your photo mosaic. You can change the scale of the tiles from 16x16 to 64x64 for different mosaic looks.
You can also decrease the output resolution if you like, but I think it's best to keep it at the highest level, which is 20 megapixels. There is a paid version ($2.50) available as an in-app purchase that ups this to 40 megapixels, which might be worth doing if you plan on printing out your photo mosaics as posters.

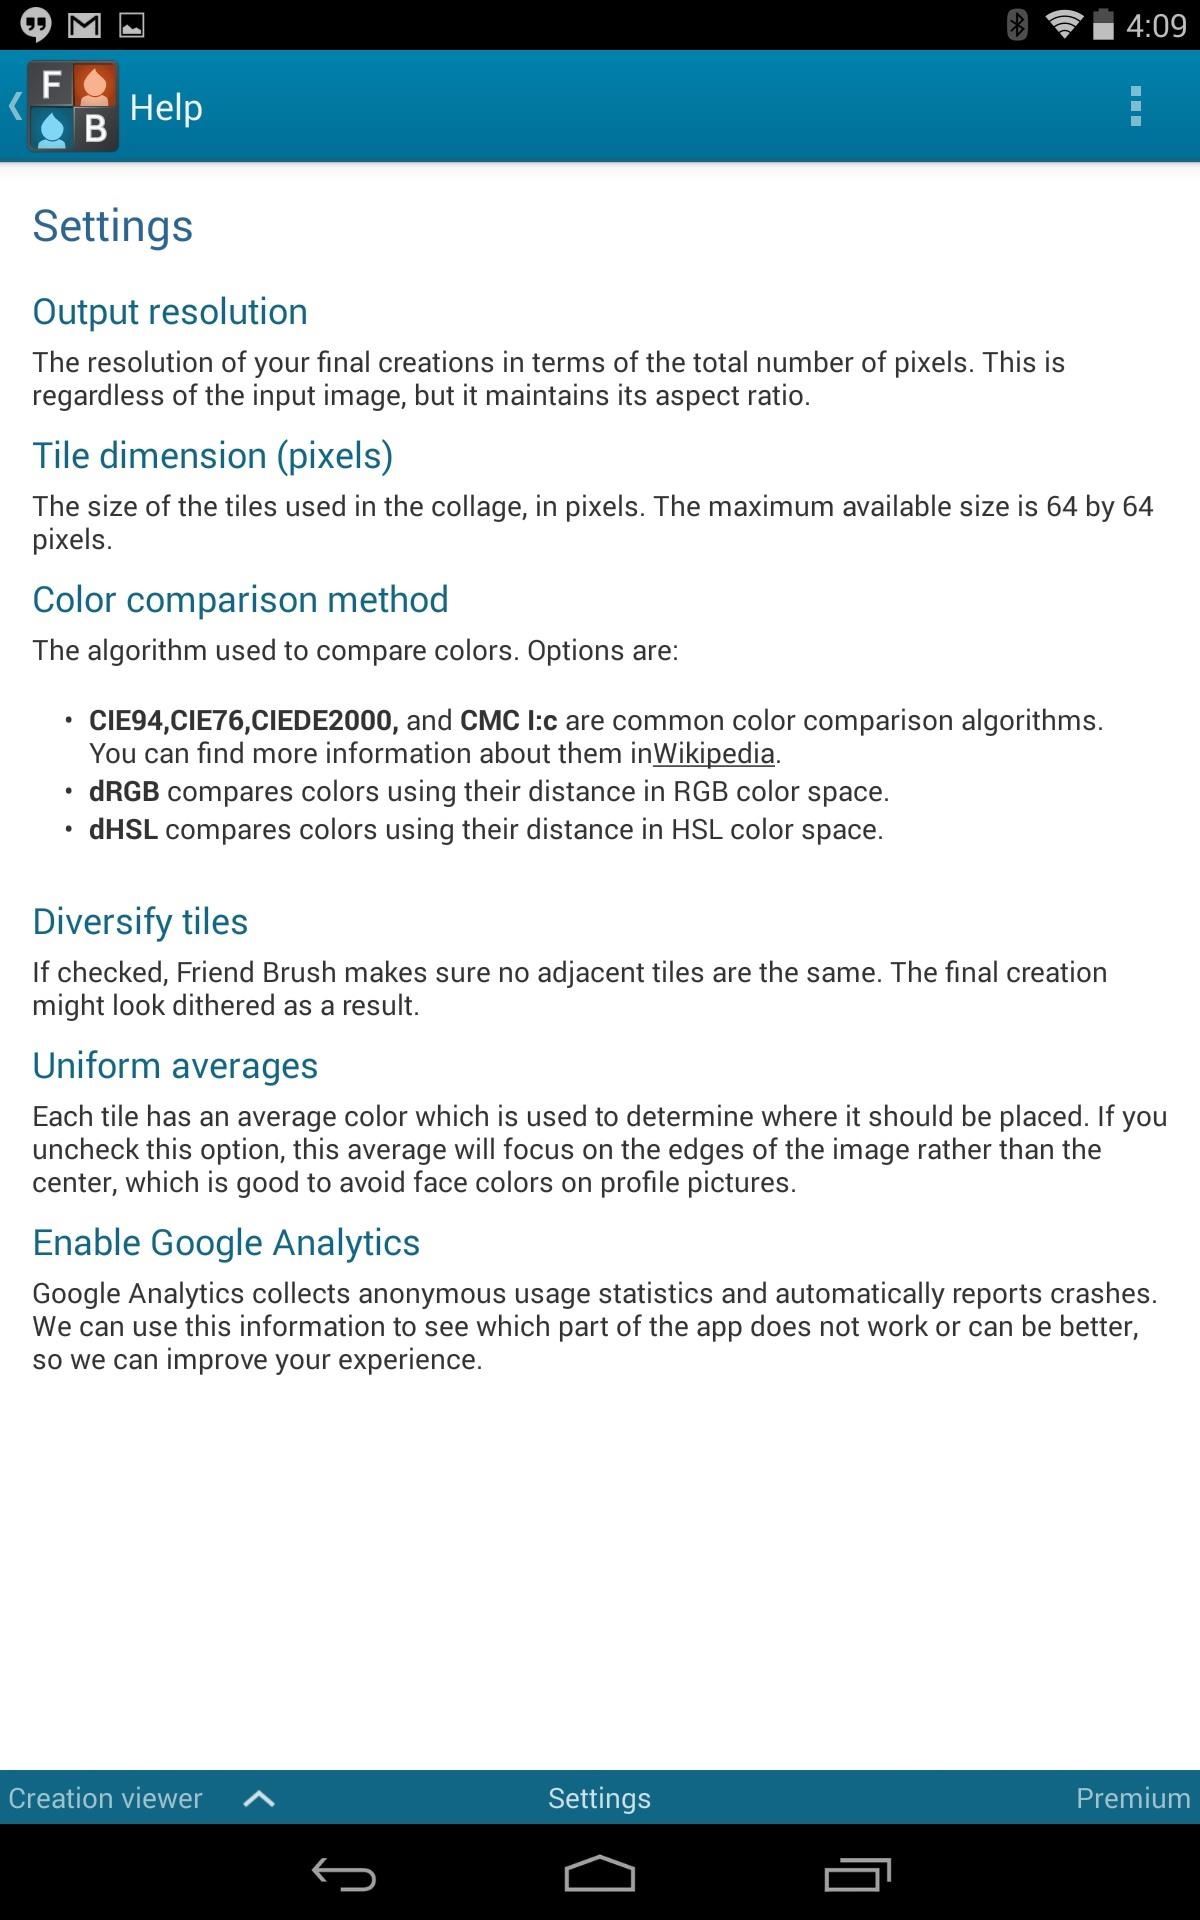
The free version only uses one algorithm to create the mosaics, CIE94, but if you upgrade to the premium version you'll be able to choose from different algorithms to adjust the final quality of the mosaic. I think the default one in the free version is solid on its own.
Step 2: Create Your Brush
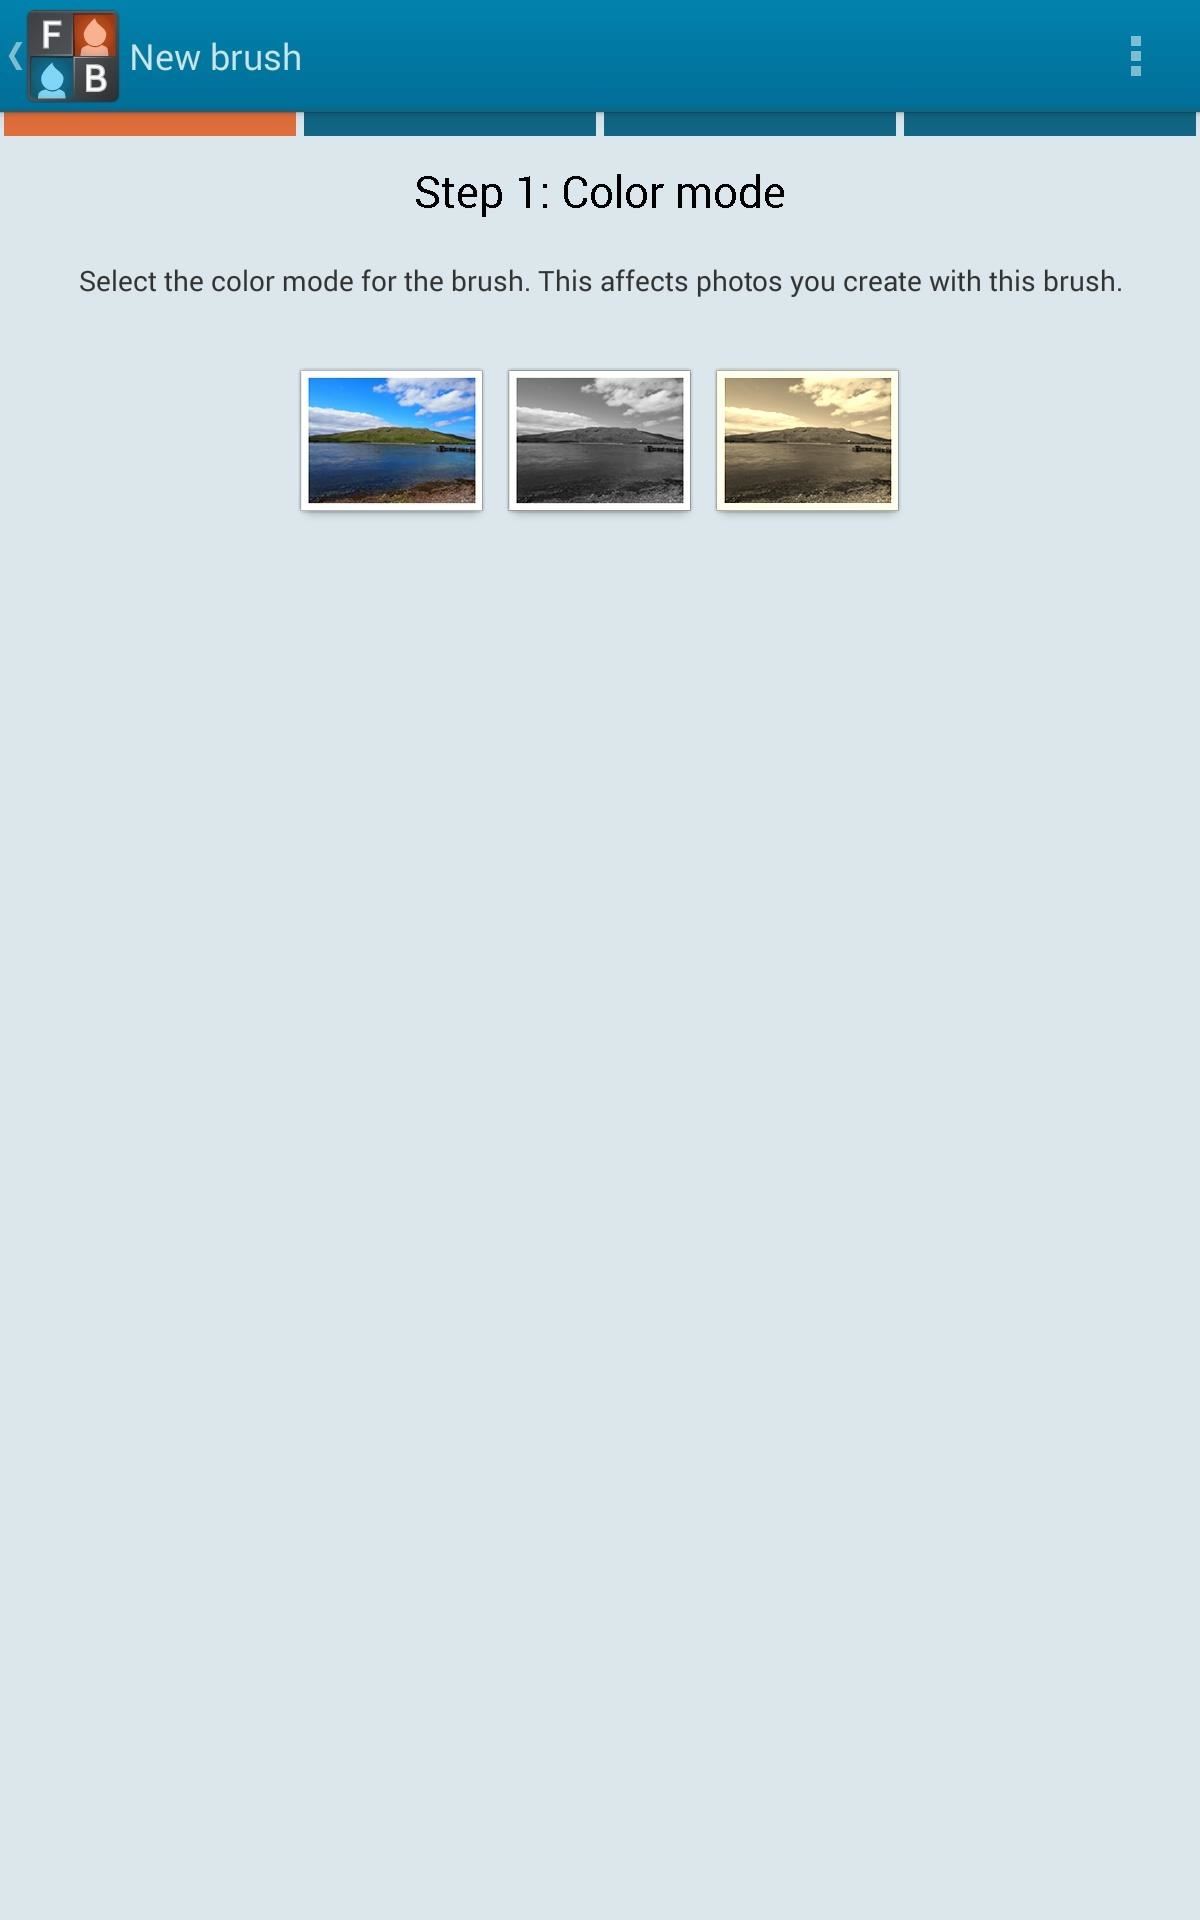
A brush is basically the effect that you will apply to a photo. Go ahead and select Brushes from the top section and add a new one with the button on the top right. Name it, select the Color mode (color, black/white, or sepia), then choose your tesserae (the photos).
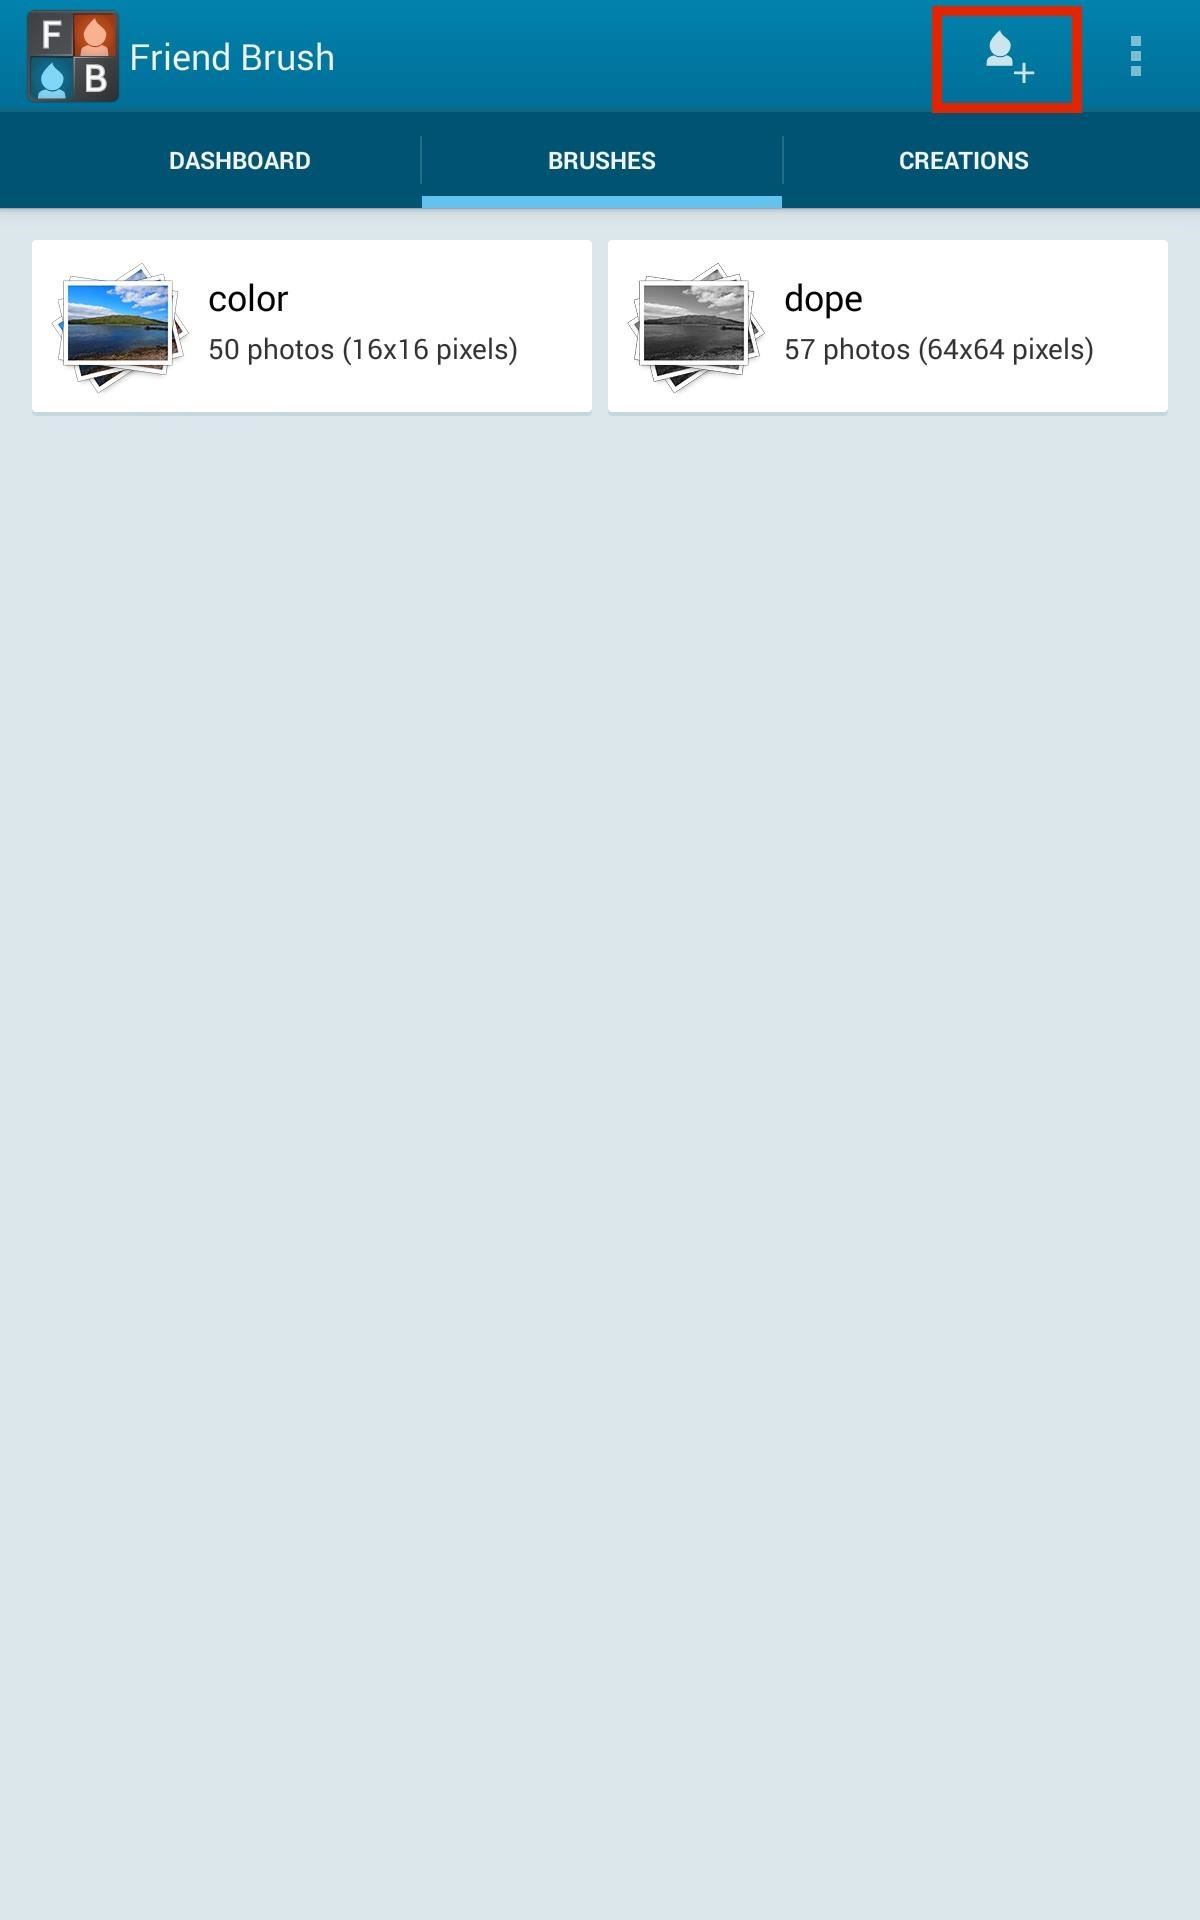
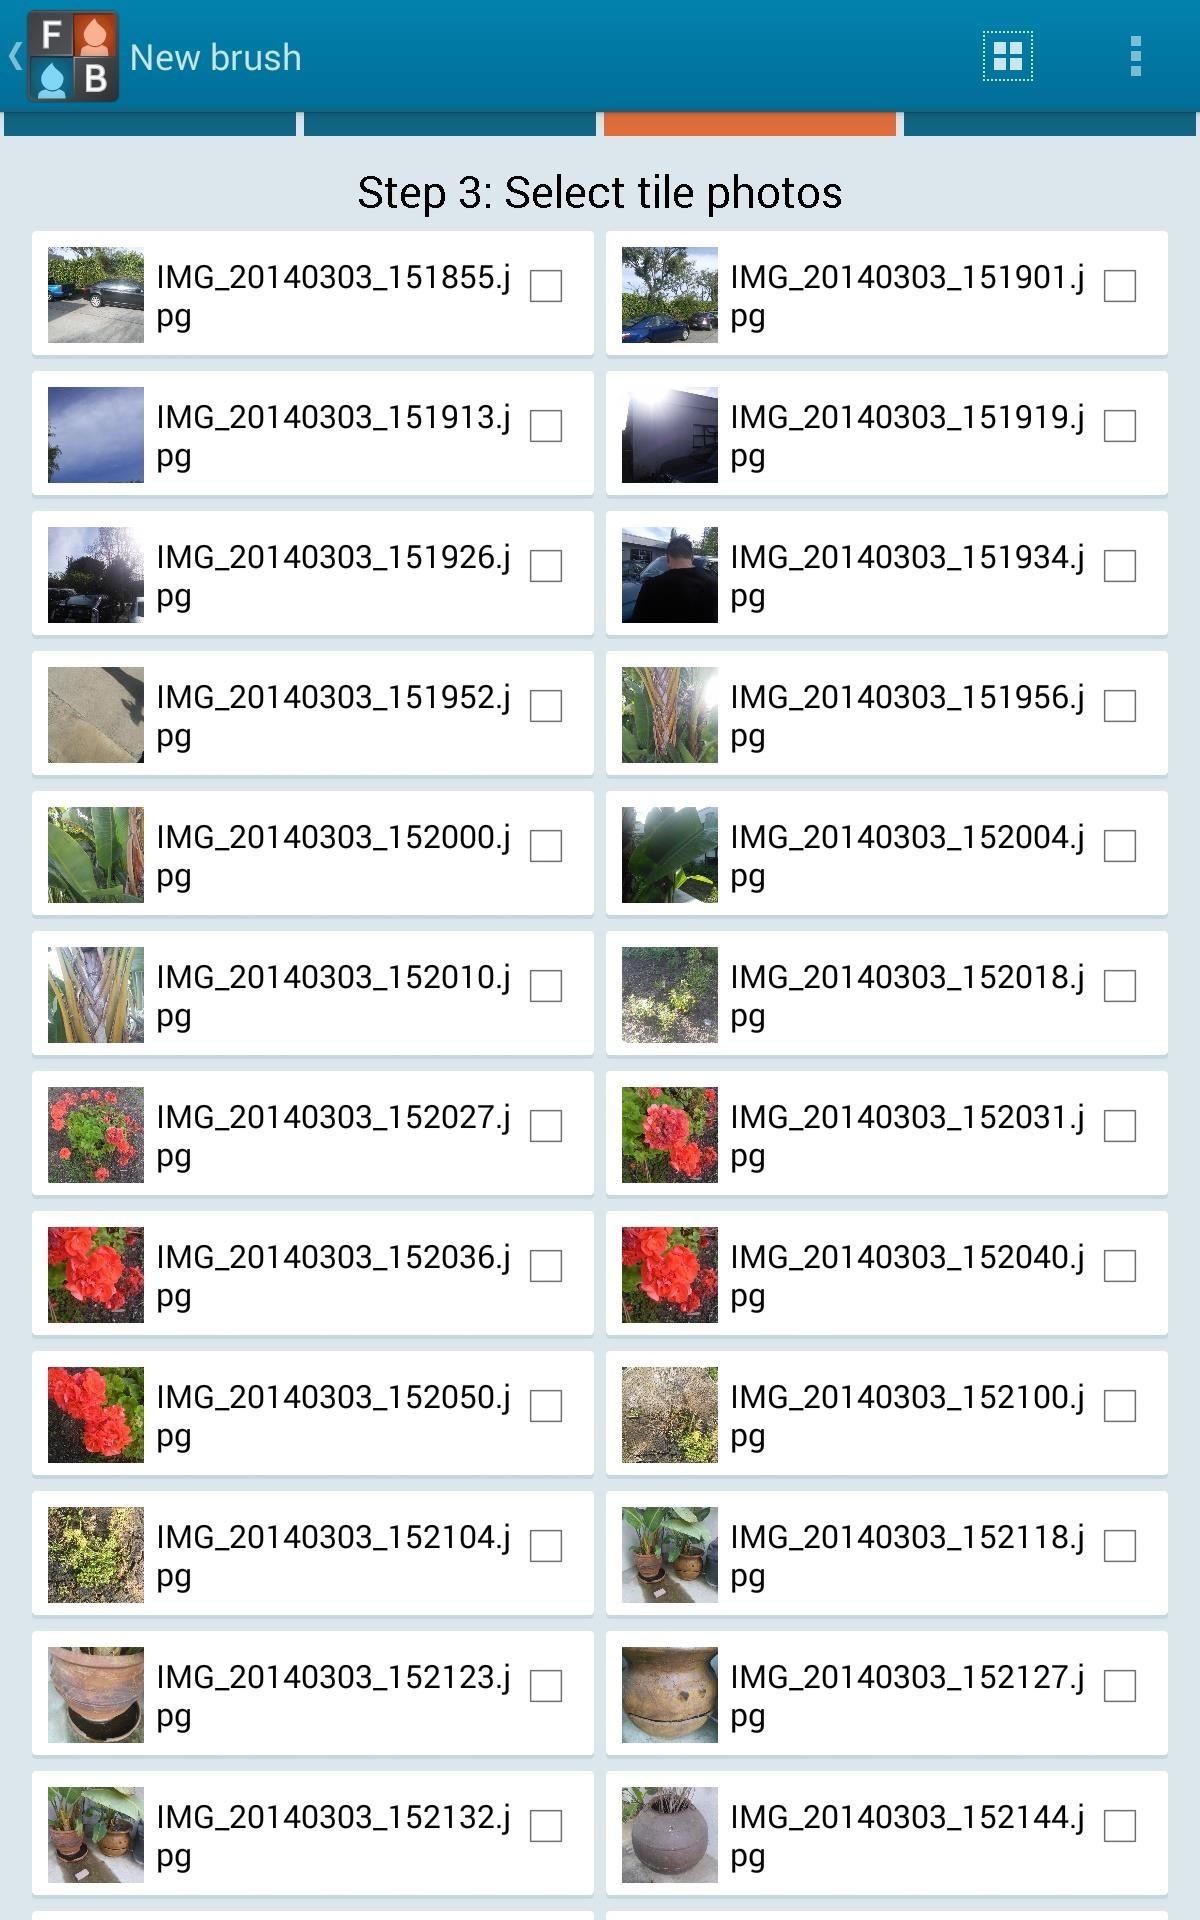
Make sure to select a minimum of 25 photos that will be used to create the mosaic. The more, the better to increase the range of color.
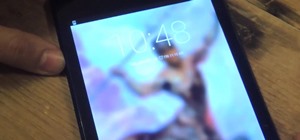
Step 3: Pick Your Creation Image
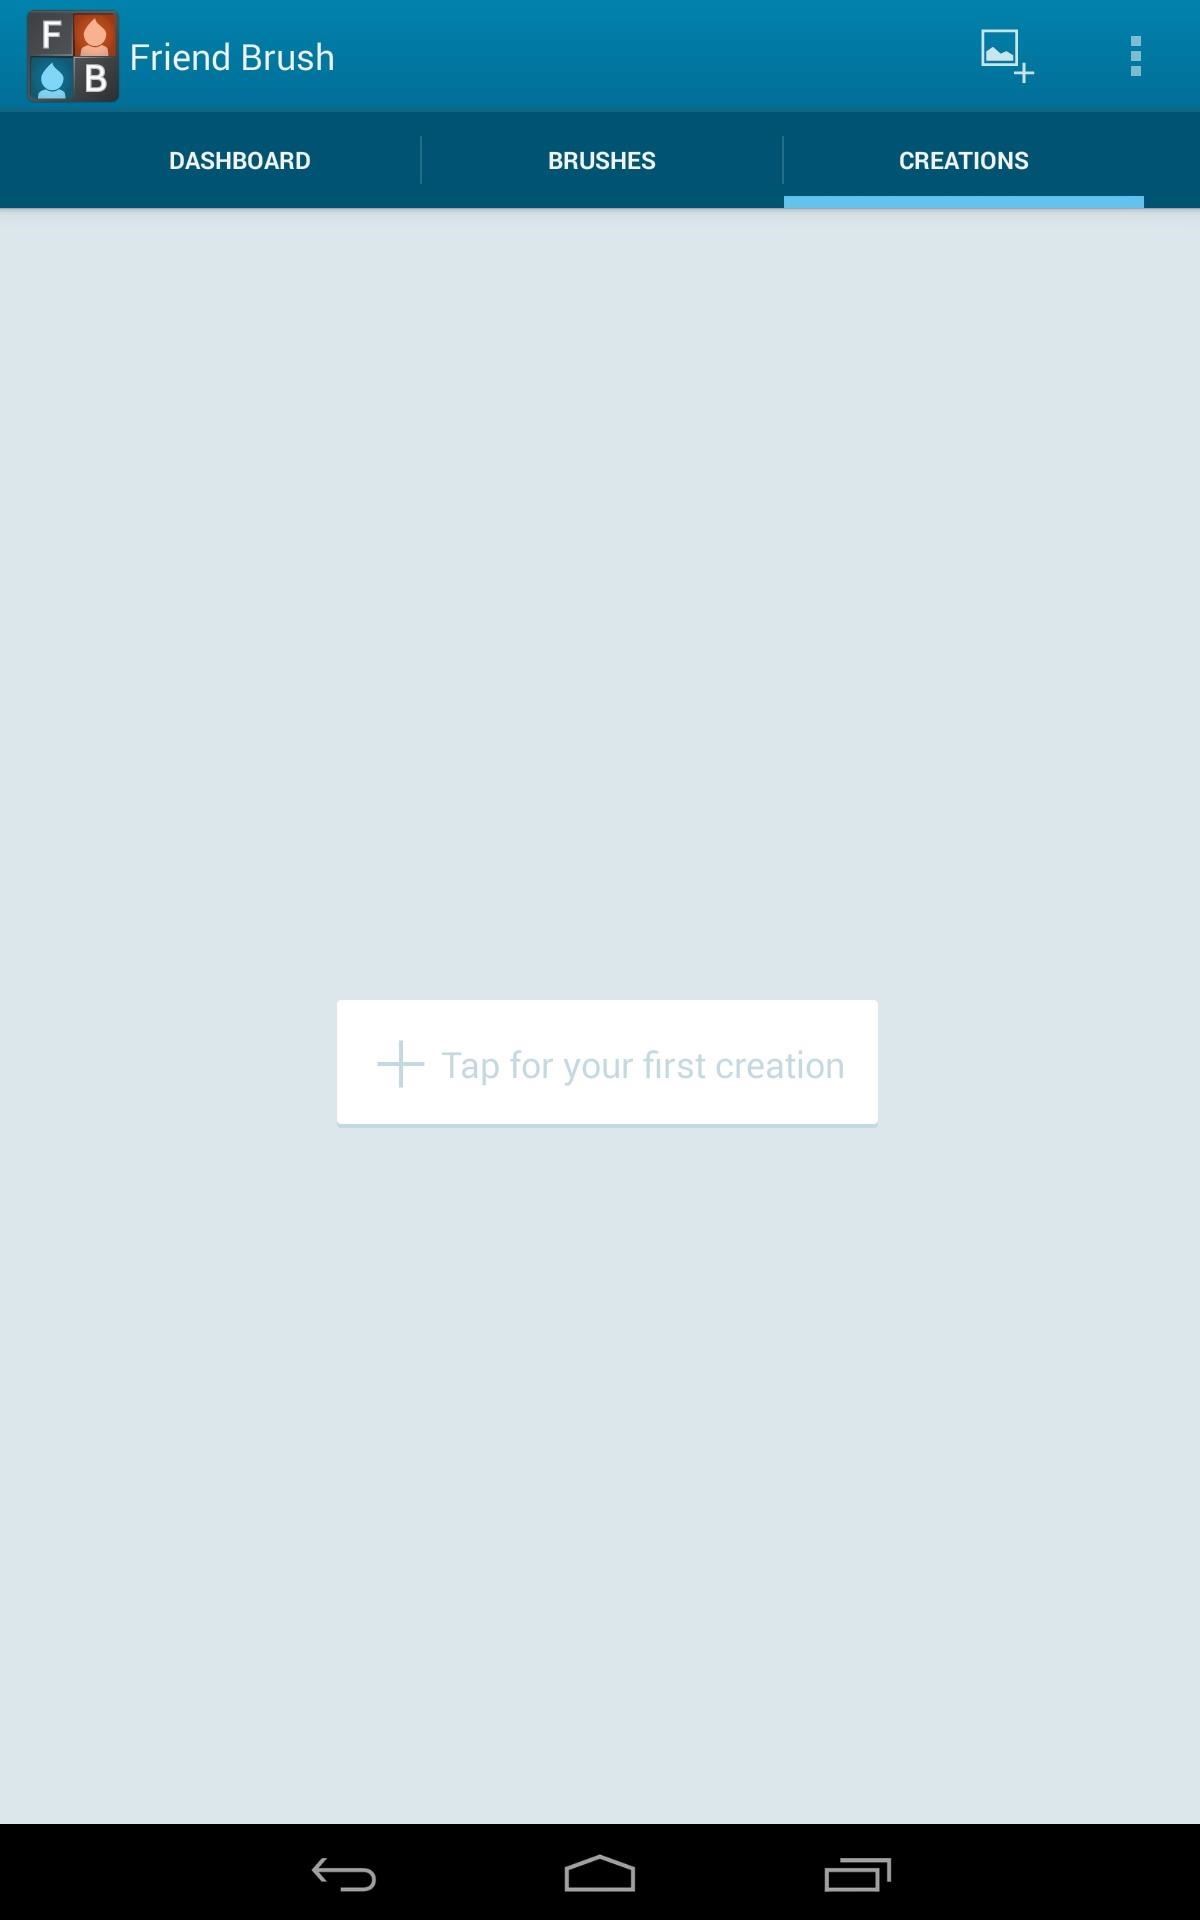
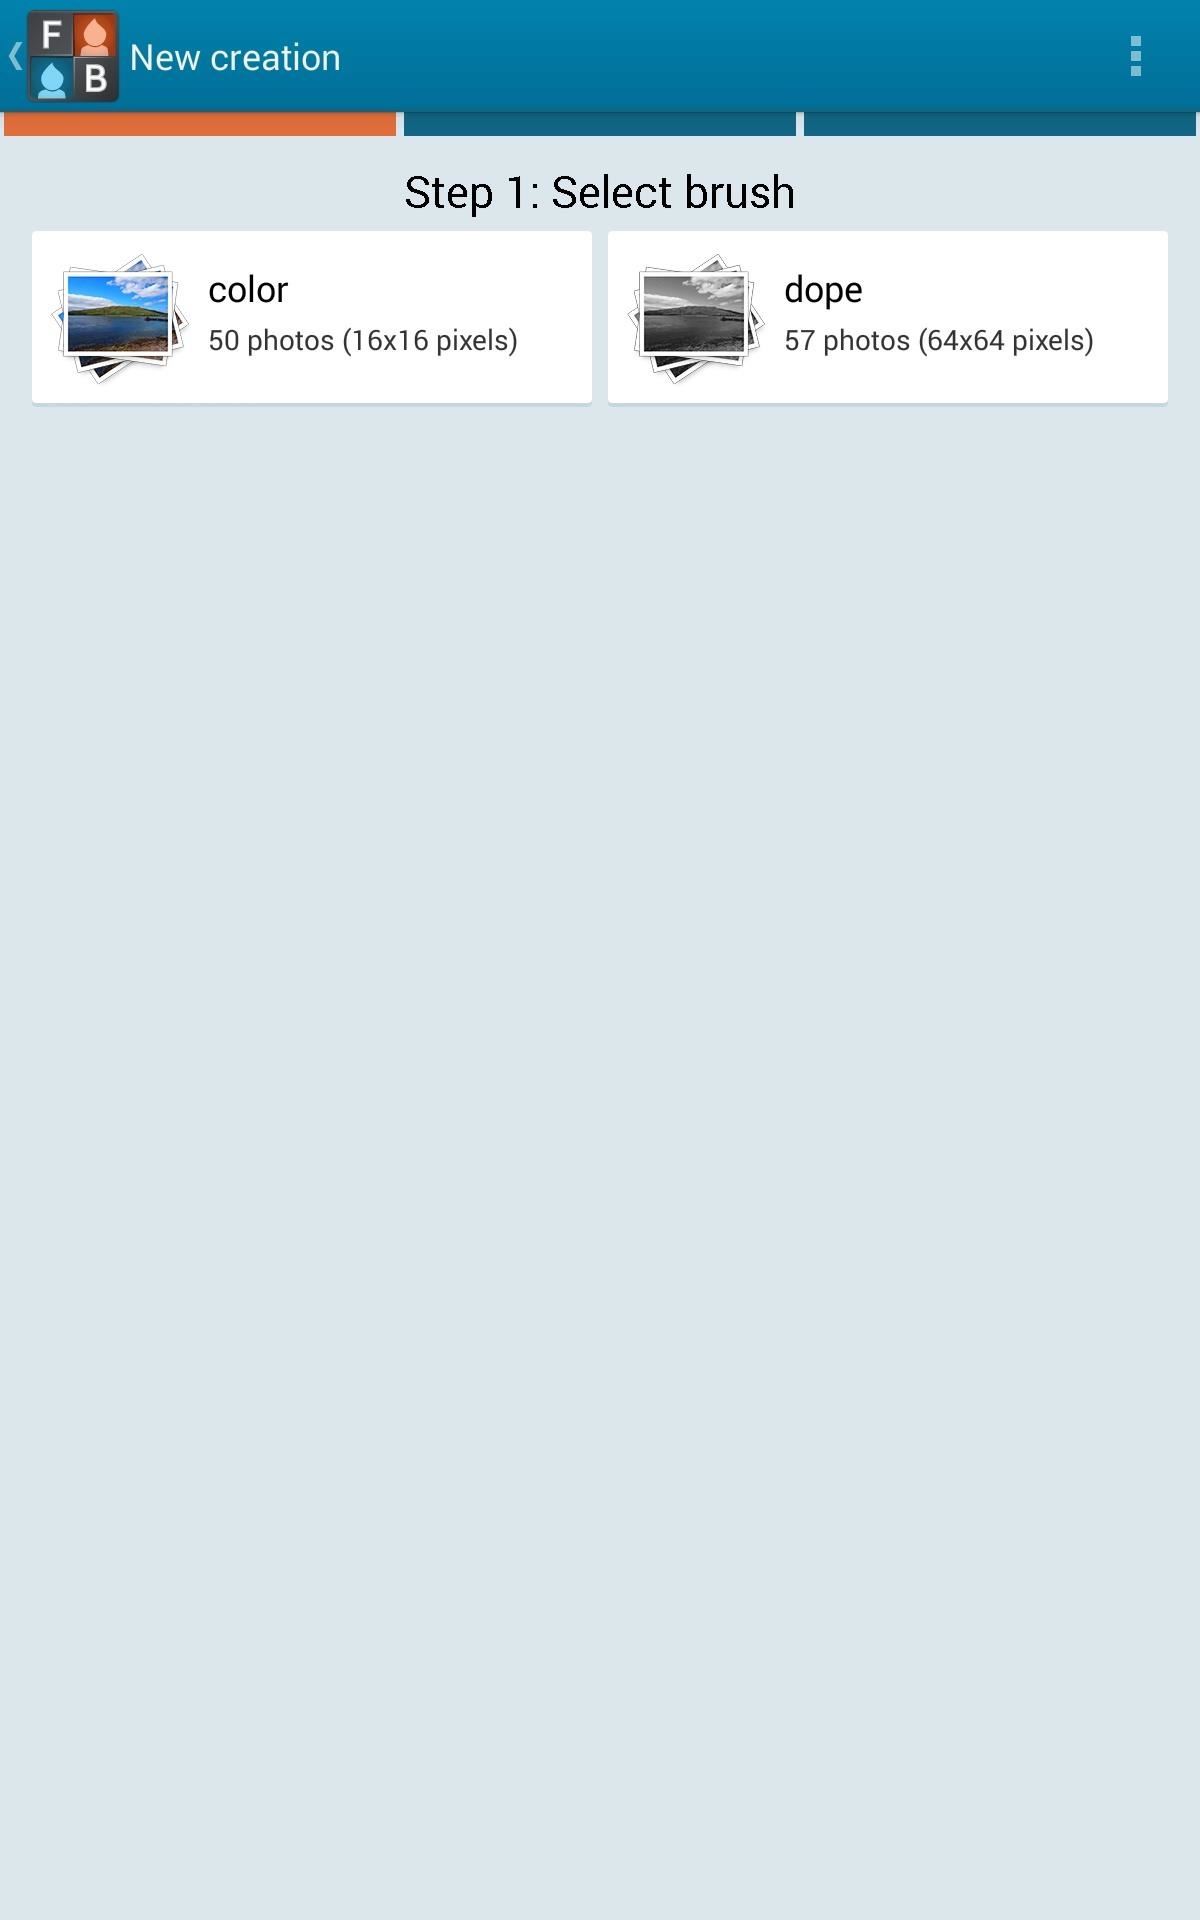
Tap on the Creation tab, select Tap for your first creation (or hit the Picture+ icon up top), then tap a Brush to apply. Alternatively, you can just tap on one of your brushes directly from the Brushes menu to start a creation.
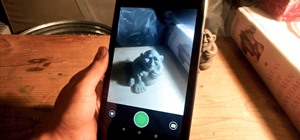
Next, you'll be able to choose the target image you want mosaicked, or take a new one by tapping on the Camera icon. After your image is selected, the process will take only a few seconds to produce your creation.
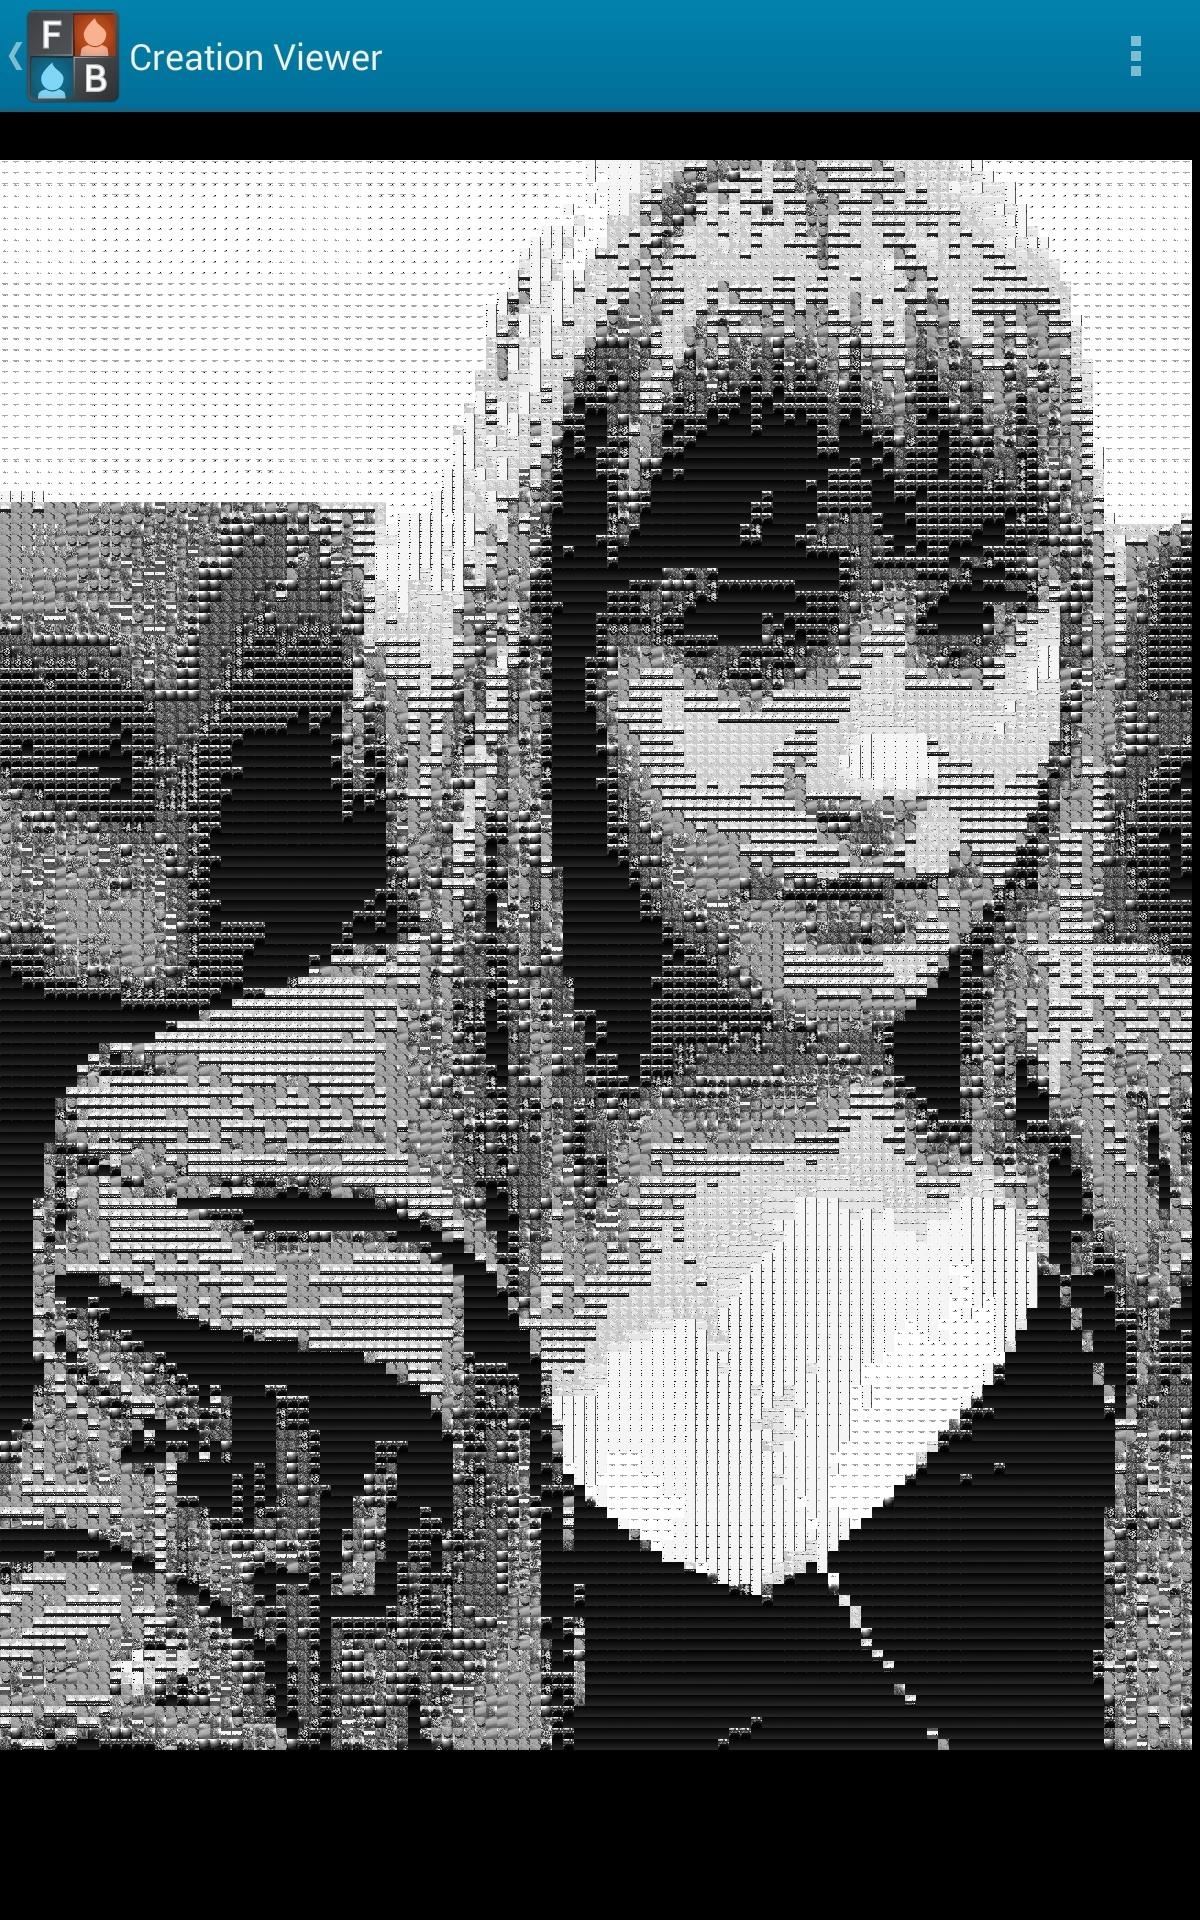
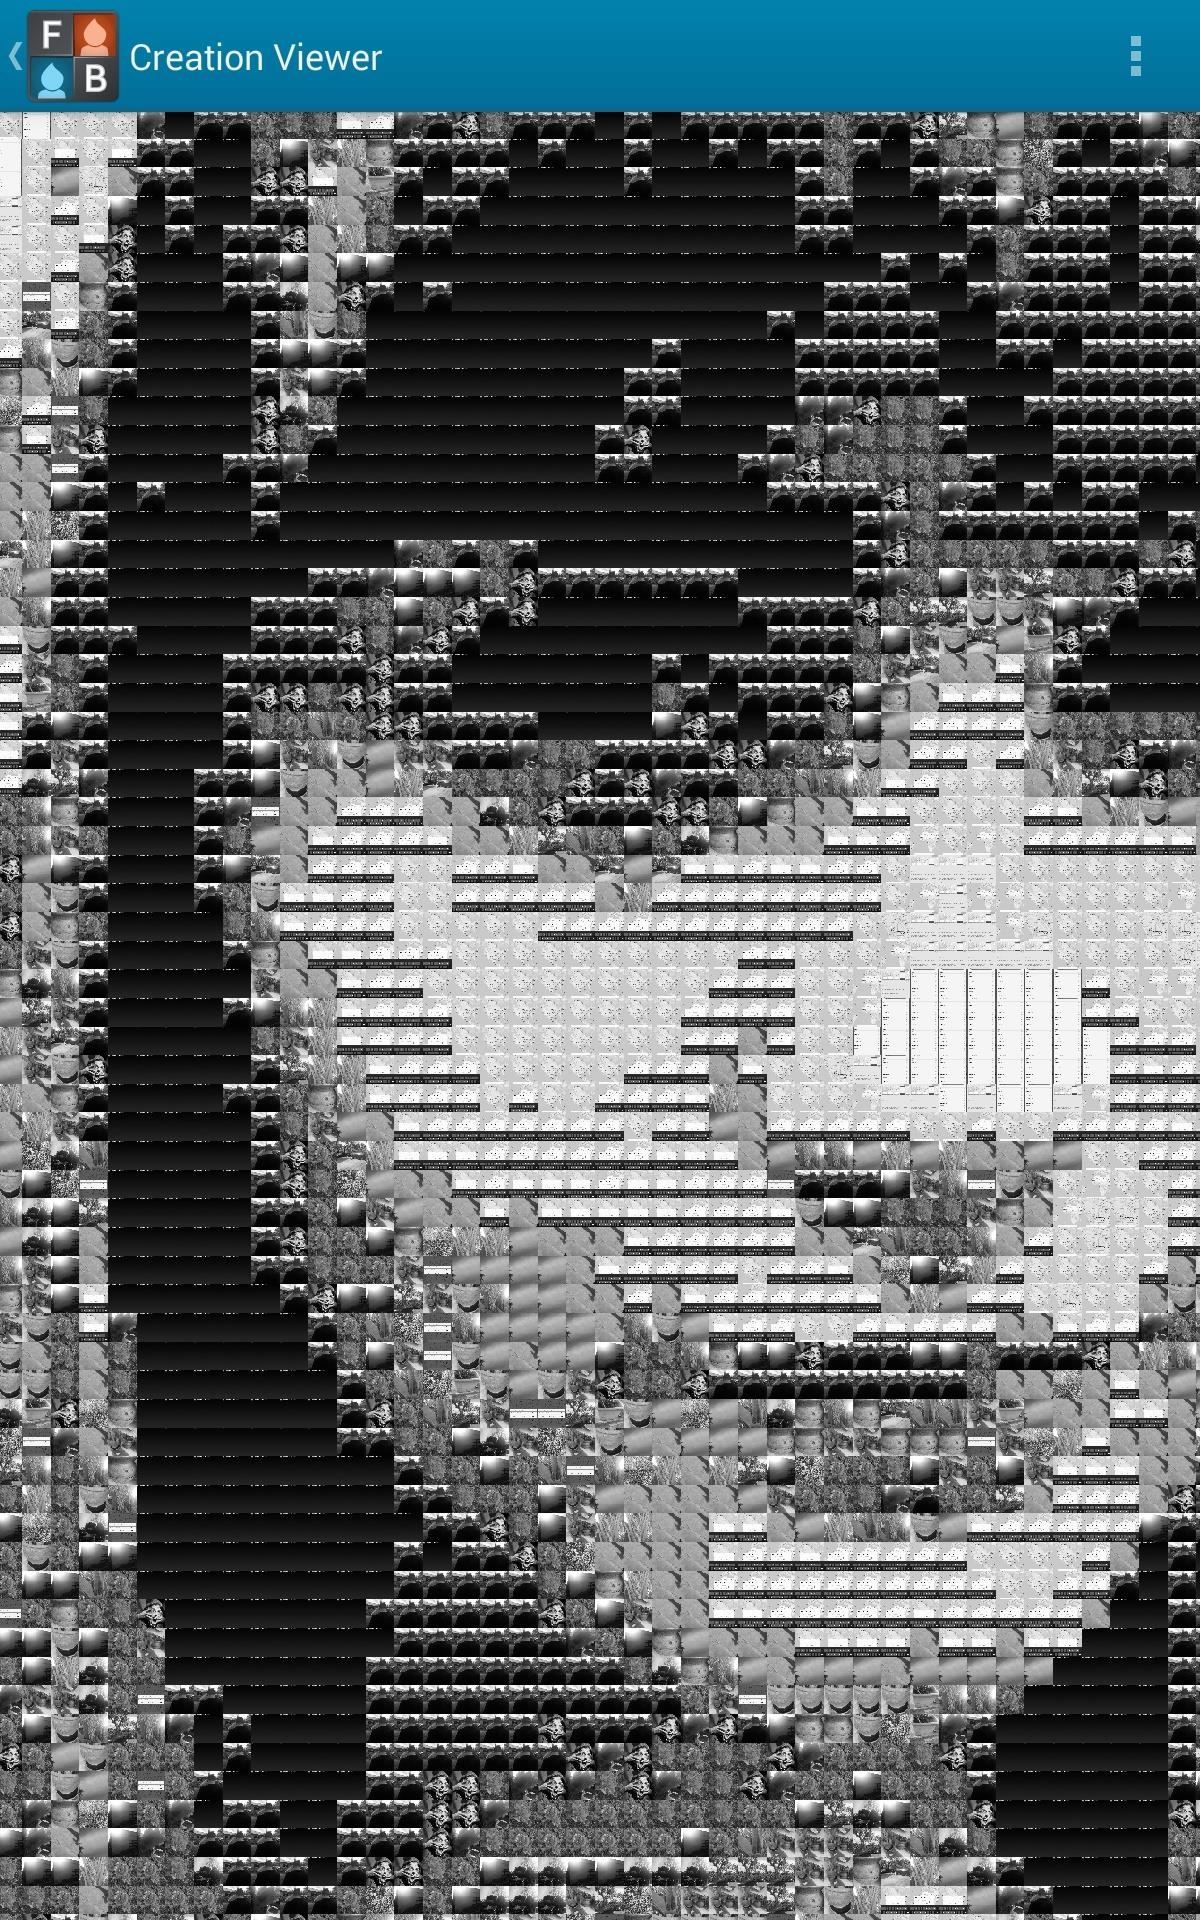
Step 4: View & Save Your Artwork
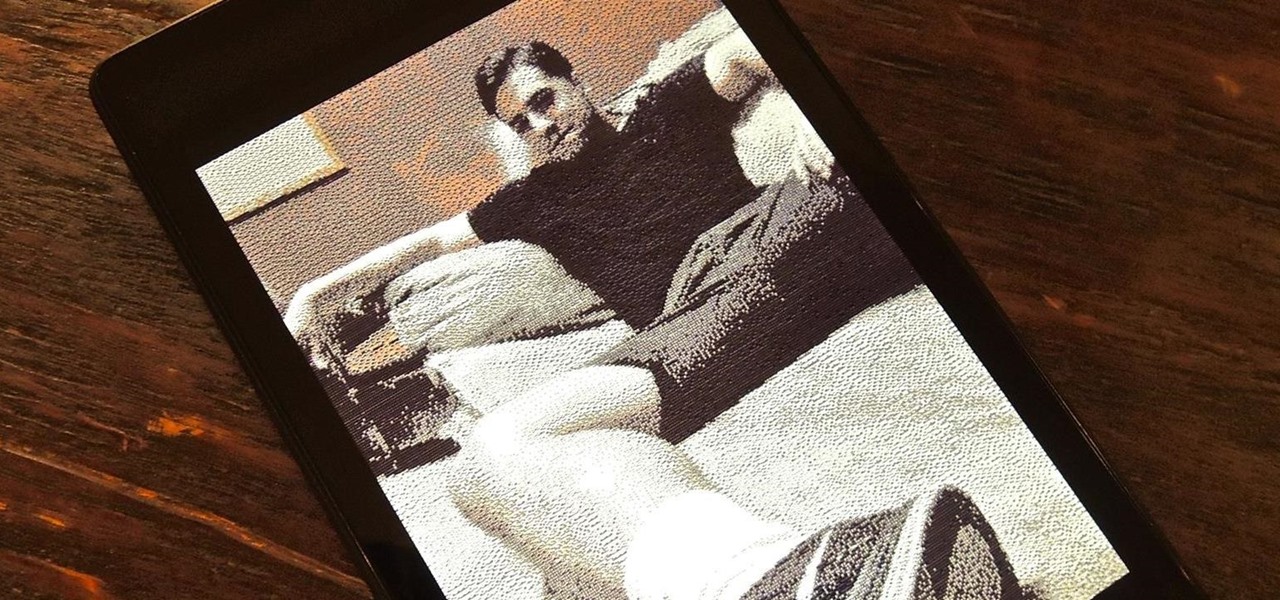
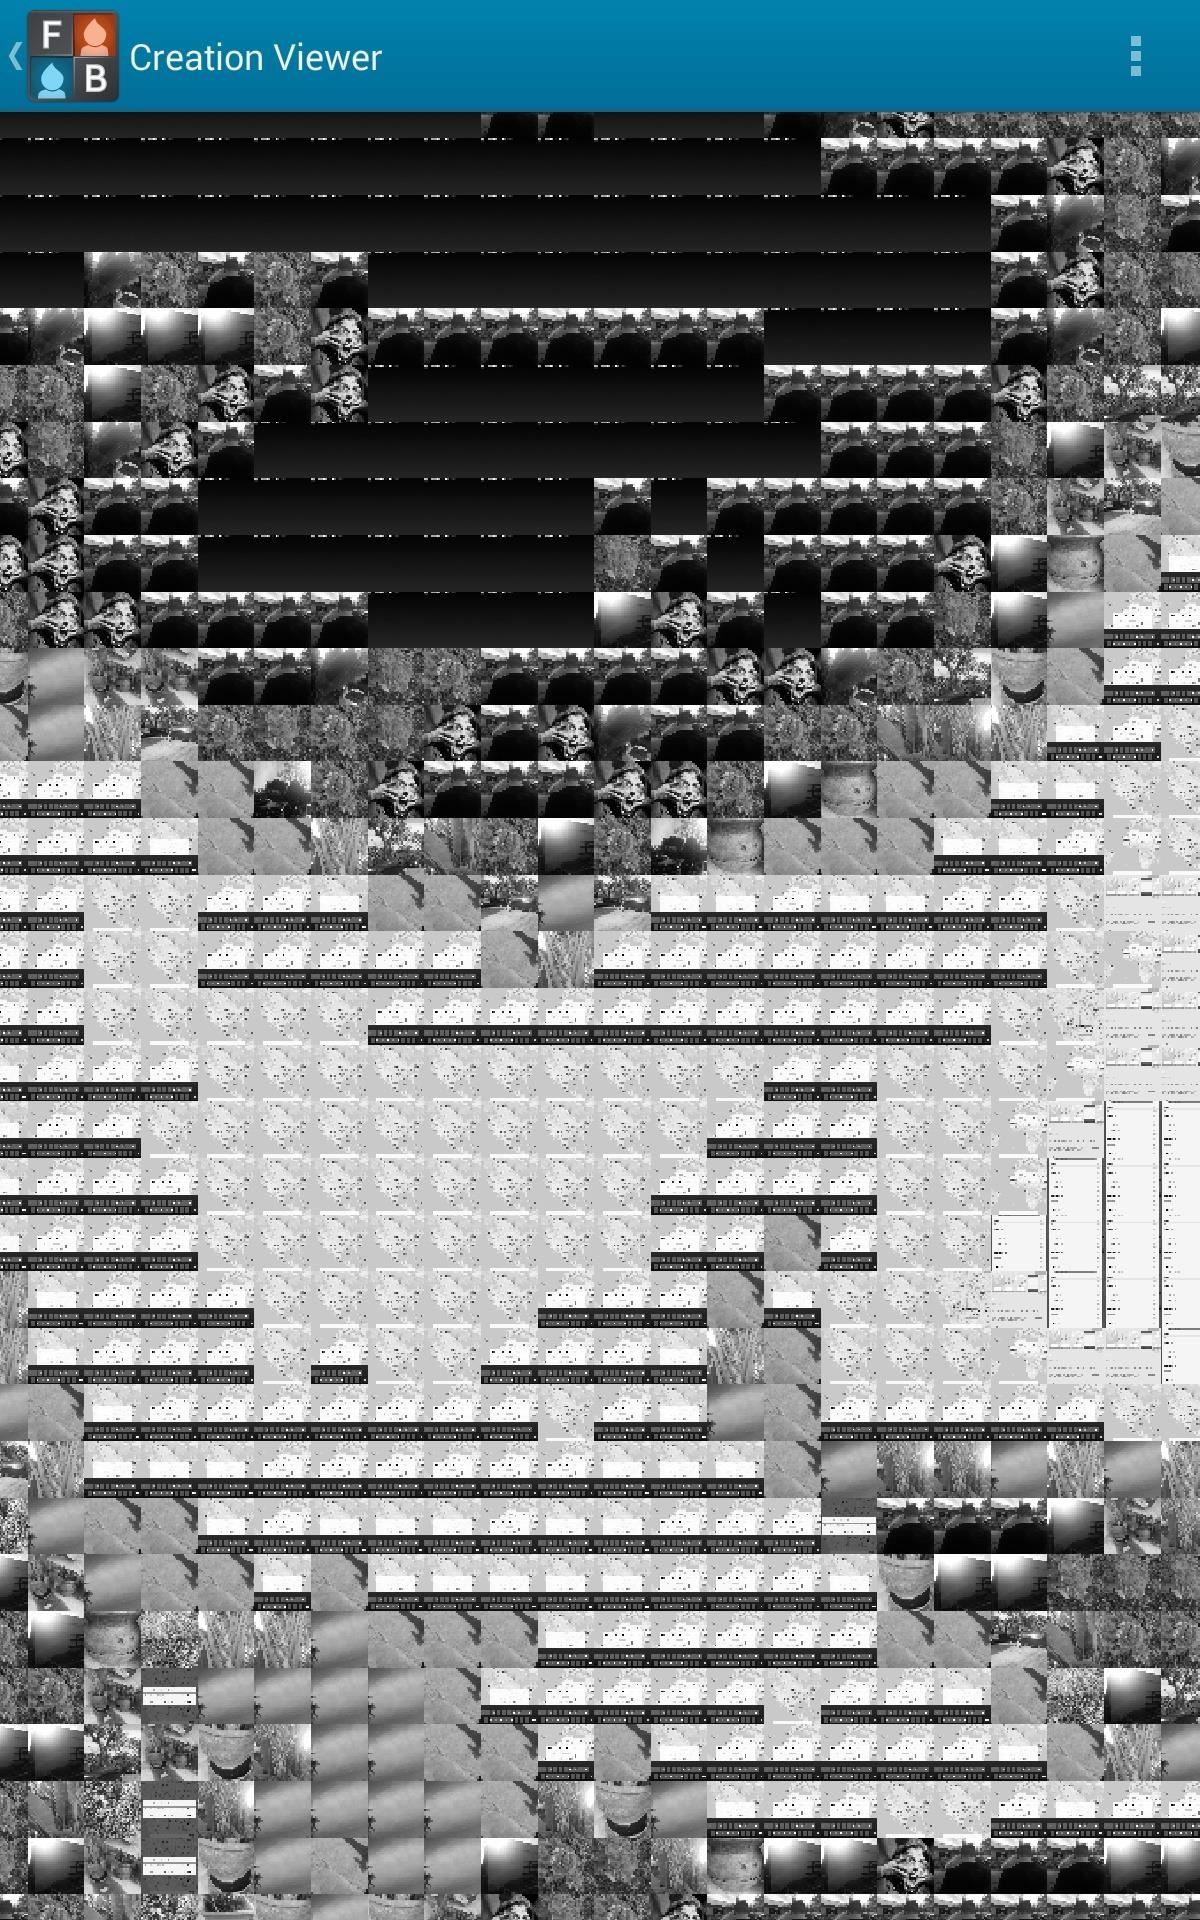
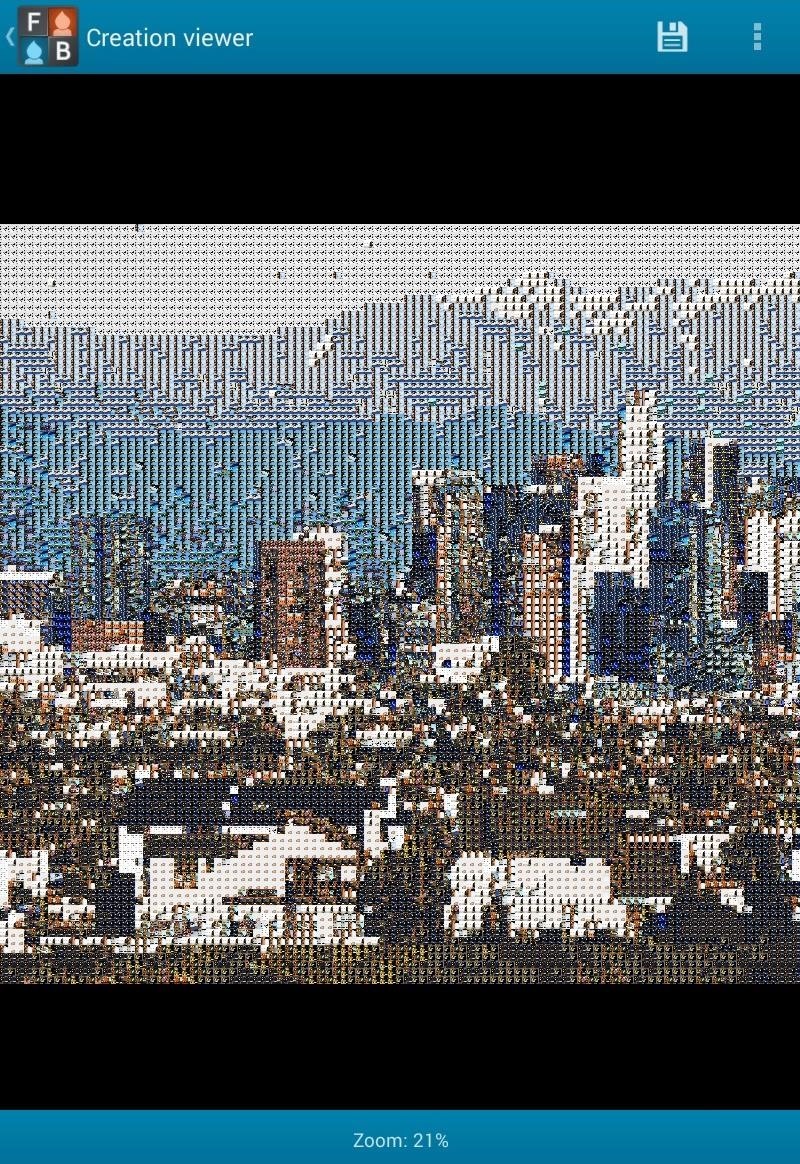
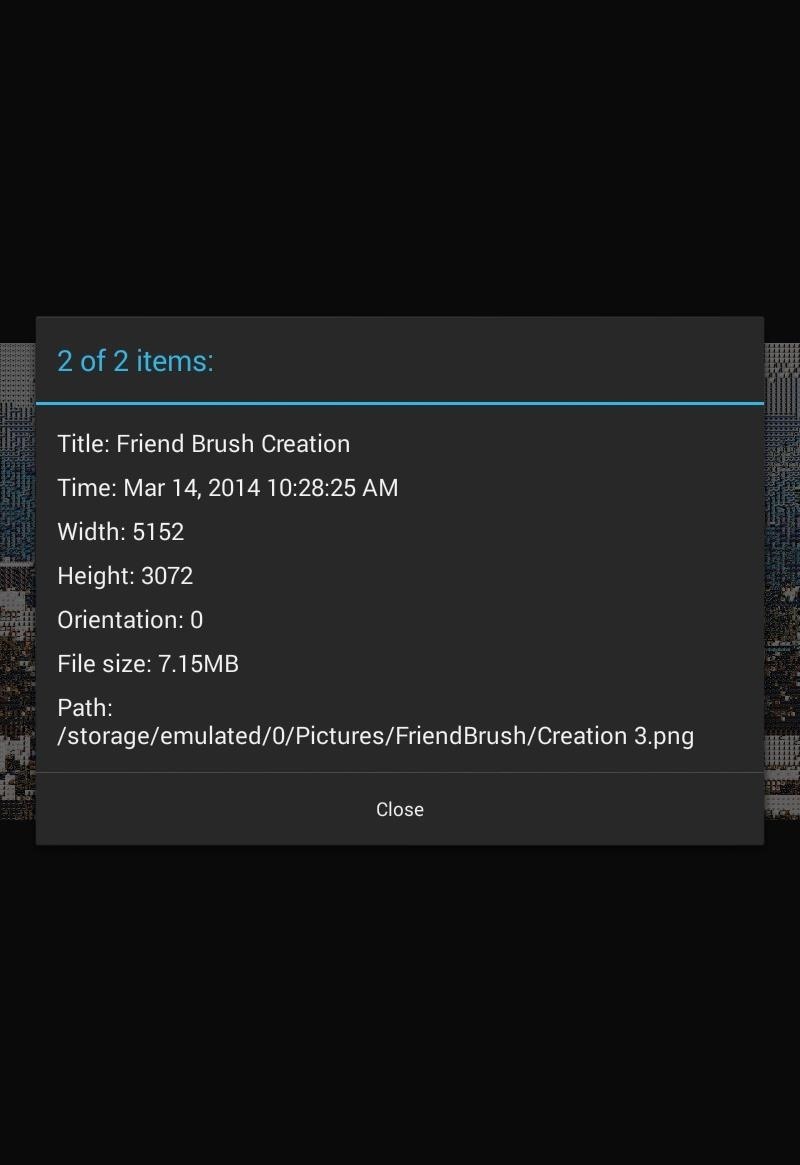
After it's all done, tap on the finished product and zoom in to see what exactly made up your mosaic. The ability to zoom in seems to be the coolest feature, in my opinion.
If you're satisfied with your creation, you can tap the save button on the top right to save the image to your stock gallery. Be aware that these will take more room than a standard picture, and in some cases will be too large to view in your stock gallery, though they'll still be saved on your local storage.

Within the stock gallery, you can share to any number of apps (Facebook, Instagram, Twitter, etc.) as well as zoom in, which I think works a little smoother than within the Photo Brush app itself.
How Does Friend Brush Compare?
We previously covered ZaBa Photo Mosaic on Galaxy Note devices, which does the same exact thing as Friend Brush, only Friend Brush is slightly better overall.
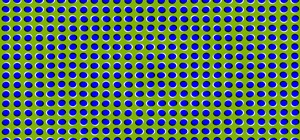
The mosaics pictured below were both created with default settings, and it's pretty easy to tell which one is better (Friend Brush on the right).
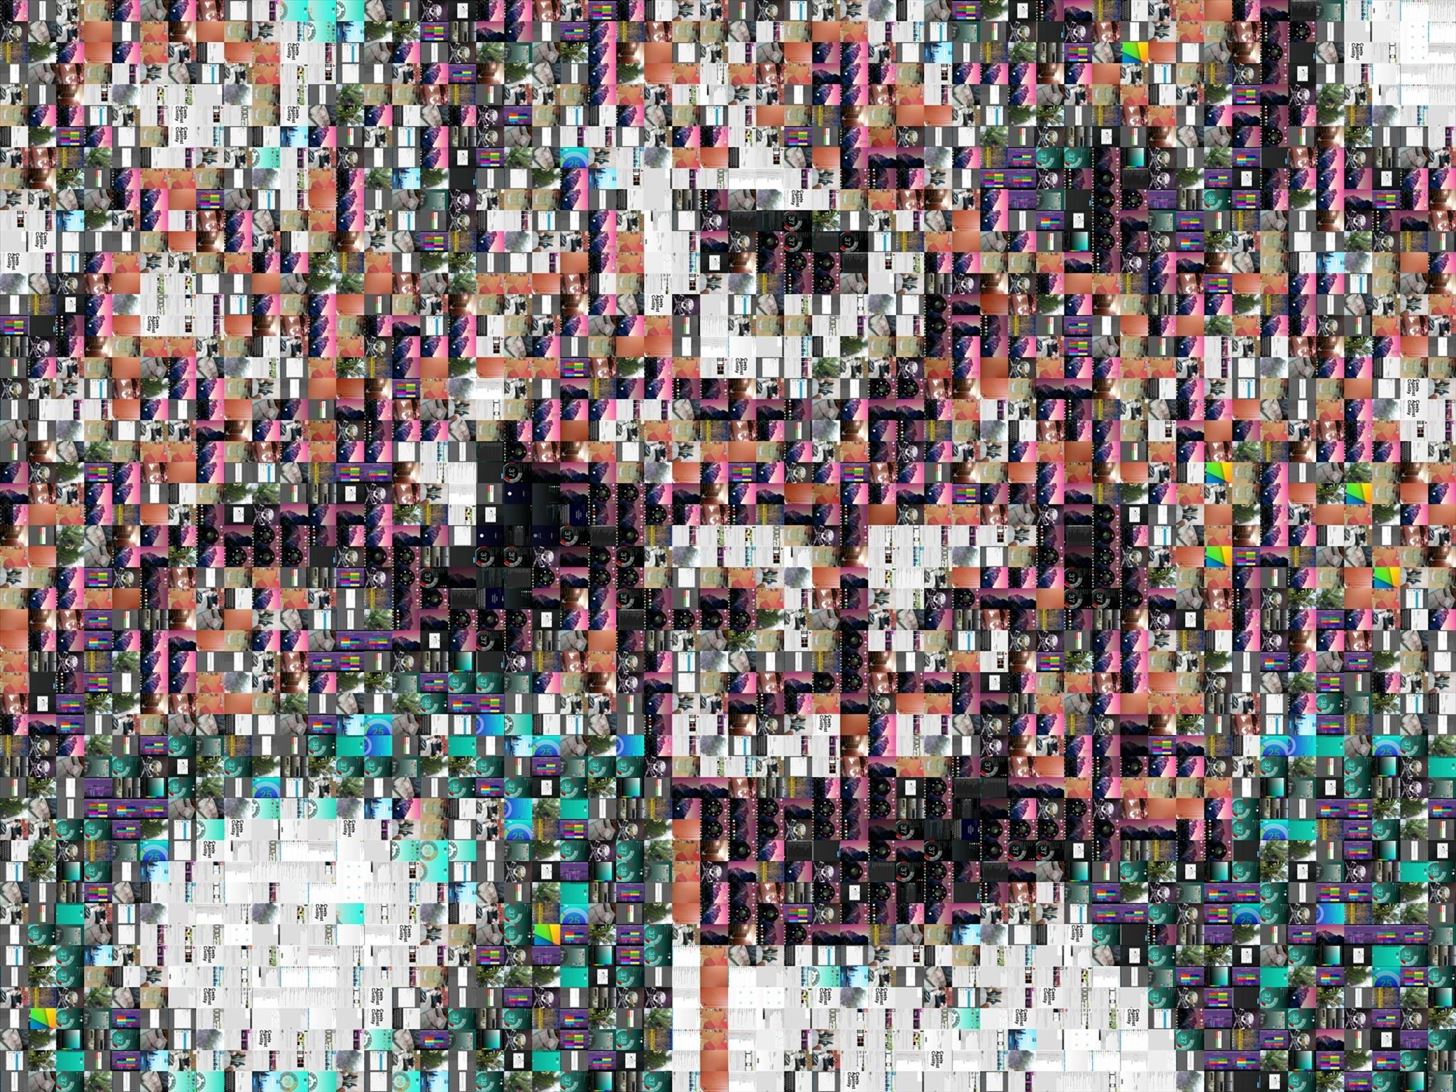
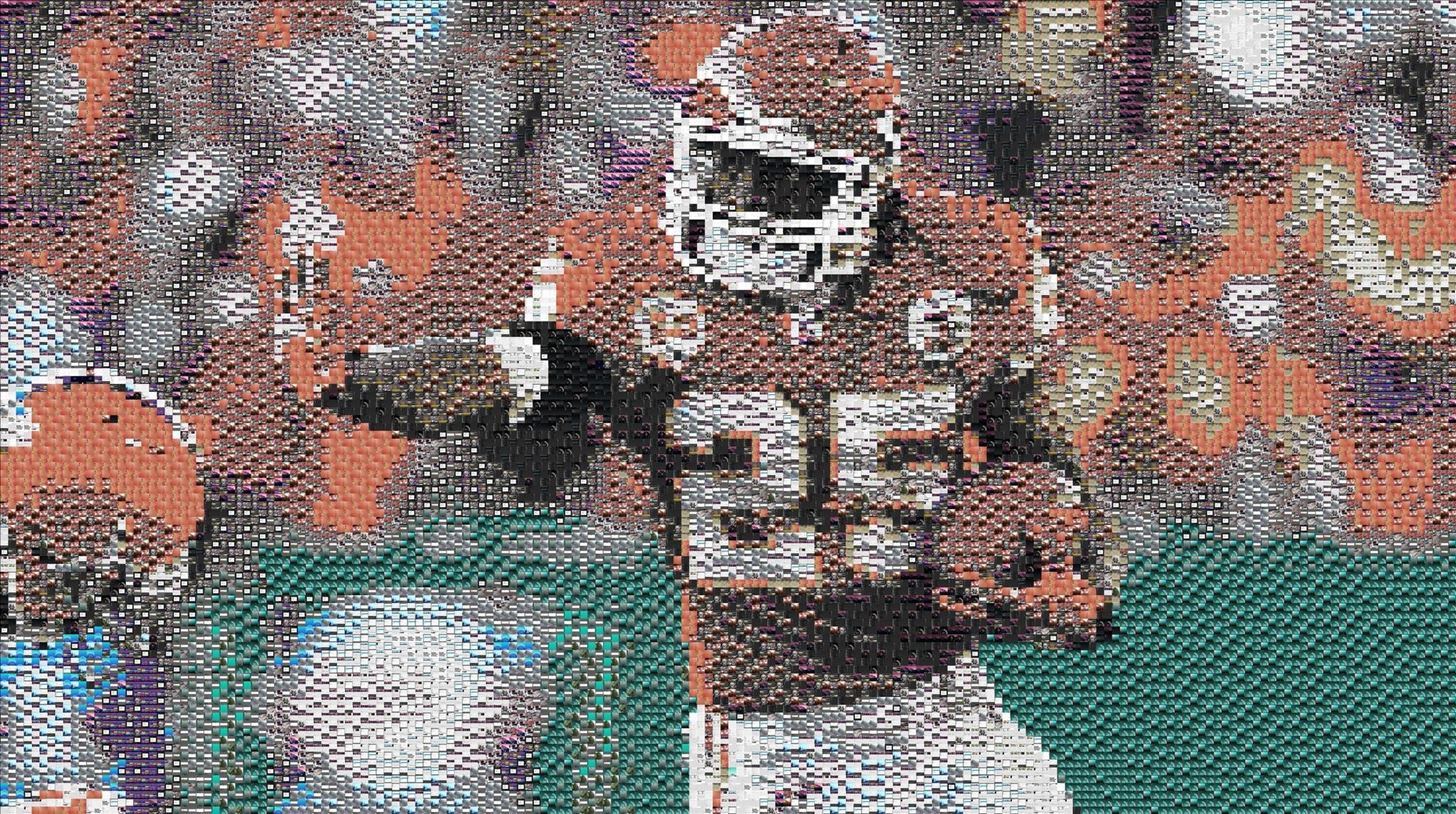
Getting the results you want is easier on Friend Brush, along with the cool zooming-in feature, although the interface for ZaBa was much more user-friendly.
Just updated your iPhone? You'll find new emoji, enhanced security, podcast transcripts, Apple Cash virtual numbers, and other useful features. There are even new additions hidden within Safari. Find out what's new and changed on your iPhone with the iOS 17.4 update.


Be the First to Comment
Share Your Thoughts