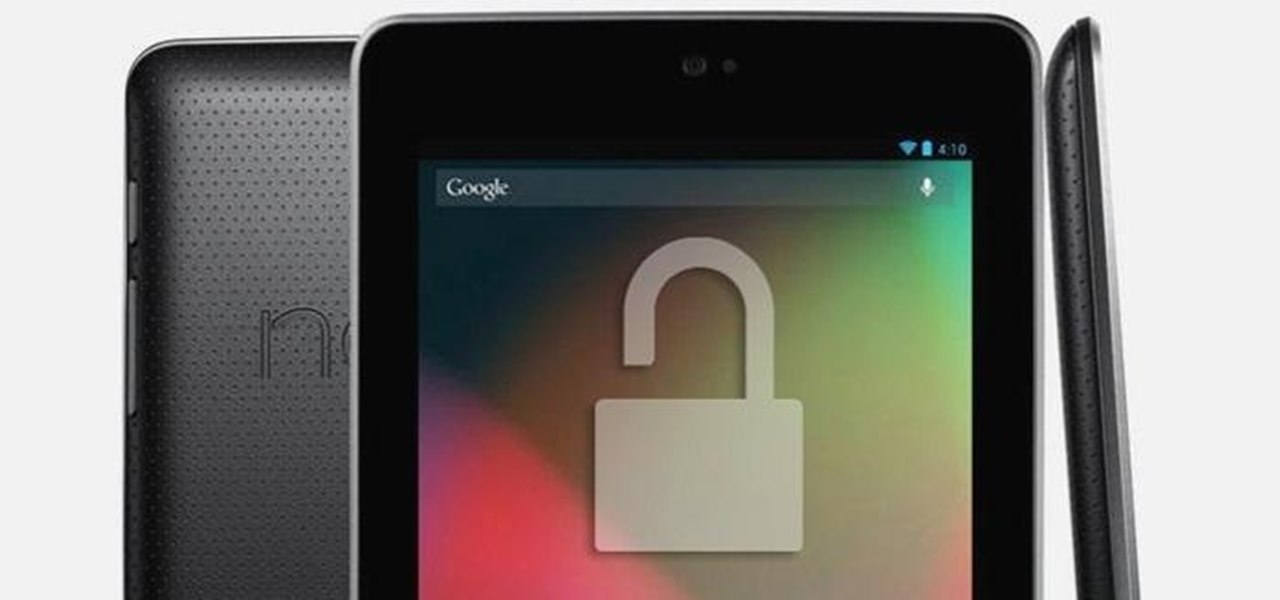

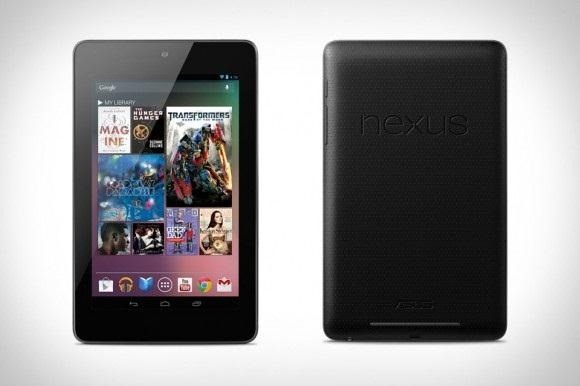
Google's Nexus 7 tablet has just been released, and for only $199, it seems like a great deal. Now, some of you are probably immediately thinking that you're going to want to root this thing as soon as possible to install all of your tweaks. Luckily, some clever hackers have already developed a fairly automated solution to rooting the device. Here's how it works.
A word of caution however, rooting your tablet will very much void the warranty and there's no 100% guarantee that this procedure will work, so proceed at your own risk!
Step 1: Back Up All of Your Data
Save your contacts, SMS, MMS, settings, and anything else you'd like to keep to an external device. The data on your device will most likely be erased.
Step 2: Prepare the Settings
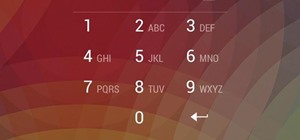
Note your tablet's model by going to Settings --> About Tablet --> Build Number. Write this down, you will need it later.
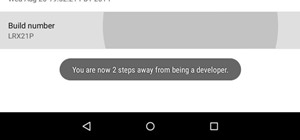
Then, go back to Settings and slide the Developer Options to On. Also check the box next to USB debugging.
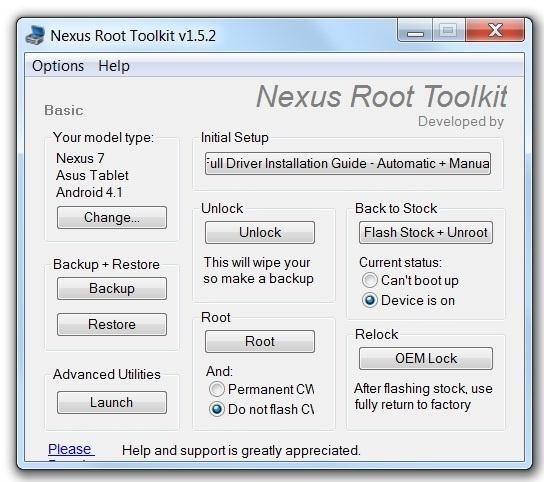
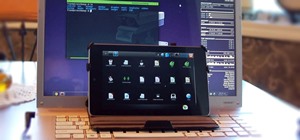
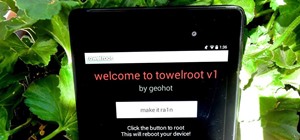
Step 3: Nexus 7 Toolkit
Find and download the Nexus 7 Toolkit. It's currently available right here. Once you've downloaded it, launch it on a Windows PC (make sure you run it as an administrator), then connect your Nexus 7 tablet via USB.
Step 4: Install the Drivers
In the Nexus 7 Toolkit application, press the Change button and choose the model of your tablet.
Then click on Full Driver Installation Guide – Automatic + Manual. Follow the steps given in the program, this may take several tries, but be absolutely sure not to unplug the device before it is successful.
Step 5: Unlock the Bootloader
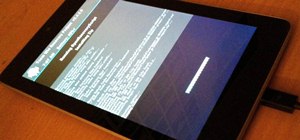
Select the Unlock button and confirm that you want to unlock the bootloader. Wait until your tablet automatically restarts into Bootloader Mode. When asked if you want to "Unlock Bootloader," press your tablet's power button. It should then reboot again.
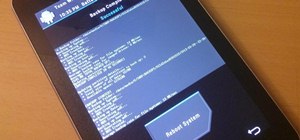
Step 6: Root the Tablet
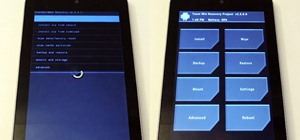
If you want to install custom recovery software, do so now. If you want to use Clockwork Recovery, select Permanent CWM below the Root option; if you wish to install Team Win Recovery Project, choose Do Not Flash CWM. Do some research on both options and decide which you would prefer.
Now you can select the Root button to begin the next stage of the process. Your tablet should automatically reboot. Once it has, wait until the Nexus 7 Toolkit prompts you to check for Super User and install Busybox. If your tablet reboots itself, wait until the program finishes installing the rooting files. Then you can unplug the tablet, launch the Superuser application to update the binaries, and launch BusyBox to grant root access.
If you'd like to see this process in video form, here's a handy video by Brad Linder.
Just updated your iPhone? You'll find new emoji, enhanced security, podcast transcripts, Apple Cash virtual numbers, and other useful features. There are even new additions hidden within Safari. Find out what's new and changed on your iPhone with the iOS 17.4 update.


1 Comment
This is just what i've been searching for. An easy step by step instrution that even i can make sense of thanks a lot
Share Your Thoughts