There are two types of tablet users in the world—those who like their quick settings up top, and those who want them on the bottom. I fall into the latter category, and there are a couple of reasons for it.
The first is because the Nexus 7 has both notification and quick settings pull-downs up at the top. There isn't a huge degree of separation there, which leads to accidentally swiping one down over the other.
The second reason is simply for easier one-handed operation. My thumb can do a lot of the dirty work, but right now it feels absolutely useless because it can't reach the notifications or quick settings.
This is one thing where I think Apple excels, because they keep their notifications up top and quick settings at the bottom. To that end, I'm going to show you how to add quick settings down at the bottom of your Nexus 7, à la the Control Center in iOS 7. This mod won't replace the quick settings access up top, but will add (a better one) at the bottom.
Install iOS Control Center-QuickToggle
To get quick access settings for your thumbs, go ahead and install iOS Control Center-QuickToggle from ThinkYeah on Google Play. It may say "Designed for phones," but guess what? Your Nexus 7 uses a phone interface, so it's perfect for you.

For the sake of this article, I'll be consistently referring to this new bottom-dwelling quick access menu as "control center" to differentiate it from your normal "quick settings" menu up top.
Set Up the Control Center Options
Open the app and you'll have to set it up to work with your active launcher, then just tailor it the way you'd like.


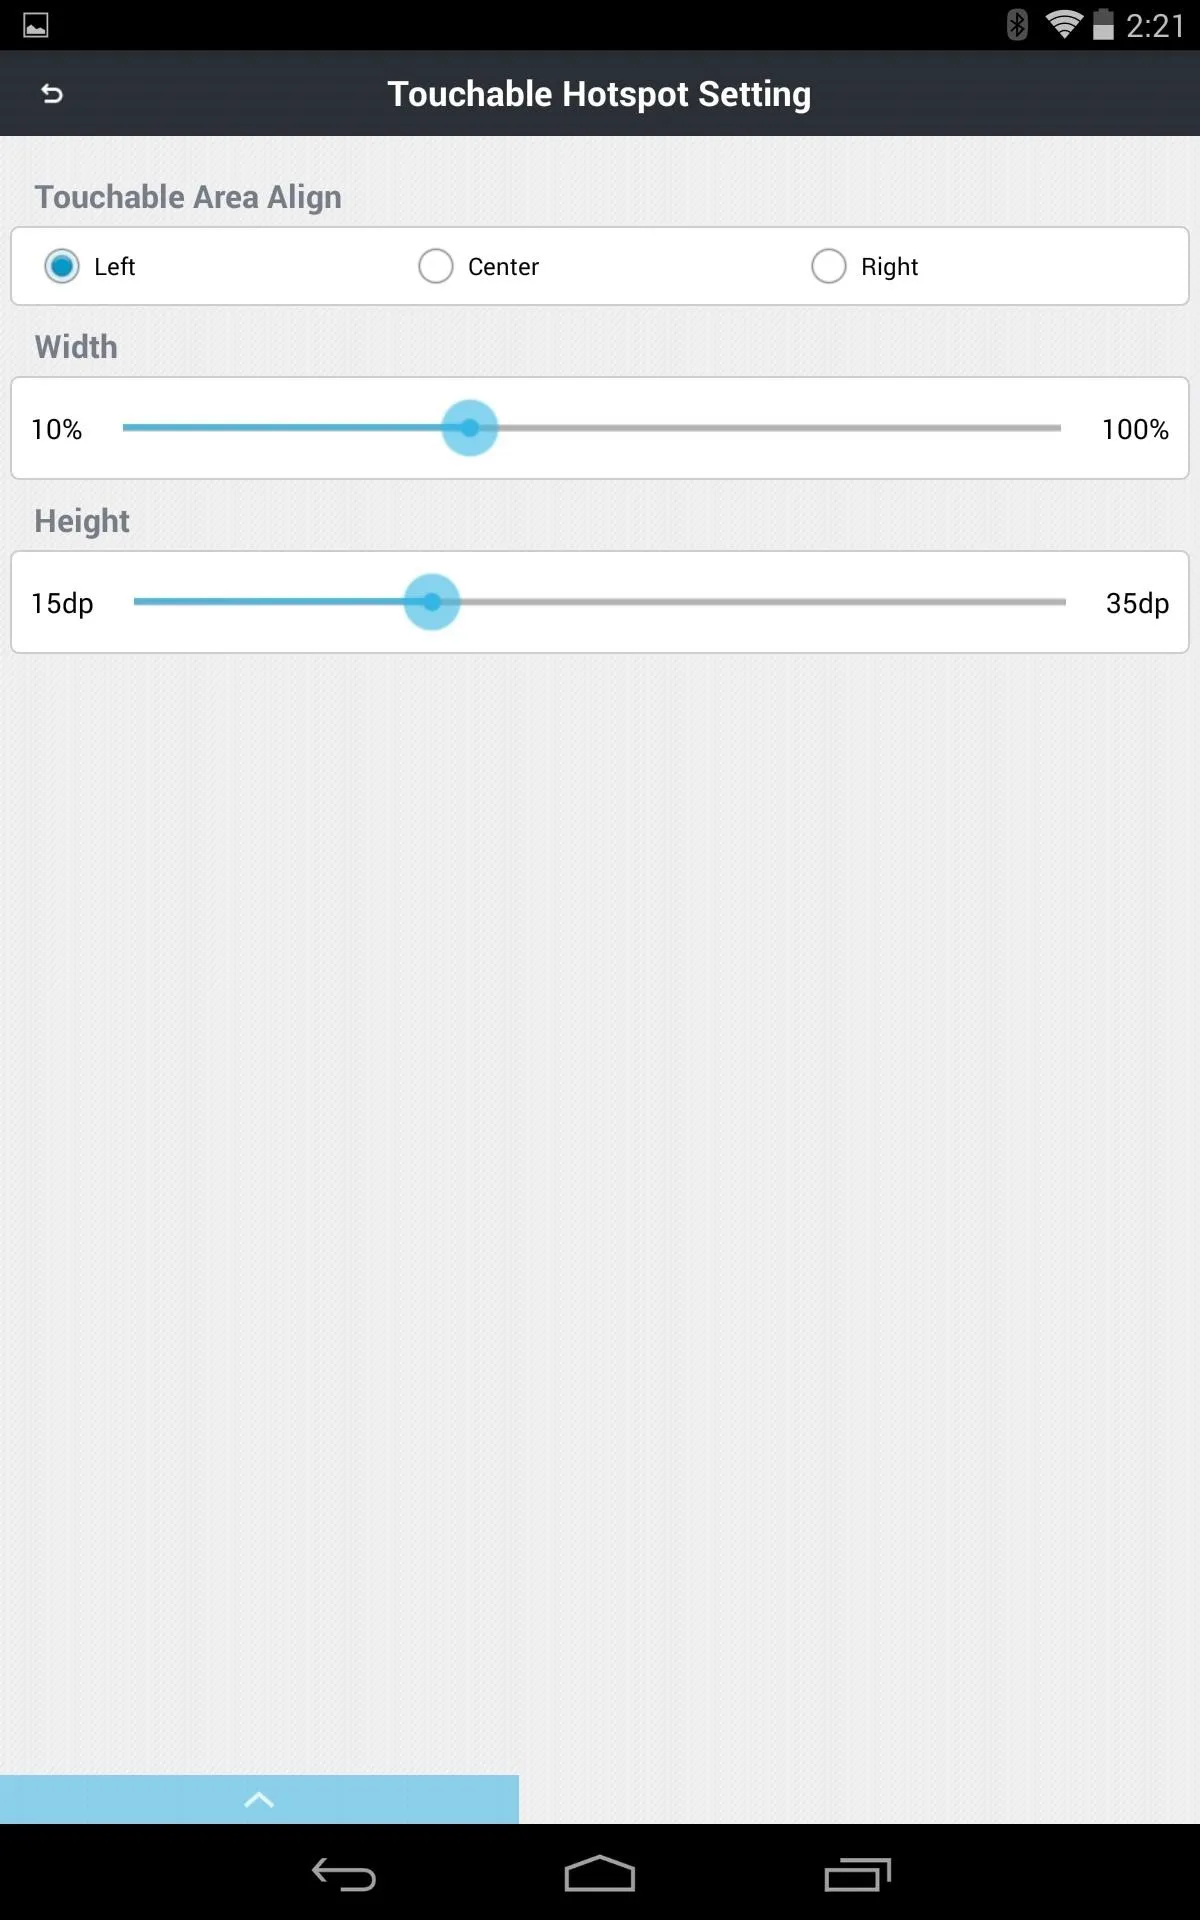
Hit Touchable Hotspot Settings to adjust where your hotspot is, as well as how sensitive and large the touchable area is.
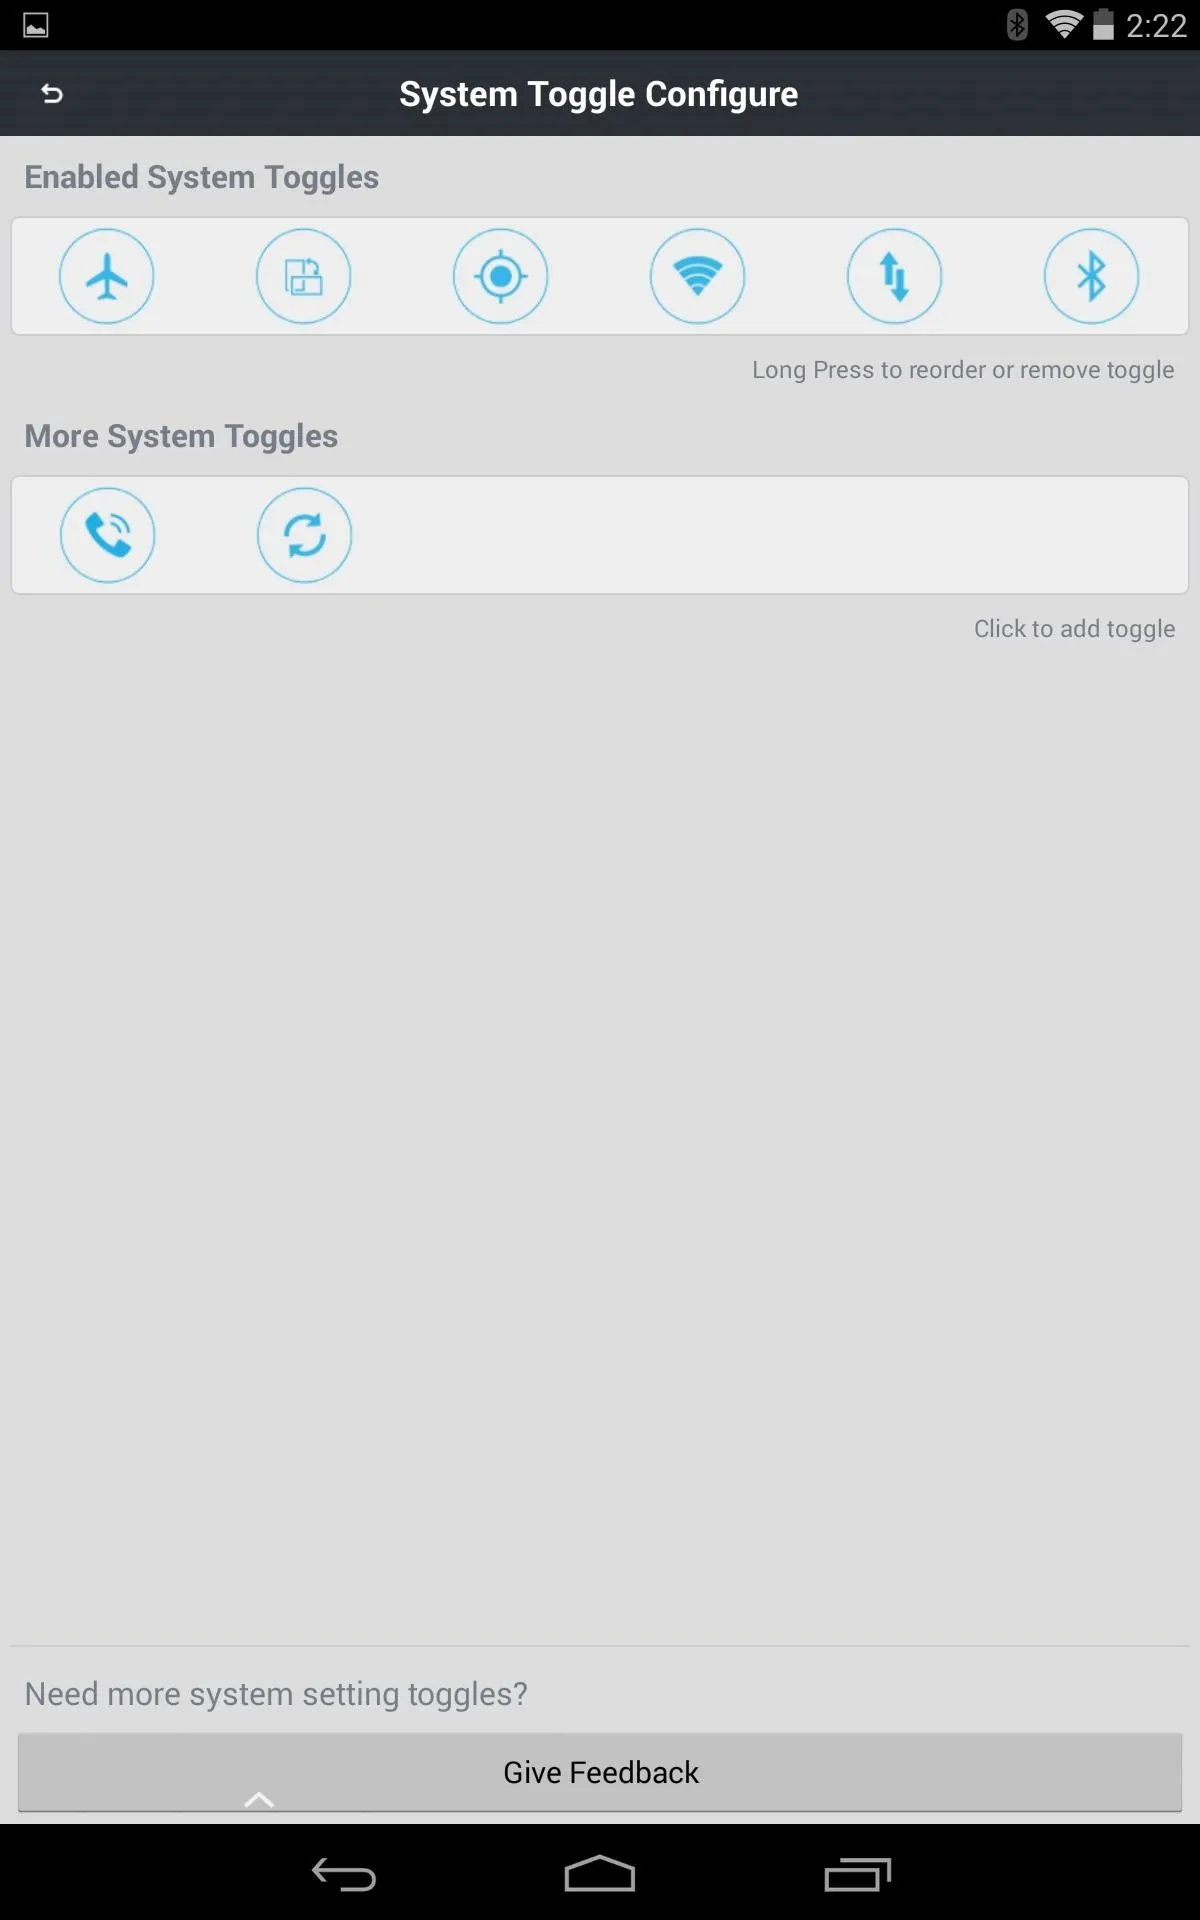
Tap on System Settings Toggles to select anywhere from six to eight toggles. Just tap and hold to add or remove from the active list, and reorder them anyway you want.


Use the Home Key to Launch the Control Center
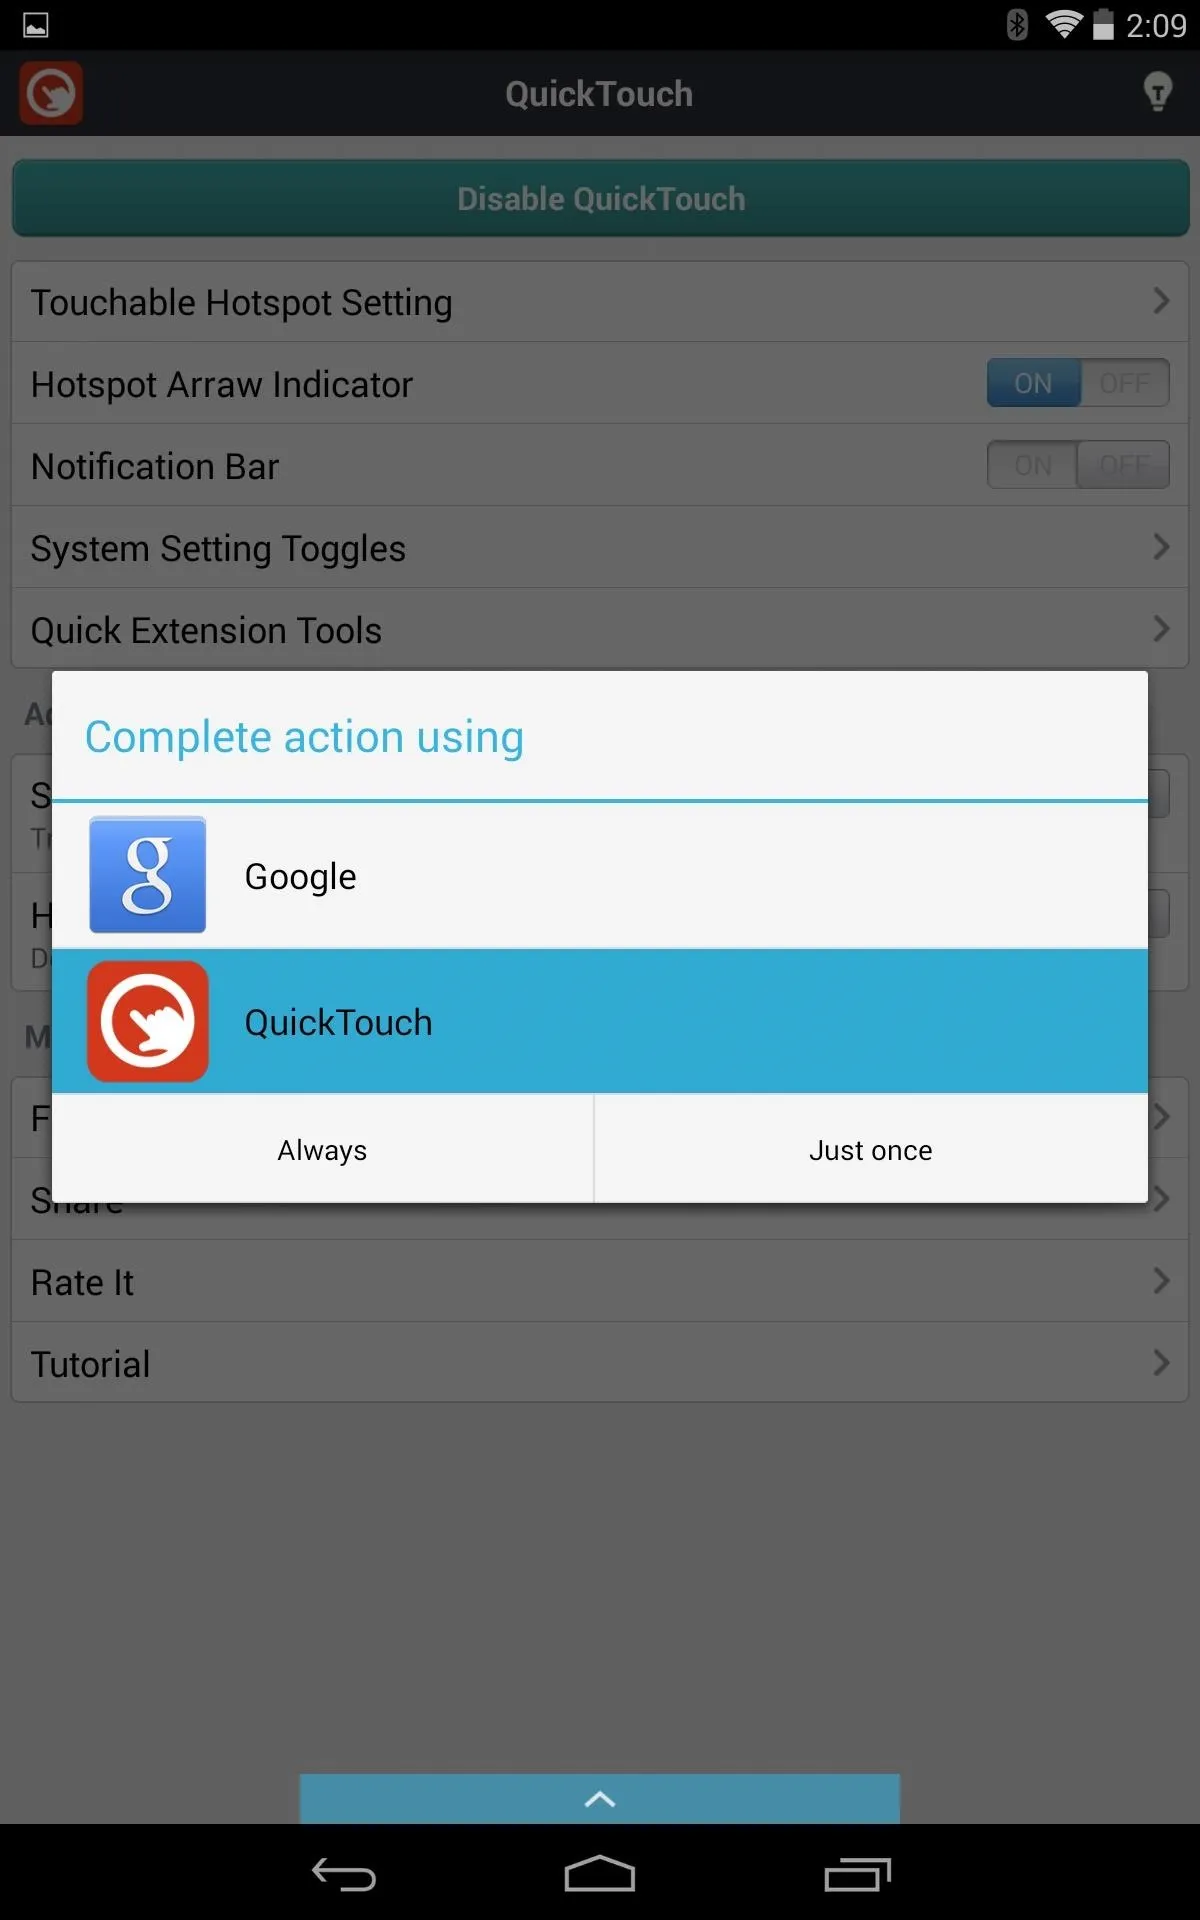
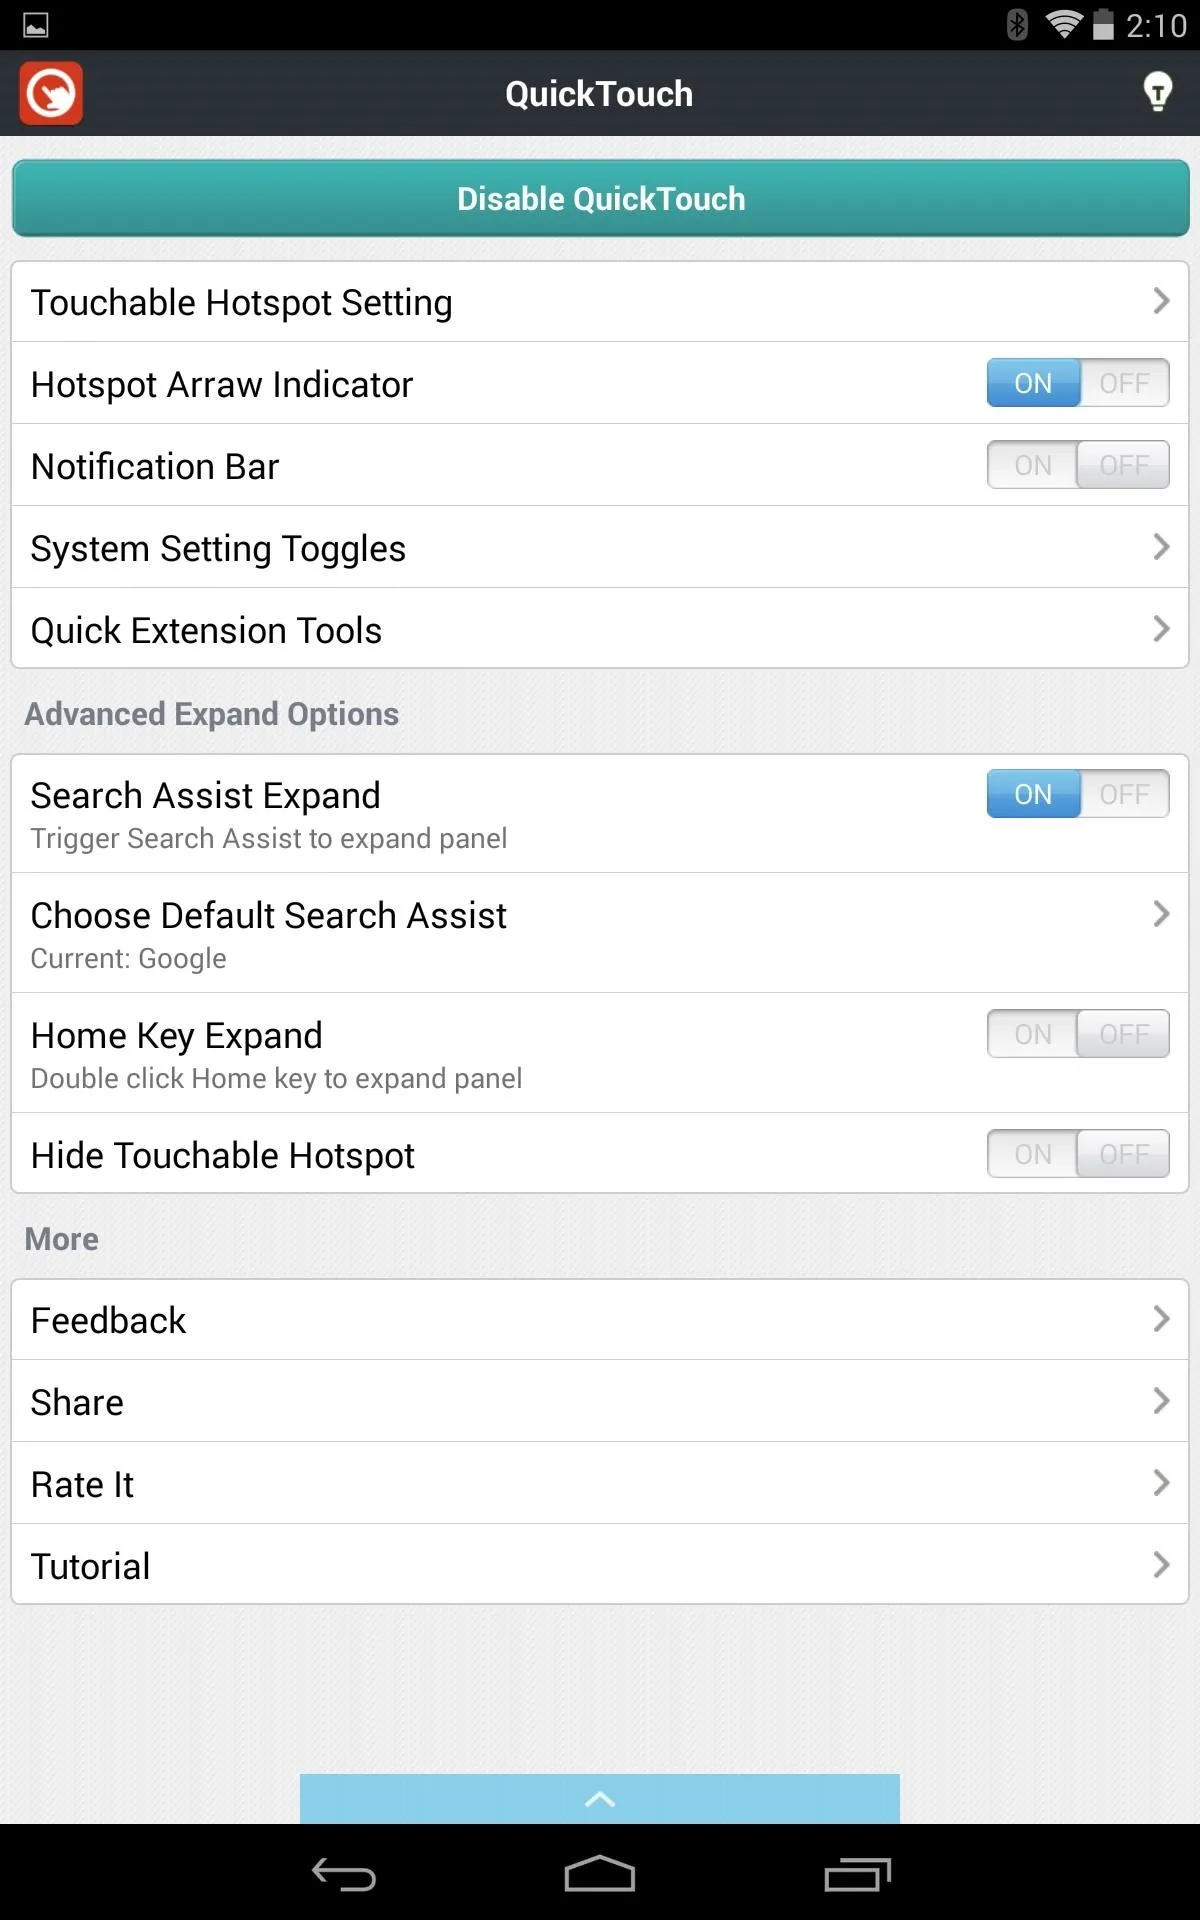
You can also enable Home Key Expand, which will allow you to double-press the Home key in order to bring up the control center. When you toggle this setting on, you'll need to set QuickTouch as your main launcher, then hit the Choose Default Launcher option to set your "real" home launcher.
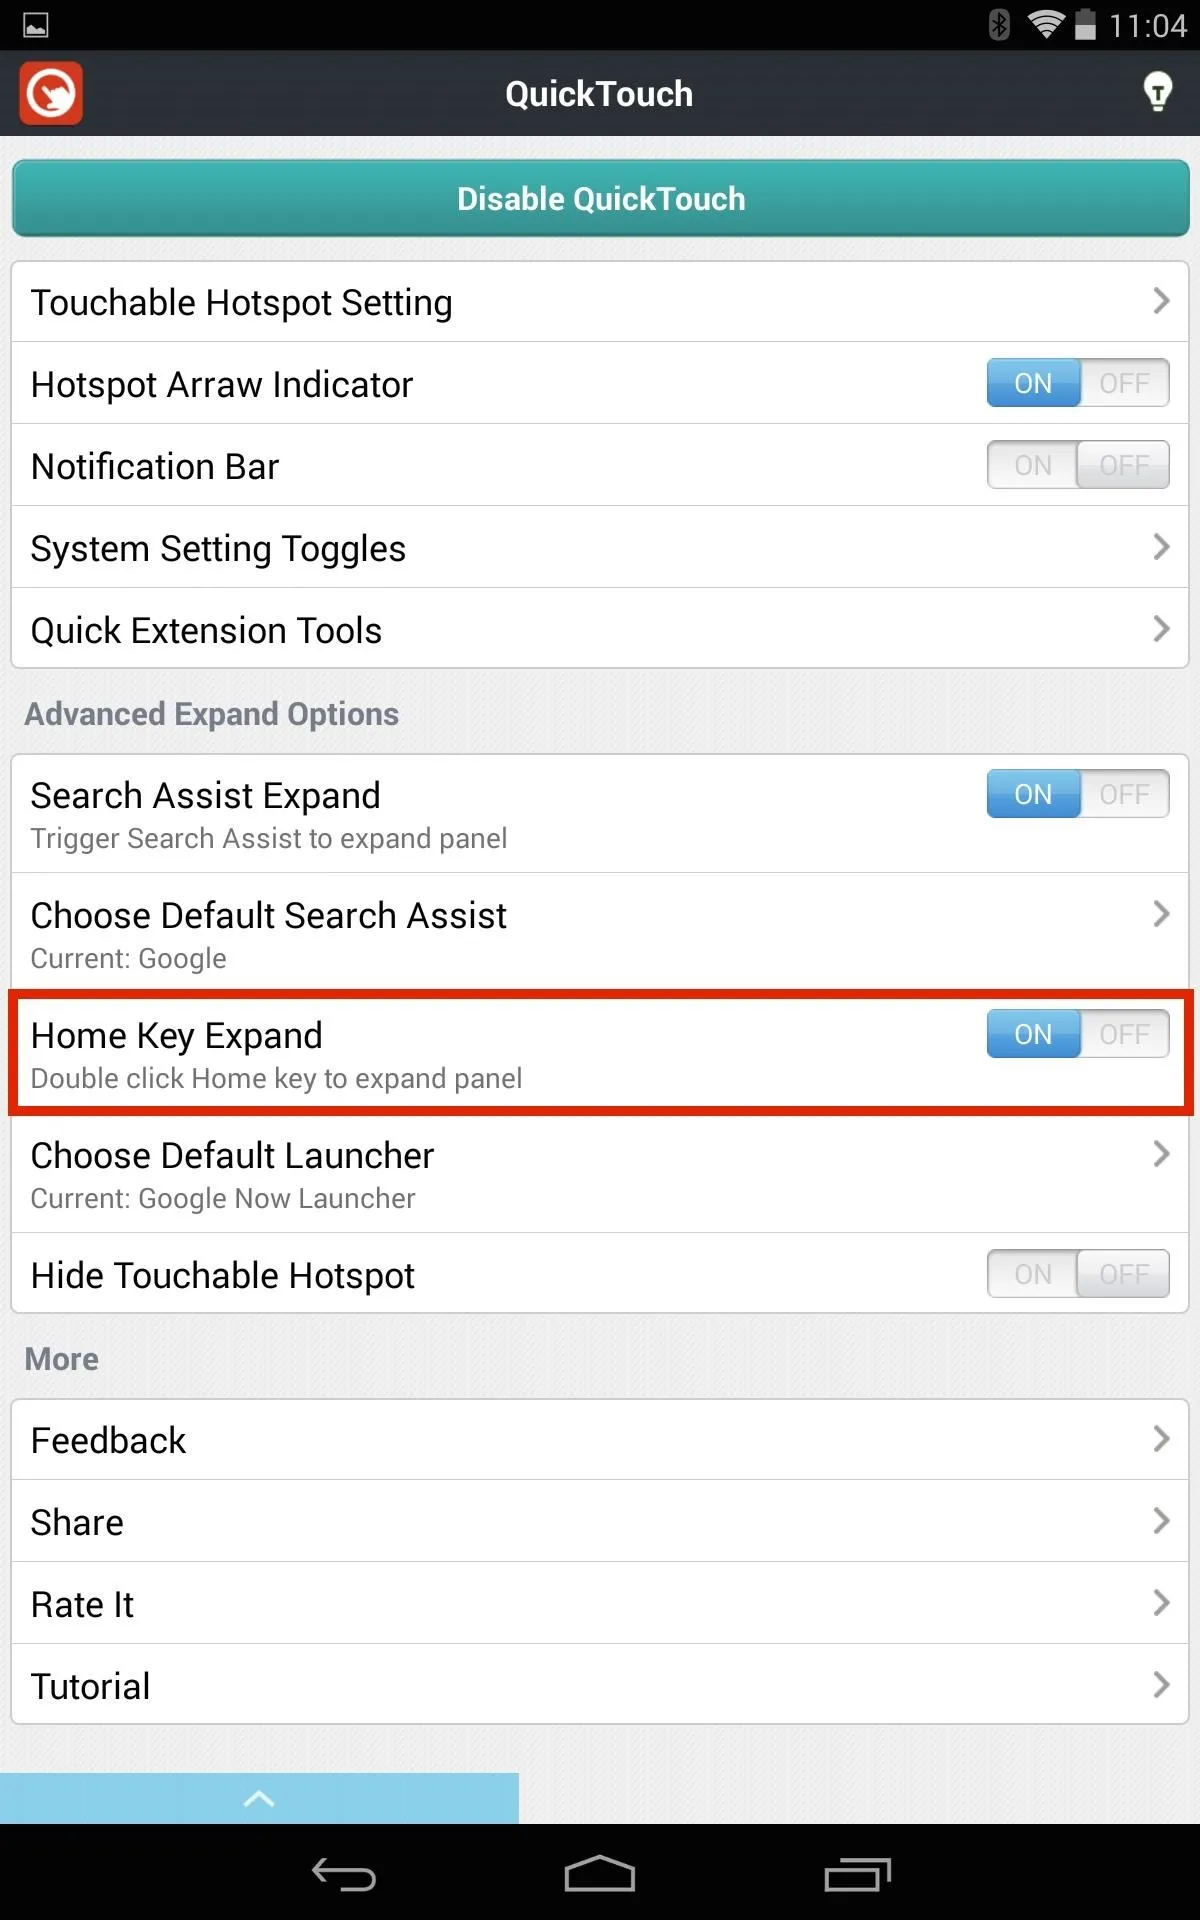
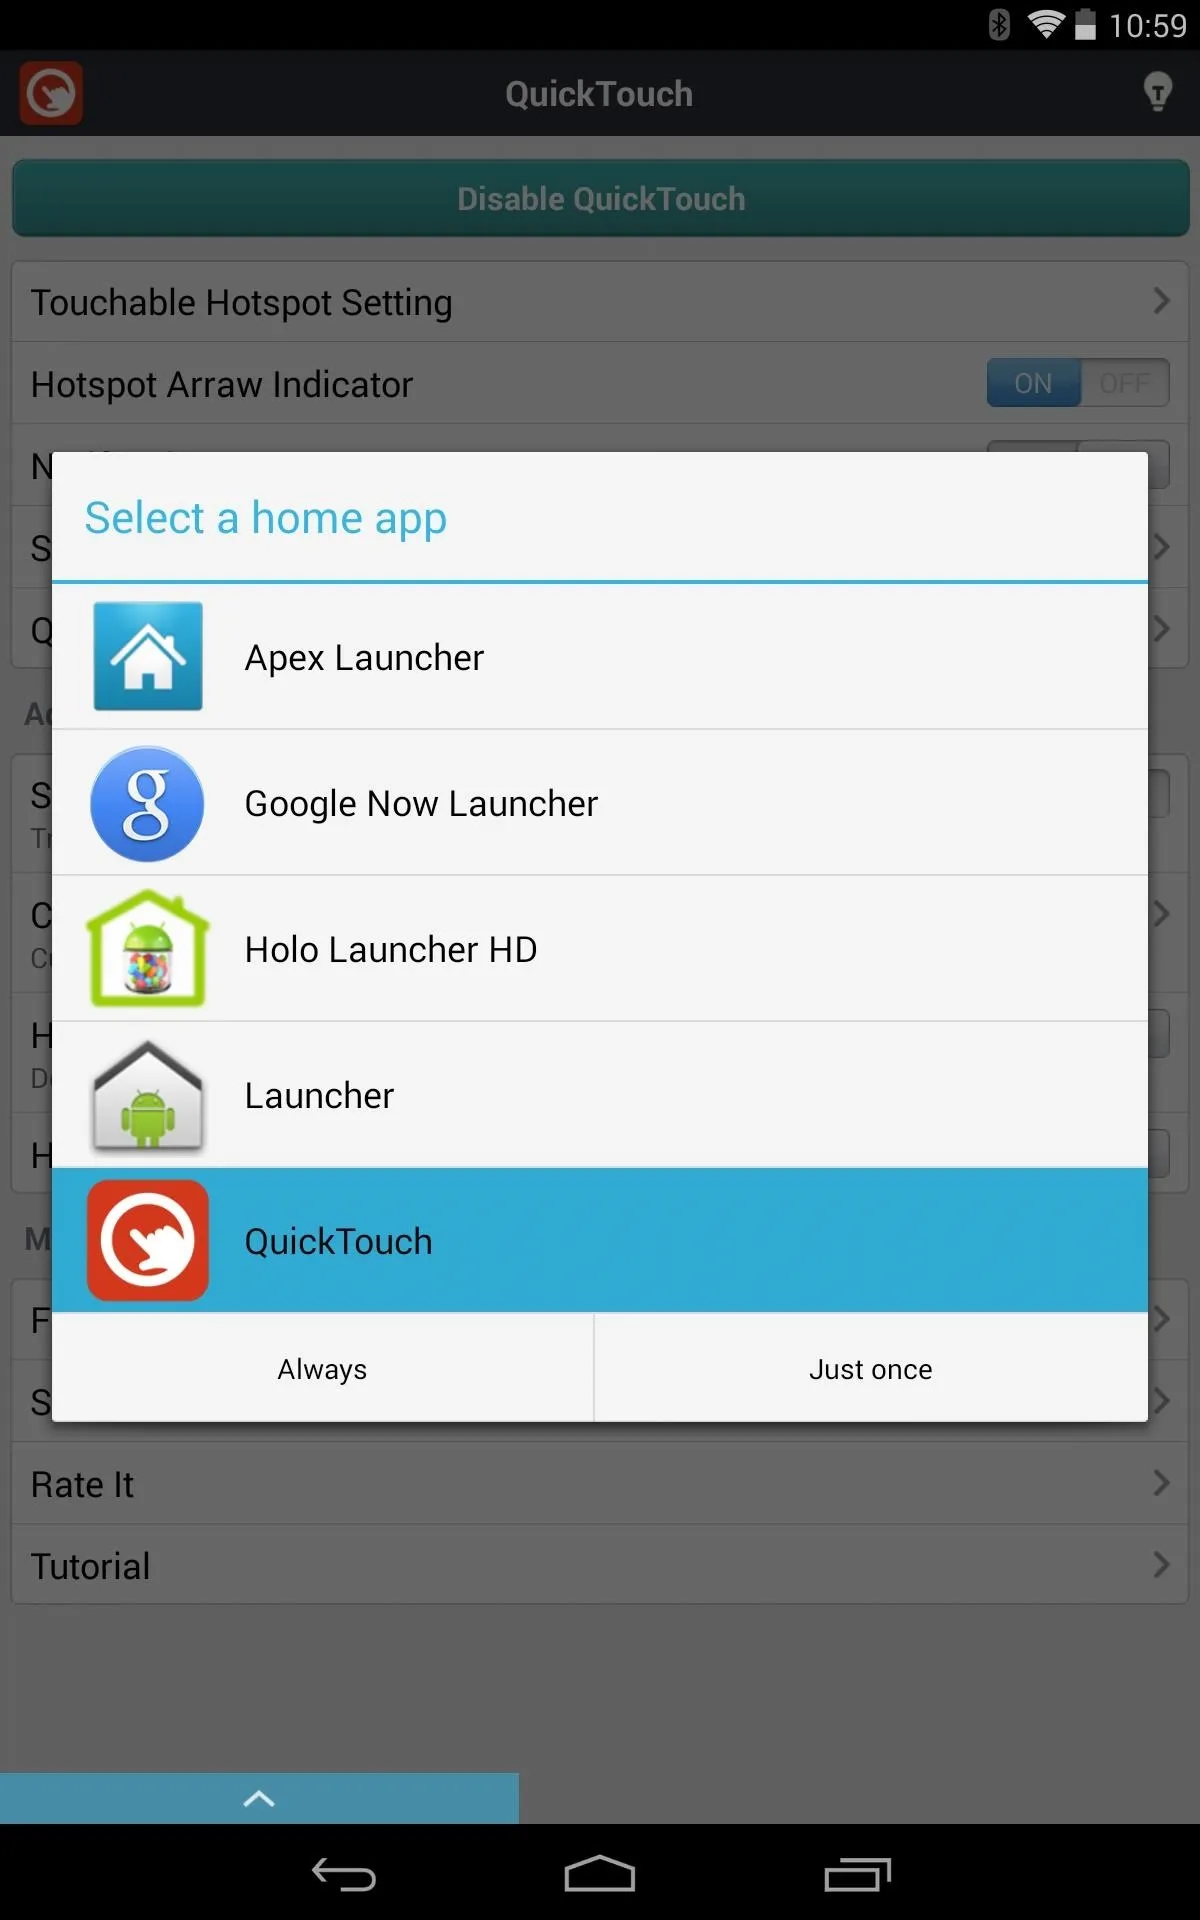


If you using the double-press Home key option, you can toggle on Hide Touchable Hotspot if you'd prefer just one method of activating the control center.
Add a Screen Lock Shortcut
You can also add a shortcut to your new control center that locks your Nexus 7 up, instead of hitting the Power button. Just head into Quick Extension Tools. Switch the toggle on, then give it device administrator permissions.
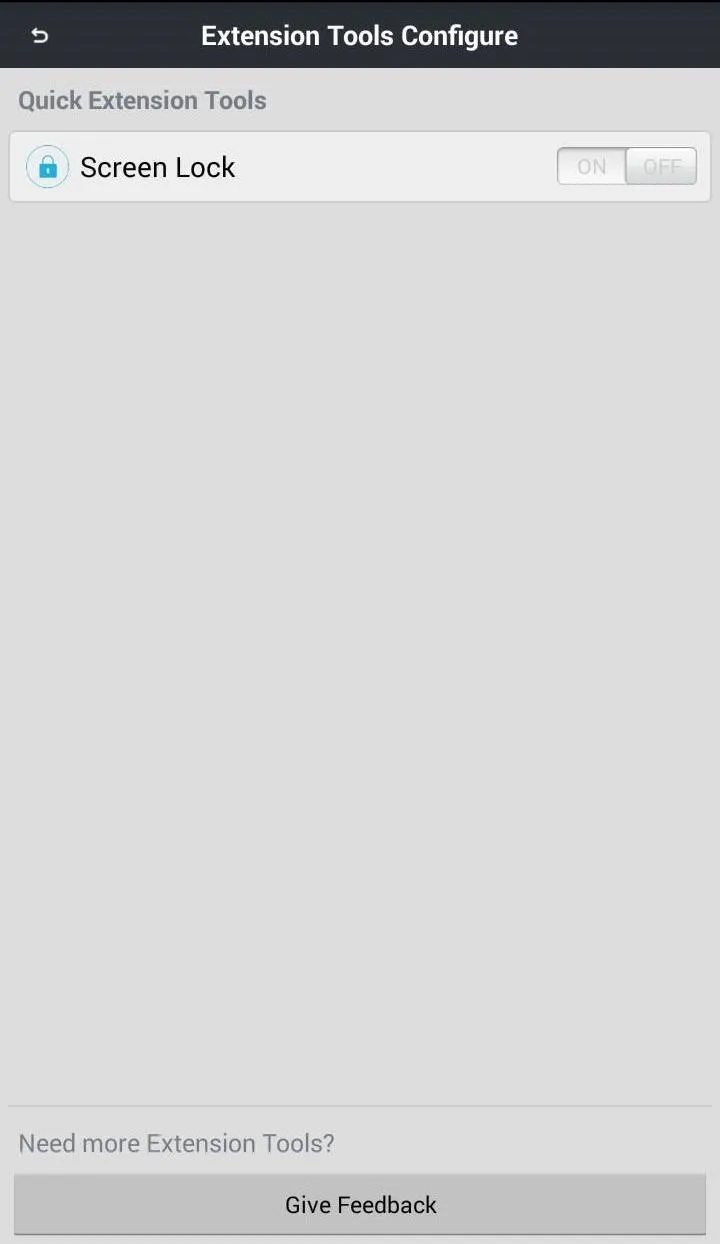
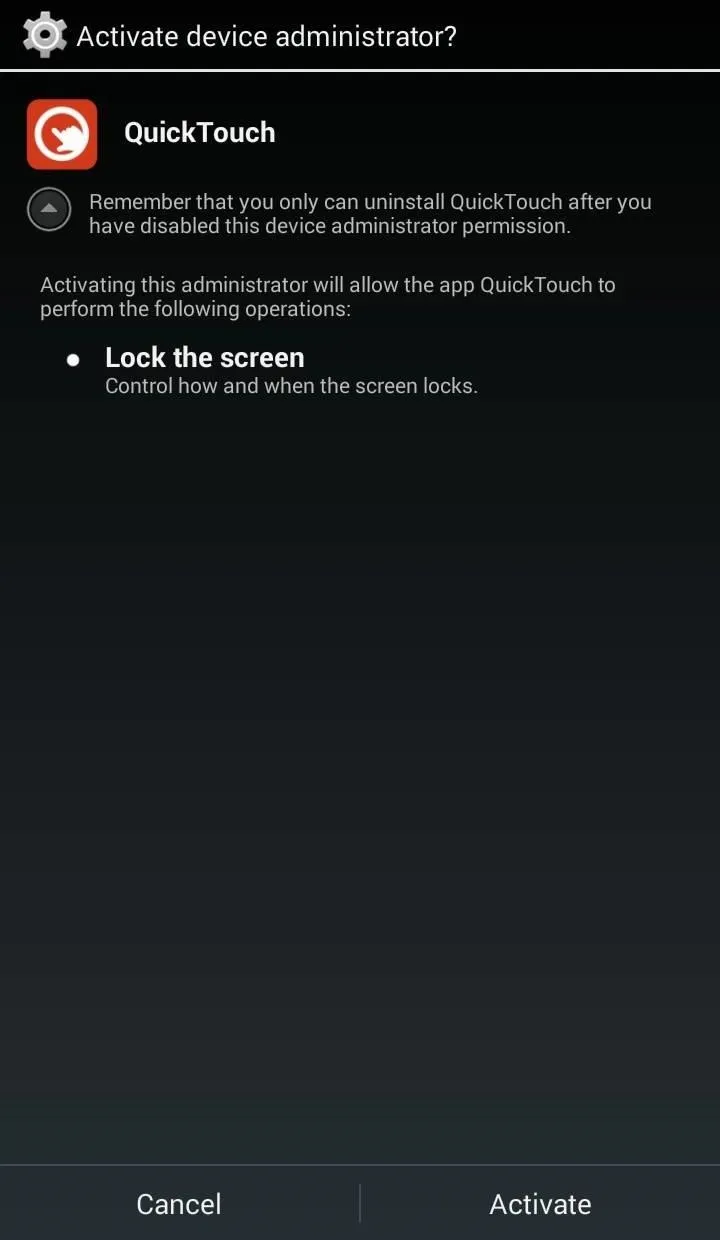
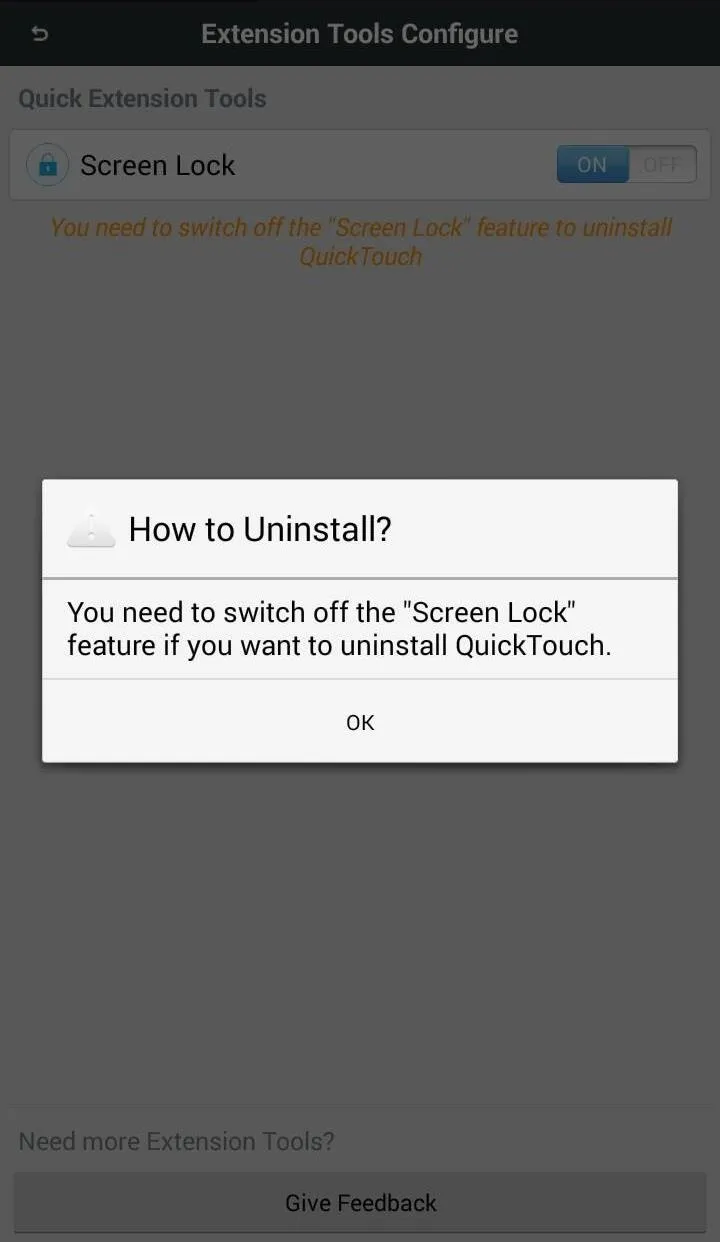


Note: If you decide to uninstall the app, remember to toggle this setting off first.
Now when you bring up the control center, you'll see a lock icon that will activate the lock screen.

Bring Up the Control Center
After setting it up the way you like it, just go home and pull up from the bottom (or double-press Home) to access the control center.
You can adjust brightness and volume, just like you can on iOS devices, but you can bring up the app list as well, which is categorized into All, System (core system apps), and Recent.
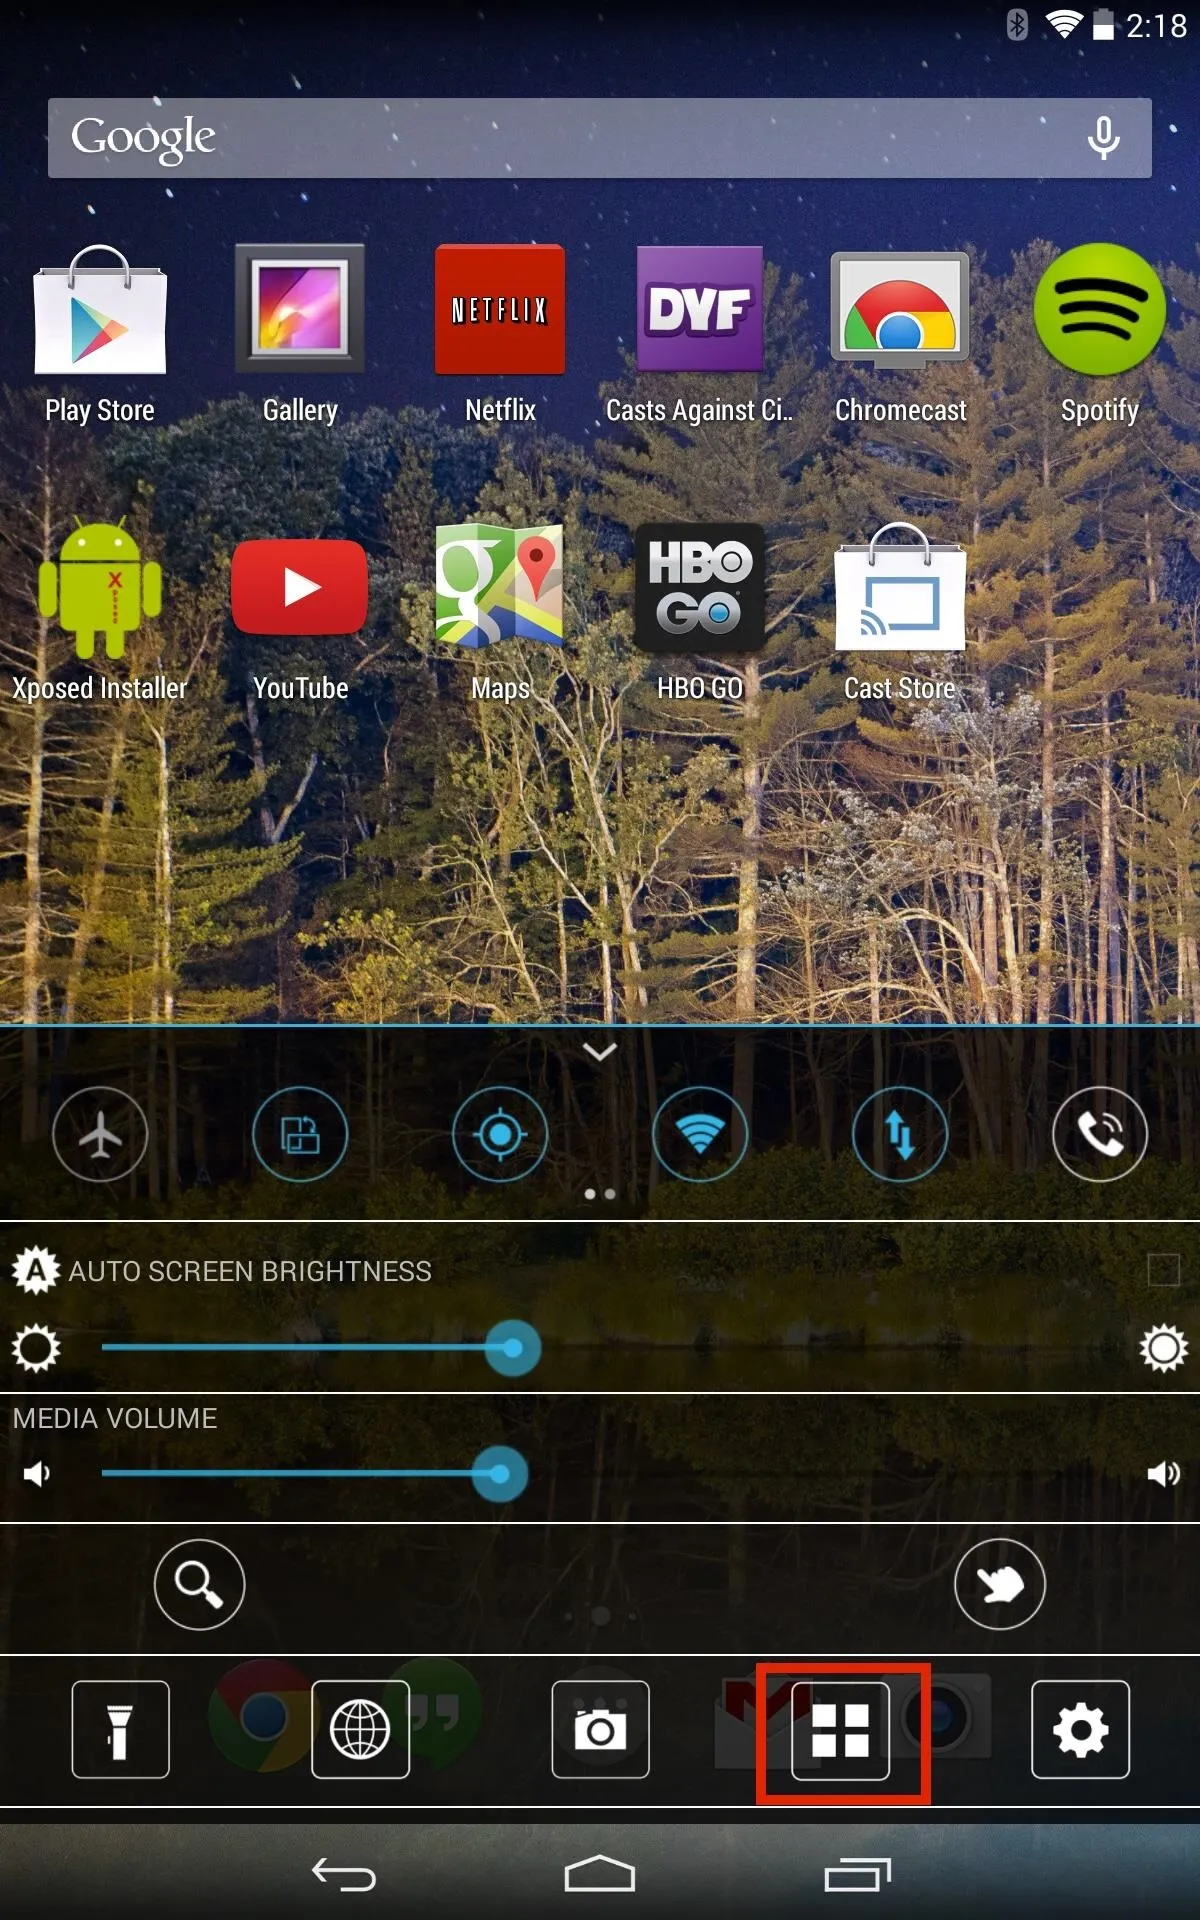
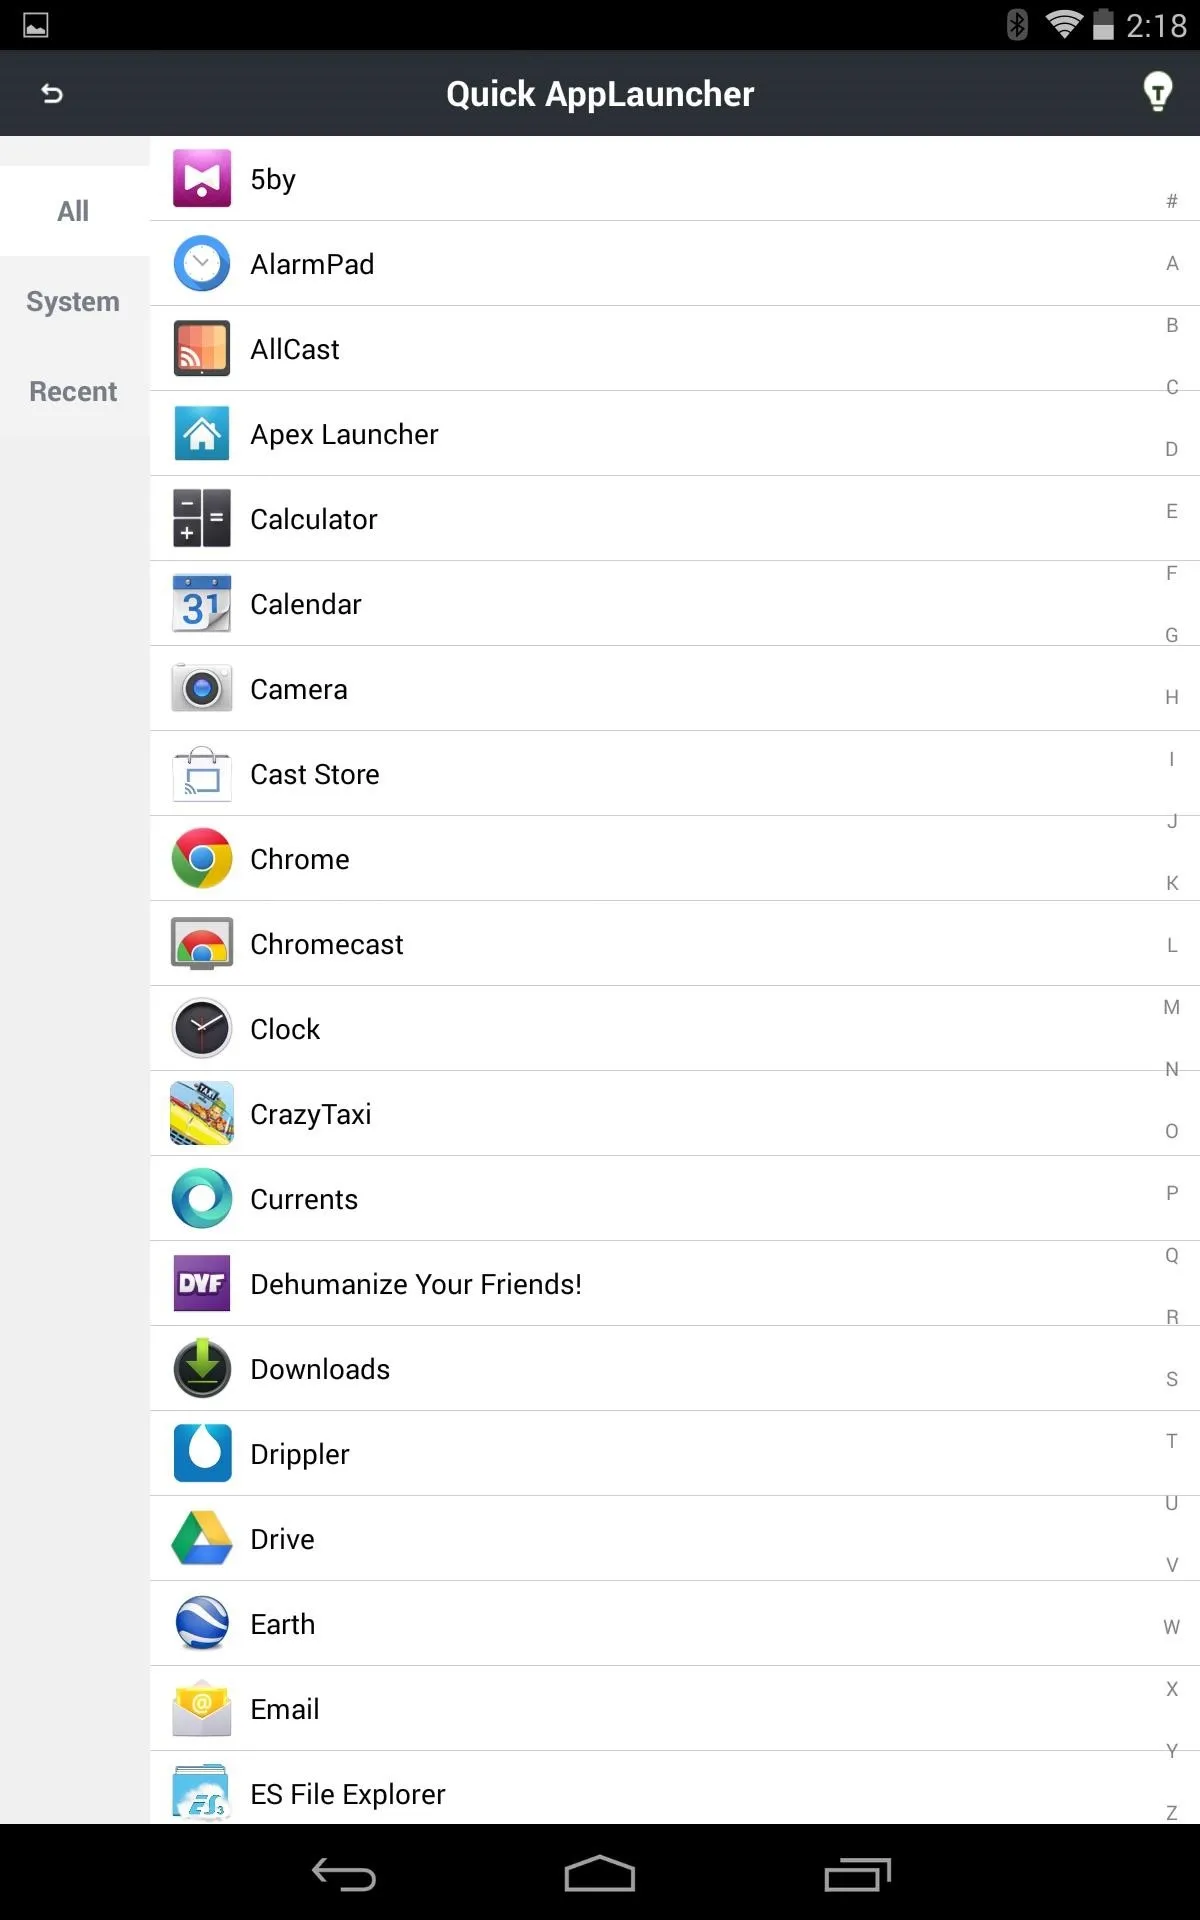


Aside from the quick app launcher, you also have the ability to bring up your Camera, Maps (globe icon), Settings (gear icon), iOS Control Center Settings (hand icon), and your Default Search Assistant (which is probably Google on your Nexus).
There is a Flashlight (torch icon) as well, but of course, that feature won't work since our Nexus 7 tablets don't have an LED flash.
If you want to gain a little bit more screen real estate, use this app in conjunction with Immersive Mode, or just tilt your device sideways and use it in landscape mode.
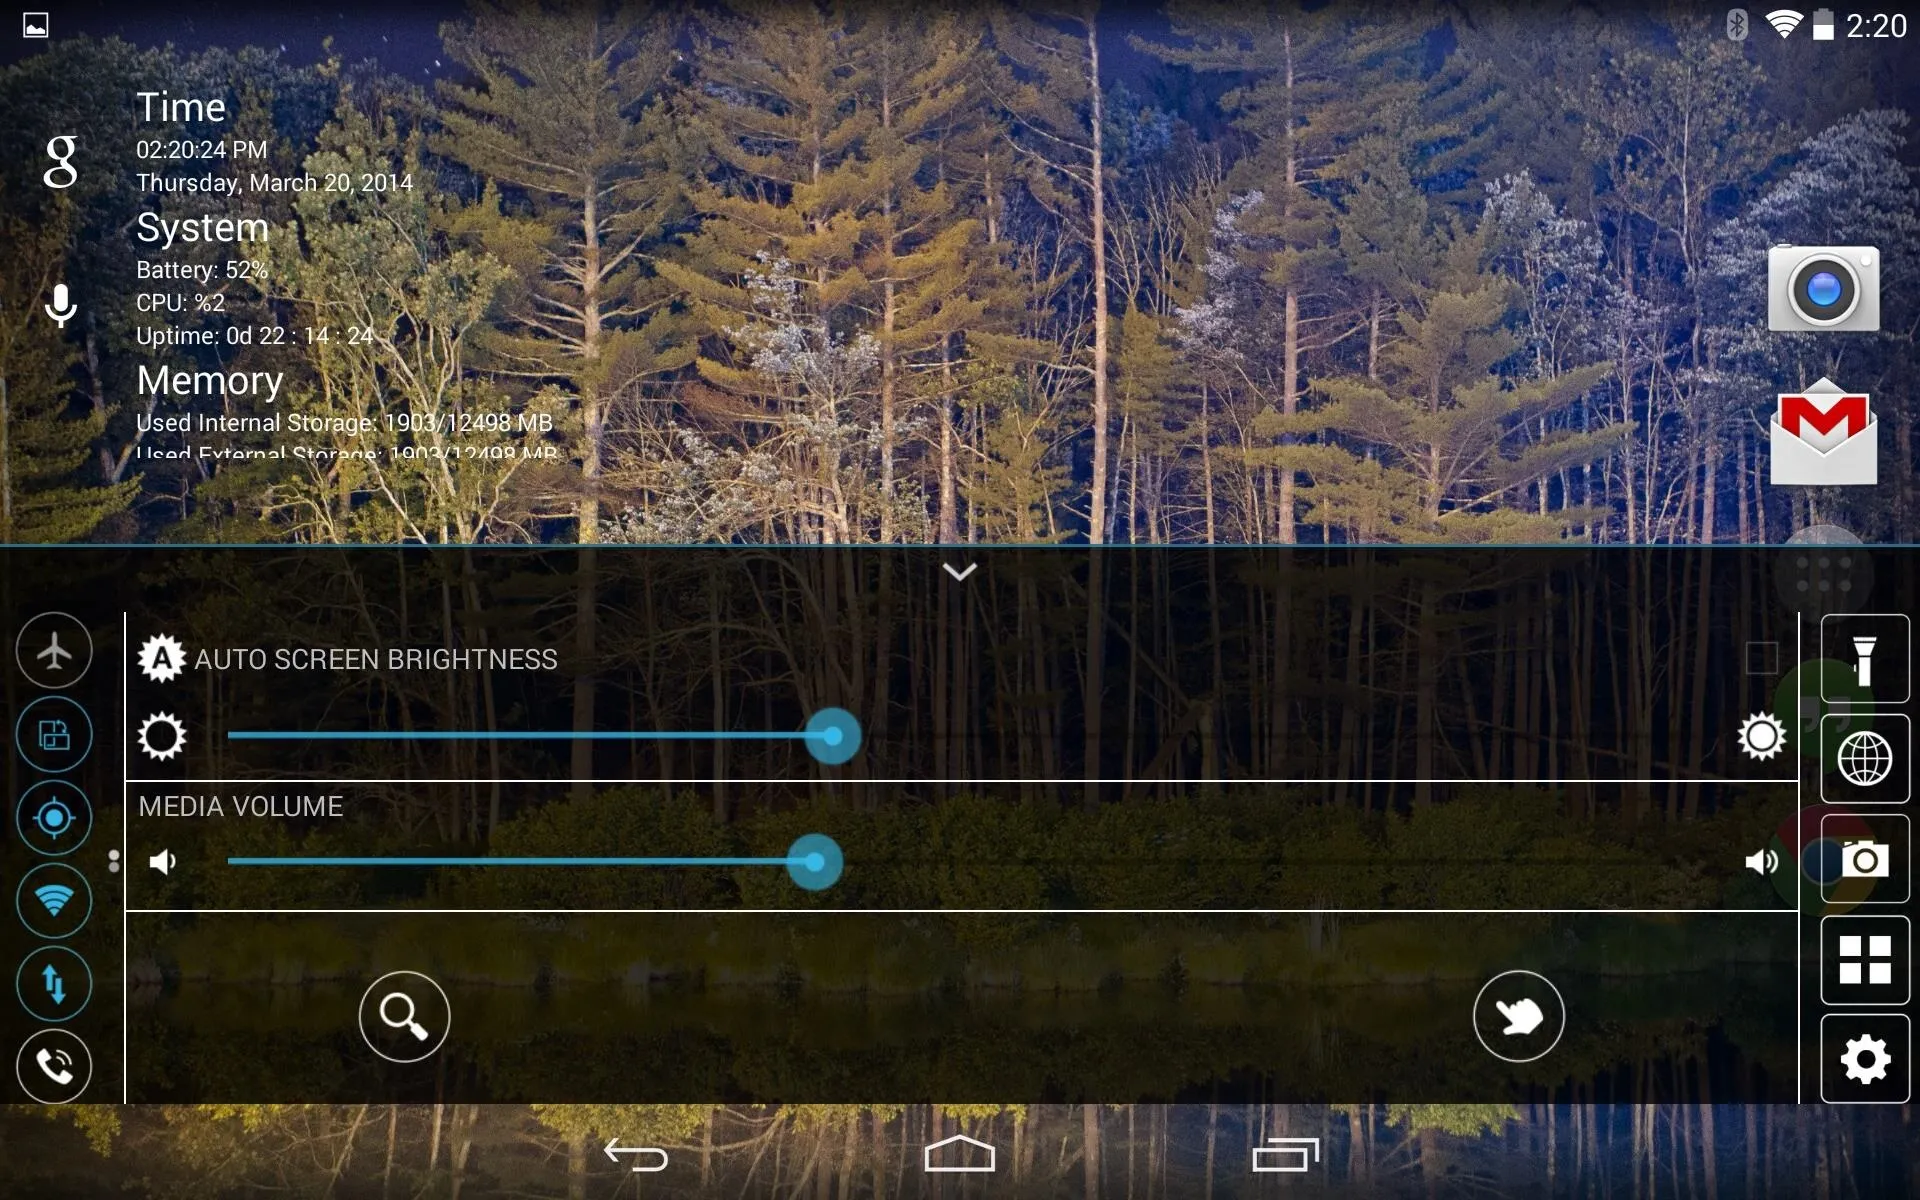
It may not be an exact clone of the Control Center in iOS, but that's probably for the best, since this one has room for customizing and Apple's does not.


![Mr.Shield [2-PACK] Designed For Asus (Google) Nexus 7 FHD (2nd Generation) 2013 Tablet [Tempered Glass] Screen Protector with Lifetime Replacement](https://m.media-amazon.com/images/I/71ik6S-liFL._AC_UY218_.jpg)


Comments
Be the first, drop a comment!