The new Android 4.3 Jelly Bean has been out for a while already, and most of you already have it installed on your Nexus 7 tablets. Many of you softModders have also probably rooted your tablet so you can take advantage of some of the more popular root-only softMods, like speeding up performance, installing WhatsApp, increasing internet speeds, getting Beats Audio, etc.
However, most of the root options available for Jelly Bean 4.3 are for Windows users only, like my previous rooting guide. Mac users, fret no more, because in today's softModder guide, I'll be showing you how to root Android 4.3 Jelly Bean on your Nexus 7 tablet using Mac OS X.
Download & Install the Toolkit on Your Mac
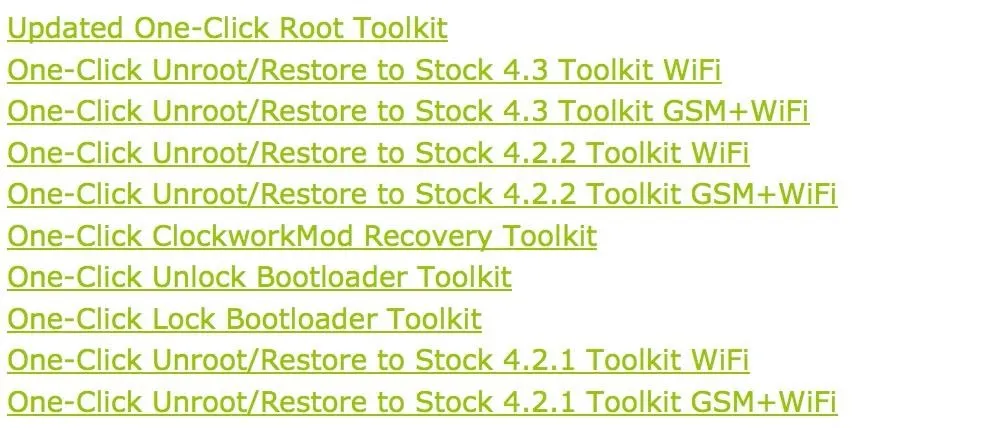
First, start by downloading the updated one-click root toolkit from Android Rootz, made available by Android dev Anuj Patel, aka techfanatic9.
It's labeled Updated One-Click Root Toolkit. Be sure to check out the other tools listed if you want to un-root your device or restore back to stock. The toolkit is a big file, so it may take some time to download.
Launch the Toolkit on Your Mac
Next, unzip the file you downloaded by double-clicking it. Open up the Updated.Nexus7Root folder and launch the Root.Nexus.7.tool.
Restart Your Nexus 7 in Bootloader Mode
Boot your Nexus 7 into bootloader mode by powering it on with Volume Down and the Power button pressed at the same time.
Connect
Then plug in the Nexus 7 tablet to your Mac with its included USB cable. Make sure it's the only USB device you have plugged in.
Unlock the Bootloader
Now press Enter in the toolkit window when ready.
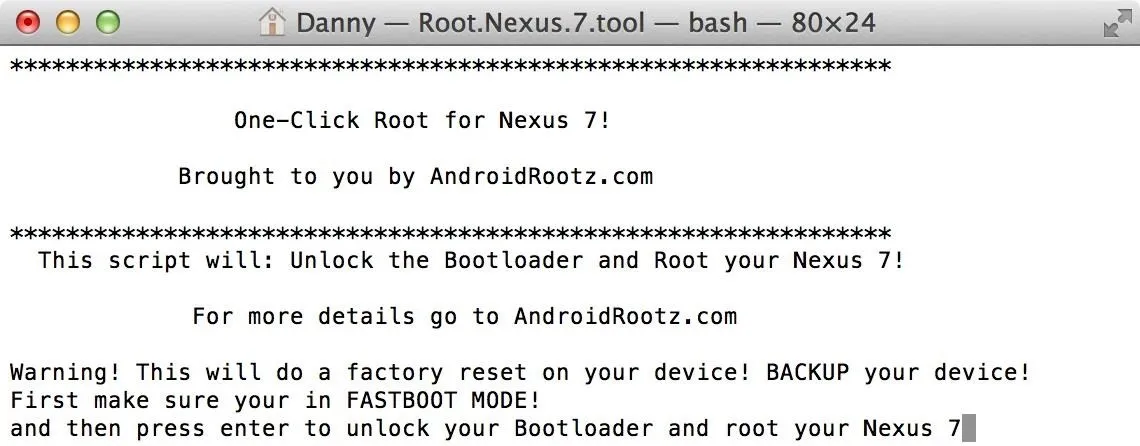
Your bootloader will be unlocked so it can then have a custom recovery (CWM - ClockworkMod) installed. It will then prompt you to reboot your device back into your Android system and enable USB debugging.
Enable USB Debugging
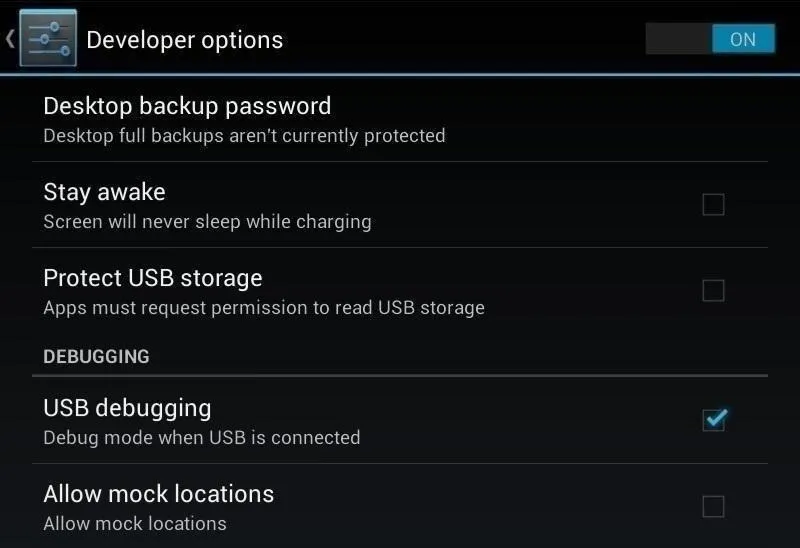
On your Nexus 7, enable USB debugging by going to Settings -> Developer Options and making sure it's checked. If you don't see the Developer Options menu, tap your Build Number repeatedly in About Tablet section in Settings until it says it's unlocked.
Root Your Nexus 7
Now press Enter again when ready.

It'll boot back into bootloader mode. This time choose Recovery mode and boot into it by pressing the Power button on your tablet.
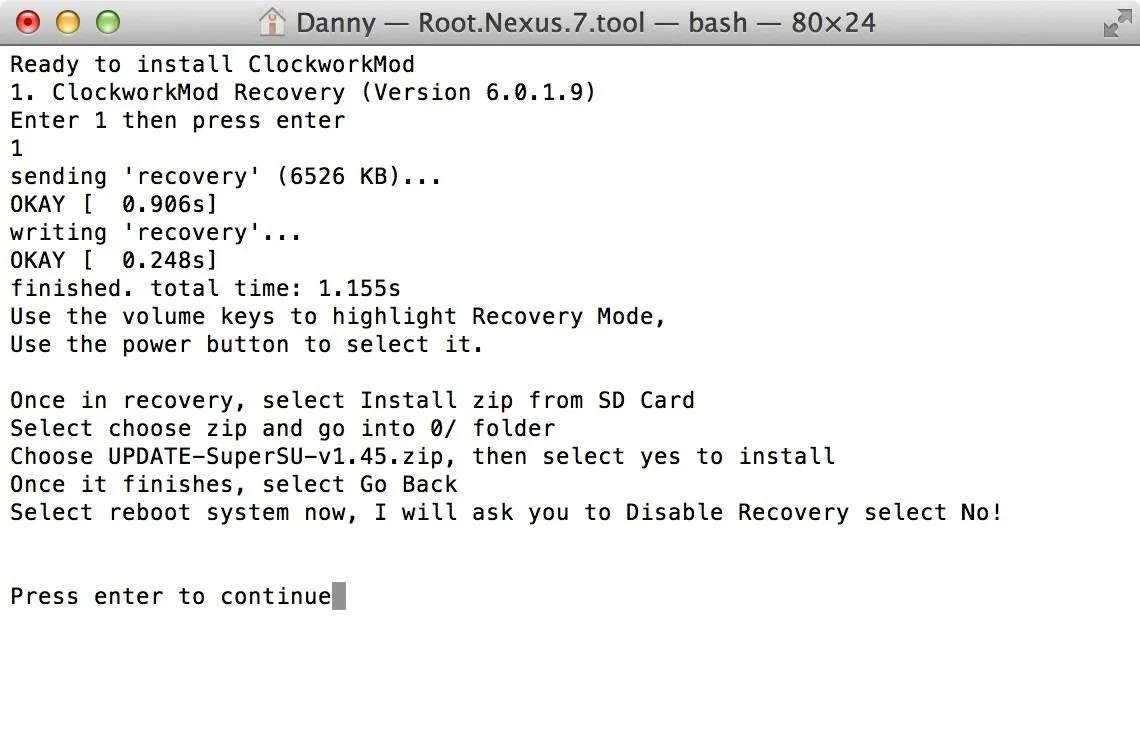
Flash SuperSU with CWM Recovery
Once you're in CWM, flash the "Update-SuperSU-v1.45.zip" with your custom recovery following the below quick steps.
- Choose Install ZIP from SD card
- Choose the ZIP file
- Flash the ZIP
- Reboot
Verify That You're Rooted
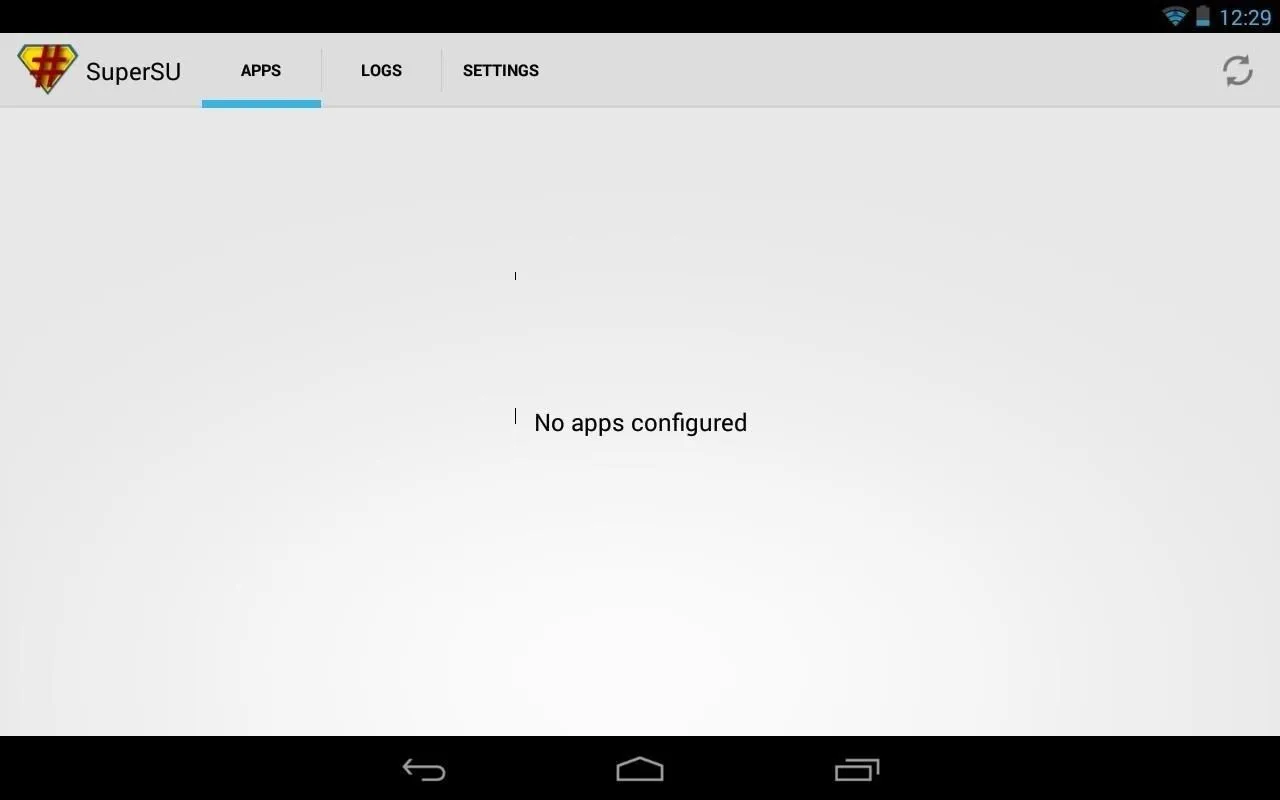
Now open up the app drawer on your Nexus 7 and find SuperSU installed. Your tablet is now rooted!



Tell us if it worked for you in the comments section below!


![Mr.Shield [2-PACK] Designed For Asus (Google) Nexus 7 FHD (2nd Generation) 2013 Tablet [Tempered Glass] Screen Protector with Lifetime Replacement](https://m.media-amazon.com/images/I/71ik6S-liFL._AC_UY218_.jpg)


Comments
Be the first, drop a comment!