Google's long awaited 4.3 Jelly Bean update is officially out, only it has not been pushed out to some of our Nexus 7 tablets yet. Although there aren't really any new UI changes, most of Jelly Bean 4.3's magic is under the hood, meaning user's can expect better performance and battery life with the latest version.
If you're like me and just can't wait for the OTA update to Android 4.3, follow along and we'll get you up to date—whether you're rooted or not.
If You're Running Stock Android 4.2.2
If you're rooted with a custom recovery, then this method is not for you. Instead, go ahead and skip down to the second method. This particular method is only for those running stock 4.2.2 who aren't rooted and don't have a custom recovery. This route will apply to the majority of Nexus 7 tablets out in the wild.
The OTA update will get pushed out to you eventually, but this is how you get it now without waiting.
Download the 4.3 Update
First, go ahead and download the official 4.3 update from Google for your specific Nexus 7 version. I have the Wi-Fi only version, so I'll be using this one. We'll then need to update the checksums to install the update with our toolkit.

- MD5 checksum: 77e304584c4f192761234a9e1eb2fbe3
- SHA-1 checksum: d341d3560d6f9fa5cc82aacc3d647d4bff054c3e
Download & Install Wugs Nexus Toolkit
We'll be using a favorite among softModders, Wugs Nexus 7 Toolkit. Used previously in my definitive guide to restoring your Nexus 7 tablet, we'll be using the restore feature to manually update to 4.3.
Install the toolkit by clicking "Next" through the various prompts. Once the installation is complete, go ahead and run the toolkit.
Using the Toolkit to Update to 4.3 Jelly Bean
A window will pop up asking for your device model. Choose your device from the list along with its OS version (4.2.2) and click "Apply".

Head over to "Initial Setup" and click "Full Driver Installation..."

Follow the guide provided in the toolkit to install the required drivers for your Nexus 7. I recommend "Driver Solution #3," but any of the three options should work. The toolkit has a built-in guide with pictures that will aid you in installing the drivers.

Now with the drivers installed, make sure they're working by testing them over in the "Step 3" tab. The toolkit will verify if the drivers are properly installed and working.
Connect Your Nexus 7 to Your Computer
Boot into fastboot mode by powering off your Nexus 7, then press and hold both the power and volume down buttons. Plug in your Nexus 7 to your PC with the USB cable. You'll see the green Android mascot.
On your PC, click "Flash Stock + Unroot" in the toolkit. Choose "Other/Browse" and click the option for "I downloaded a factory image..."
It'll ask you for the checksum, so be sure to copy and paste the checksum it asks for I provided earlier.
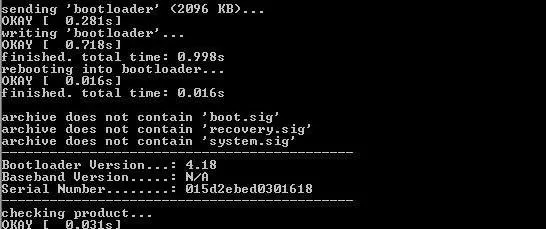
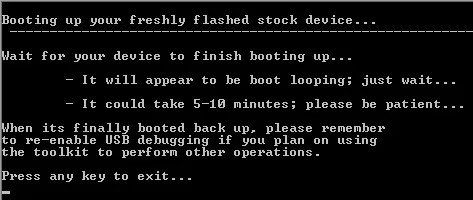


You're tablet will be updated to 4.3!
For Rooted Users with a Custom Recovery or Custom ROM
If you're running a custom recovery, it's even easier to get the 4.3 update—and remain rooted.
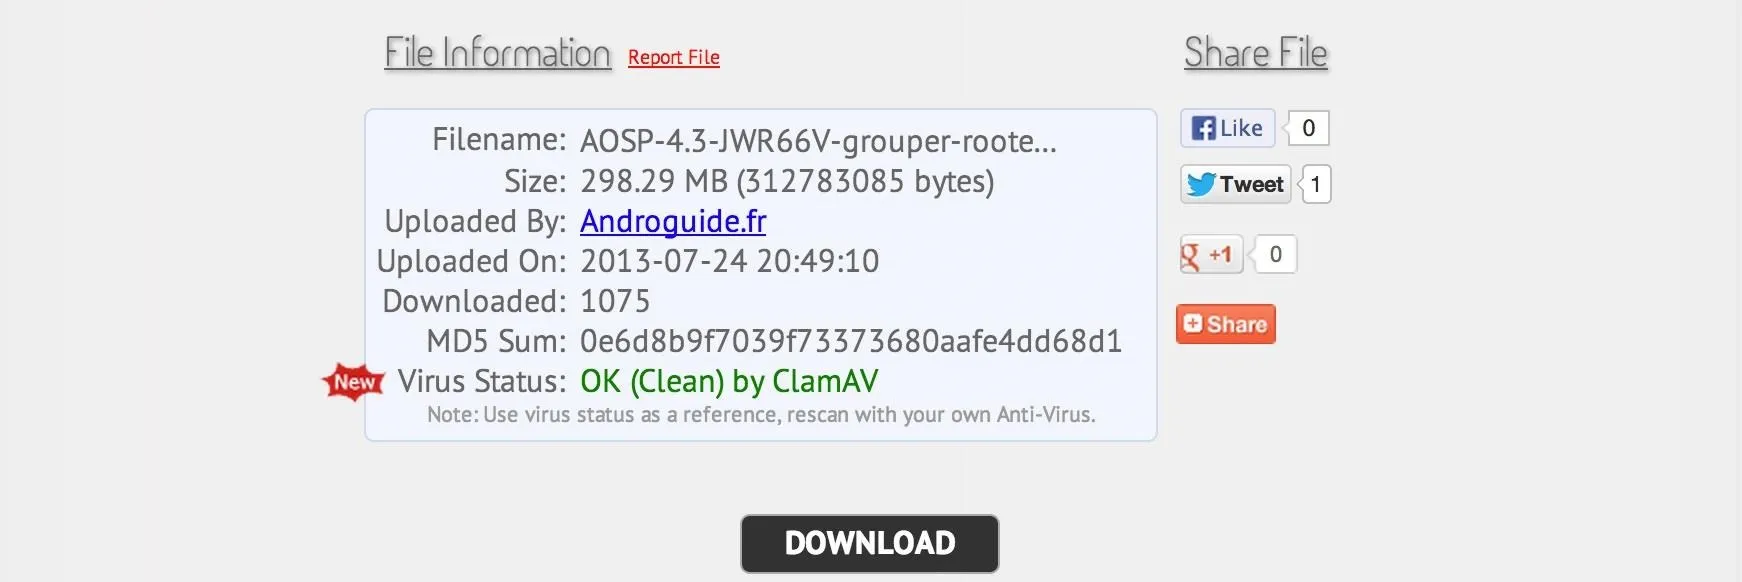
A pre-made flashable ZIP update with root by Androidguide.fr on XDA is available for download here. Just download the update ZIP and flash the ZIP like you normally would.
ATTENTION: You must wipe for the 4.3 update!
In Your Custom Recovery (TWRP or CWM)
- Do a Factory Reset.
- Wipe Dalvik Cache, Cache, and System.
- Tap Install.
- Choose the ZIP file.
- Flash it.
- Reboot.
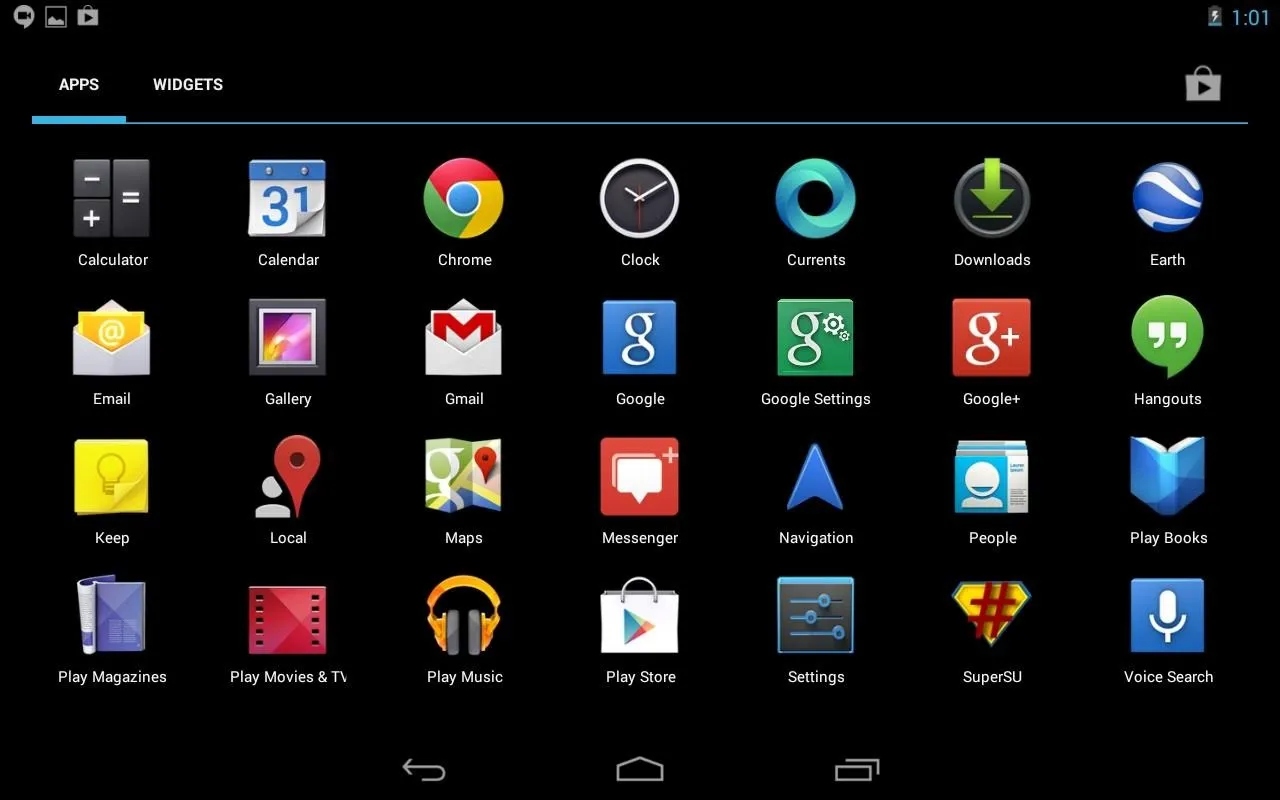
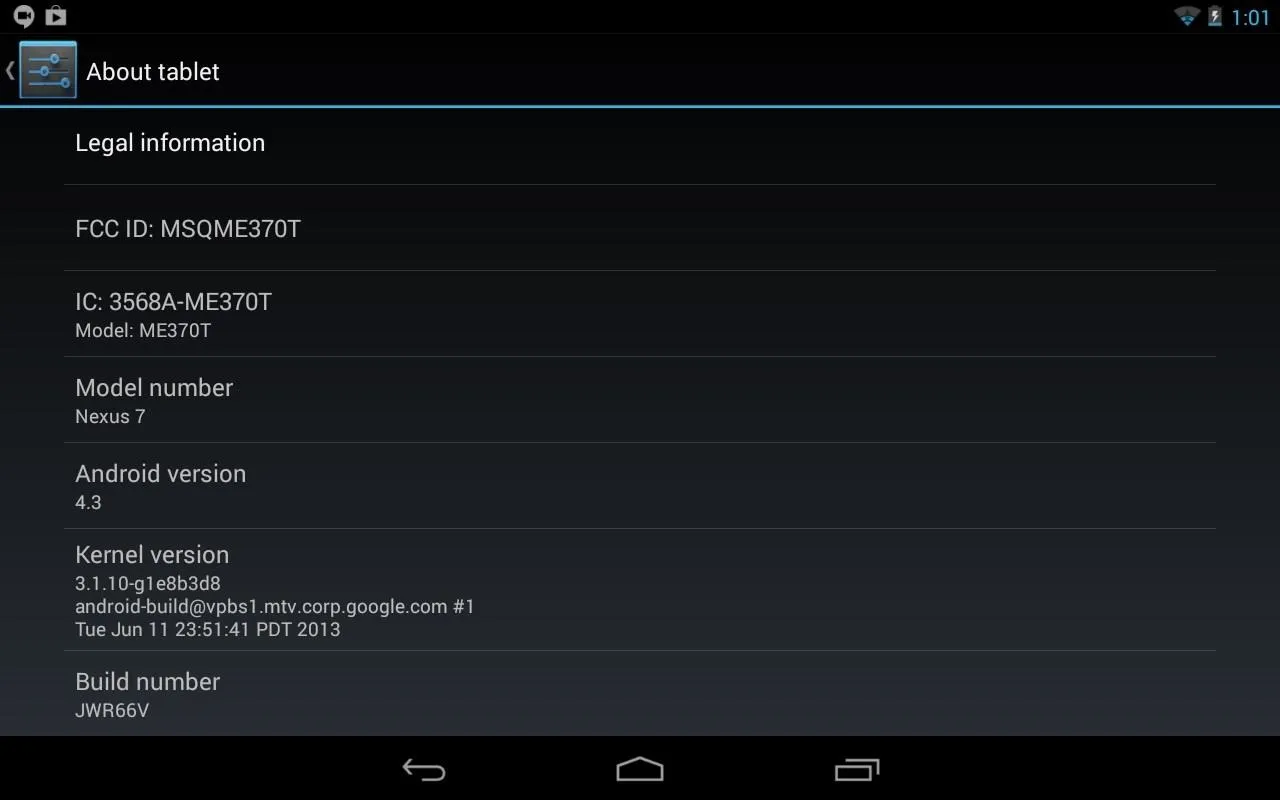


That's it! Enjoy Android 4.3 on your Nexus 7 tablet a few days earlier than you normally would (depending on your geographical location).


Comments
Be the first, drop a comment!