How do you begin to explain the nostalgia that's felt when you play a game from your childhood? You can't. The only thing that will alleviate this feeling is experiencing it again.
We've already shown you how to play PlayStation 1 and Nintendo 64 games on your Nexus 7, but these didn't satisfy my longing. With the releases of the Xbox One and PS4, people have forgotten where their roots are, so I decided to jump in my time machine (aka Nexus 7), and delve into the past by installing a Game Boy Advance emulator in order to re-experience what I once held so dear to my heart—Pokémon!
Download the GBA Emulator
There are a few emulators available, but the most popular one, which I find extremely easy to use, is My Boy! Free - GBA Emulator by Fast Emulator. There is a full version that costs $4.99, but I found that the free version did what I needed to—including saving my progress.
Download the Game ROMs
If you have the technical expertise, you can choose to backup your old Game Boy Advance games into ROM format on your computer, but the process is a lot of freakin' work. It's a lot easier to just download the digital ROMs off websites like CoolRom for the titles you own physical copies of already.
Make sure they're MyBoy! compatible (it accepts .gba, .bin, and .zip files), then download them onto your Nexus 7. The most popular games are the Pokémon and Mario games. Searching by "most popular" will almost ensure you get a game with no glitches.
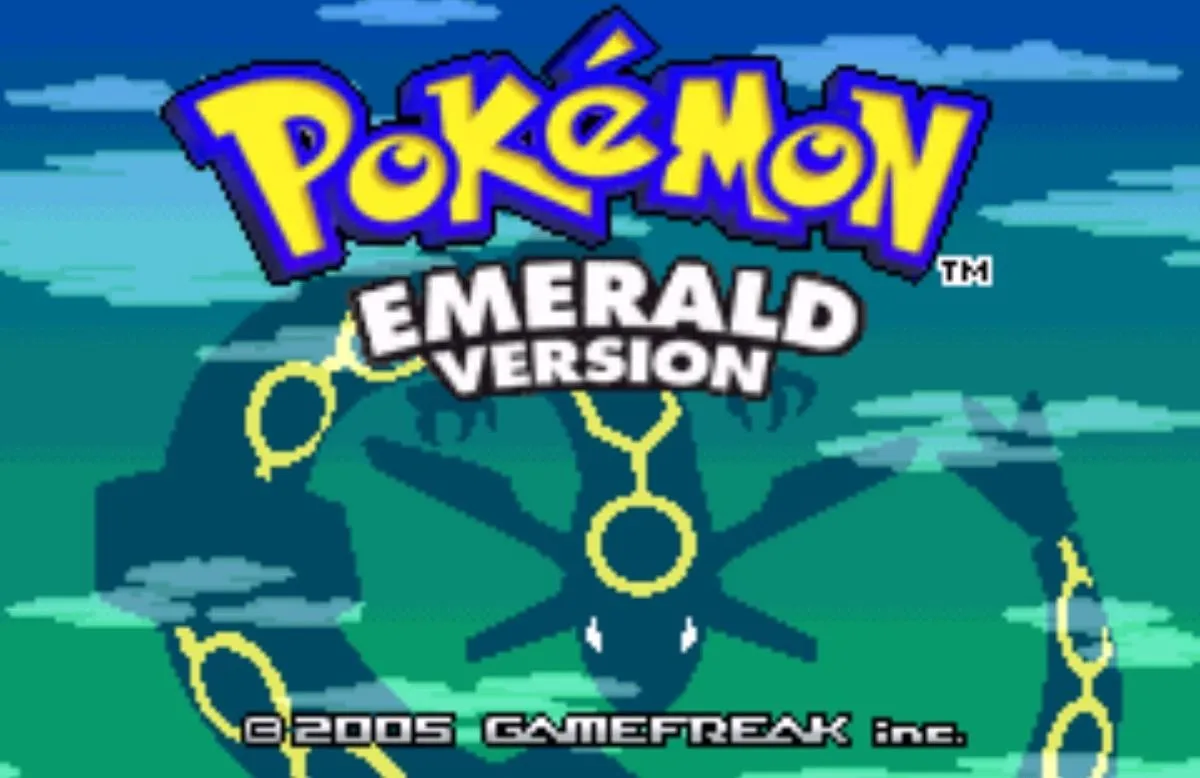
Note that if you don't own a physical copy of the game, it's probably illegal for you to download it from the internet.
Loading the ROM in MyBoy!
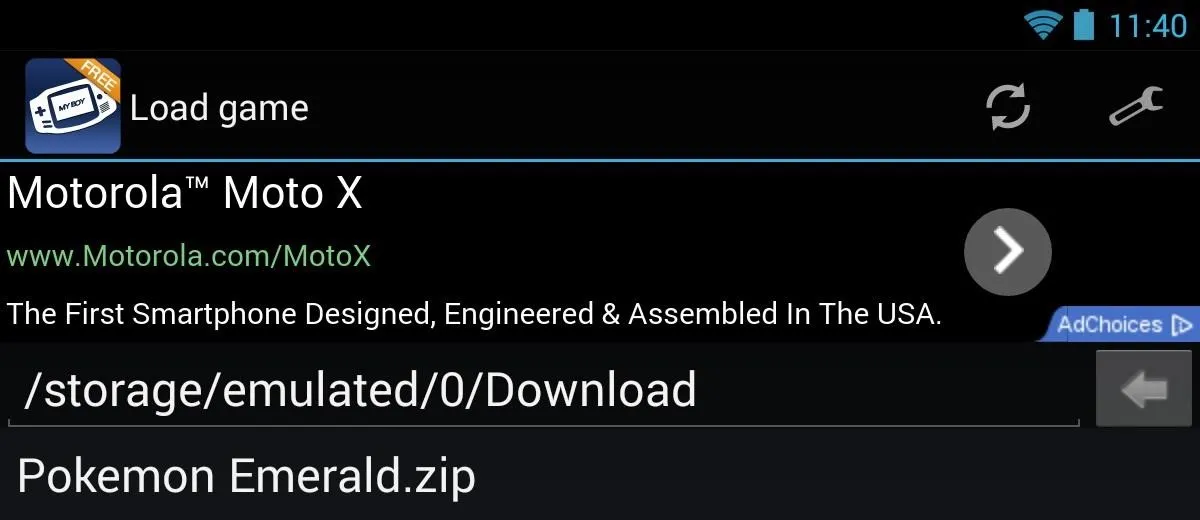
You now have a game ROM and Game Boy Advance emulator installed on your Nexus 7, so open up MyBoy and search for your ROM file. In my case, I went to Downloads -> Pokemon Emerald.zip, but MyBoy! should automatically open to downloads upon initial use.
Customize Your Control Layout
Before playing a game, why not take advantage of the layout settings? When you're in the app's main screen, select the wrench on the top right, or if you're in a game, select the option button.
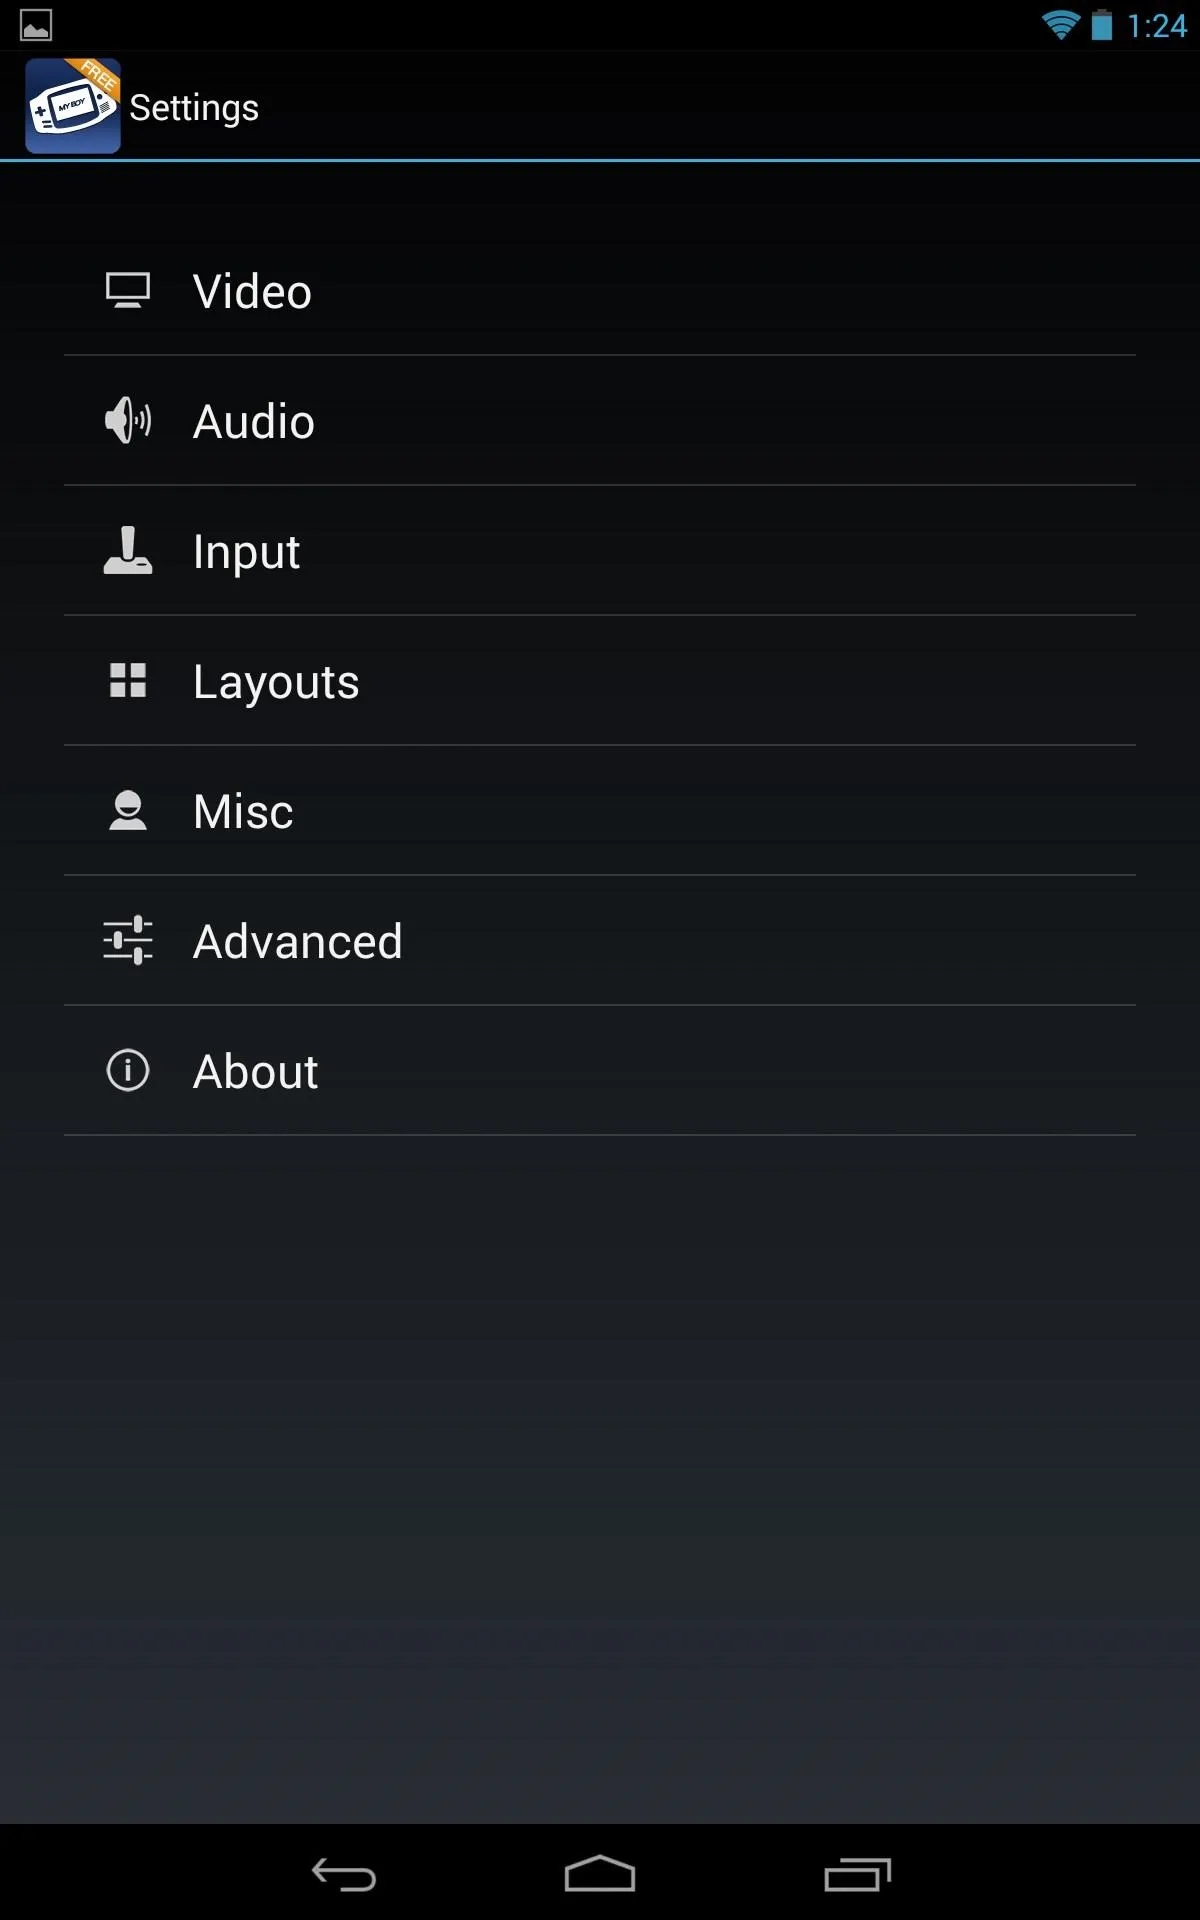
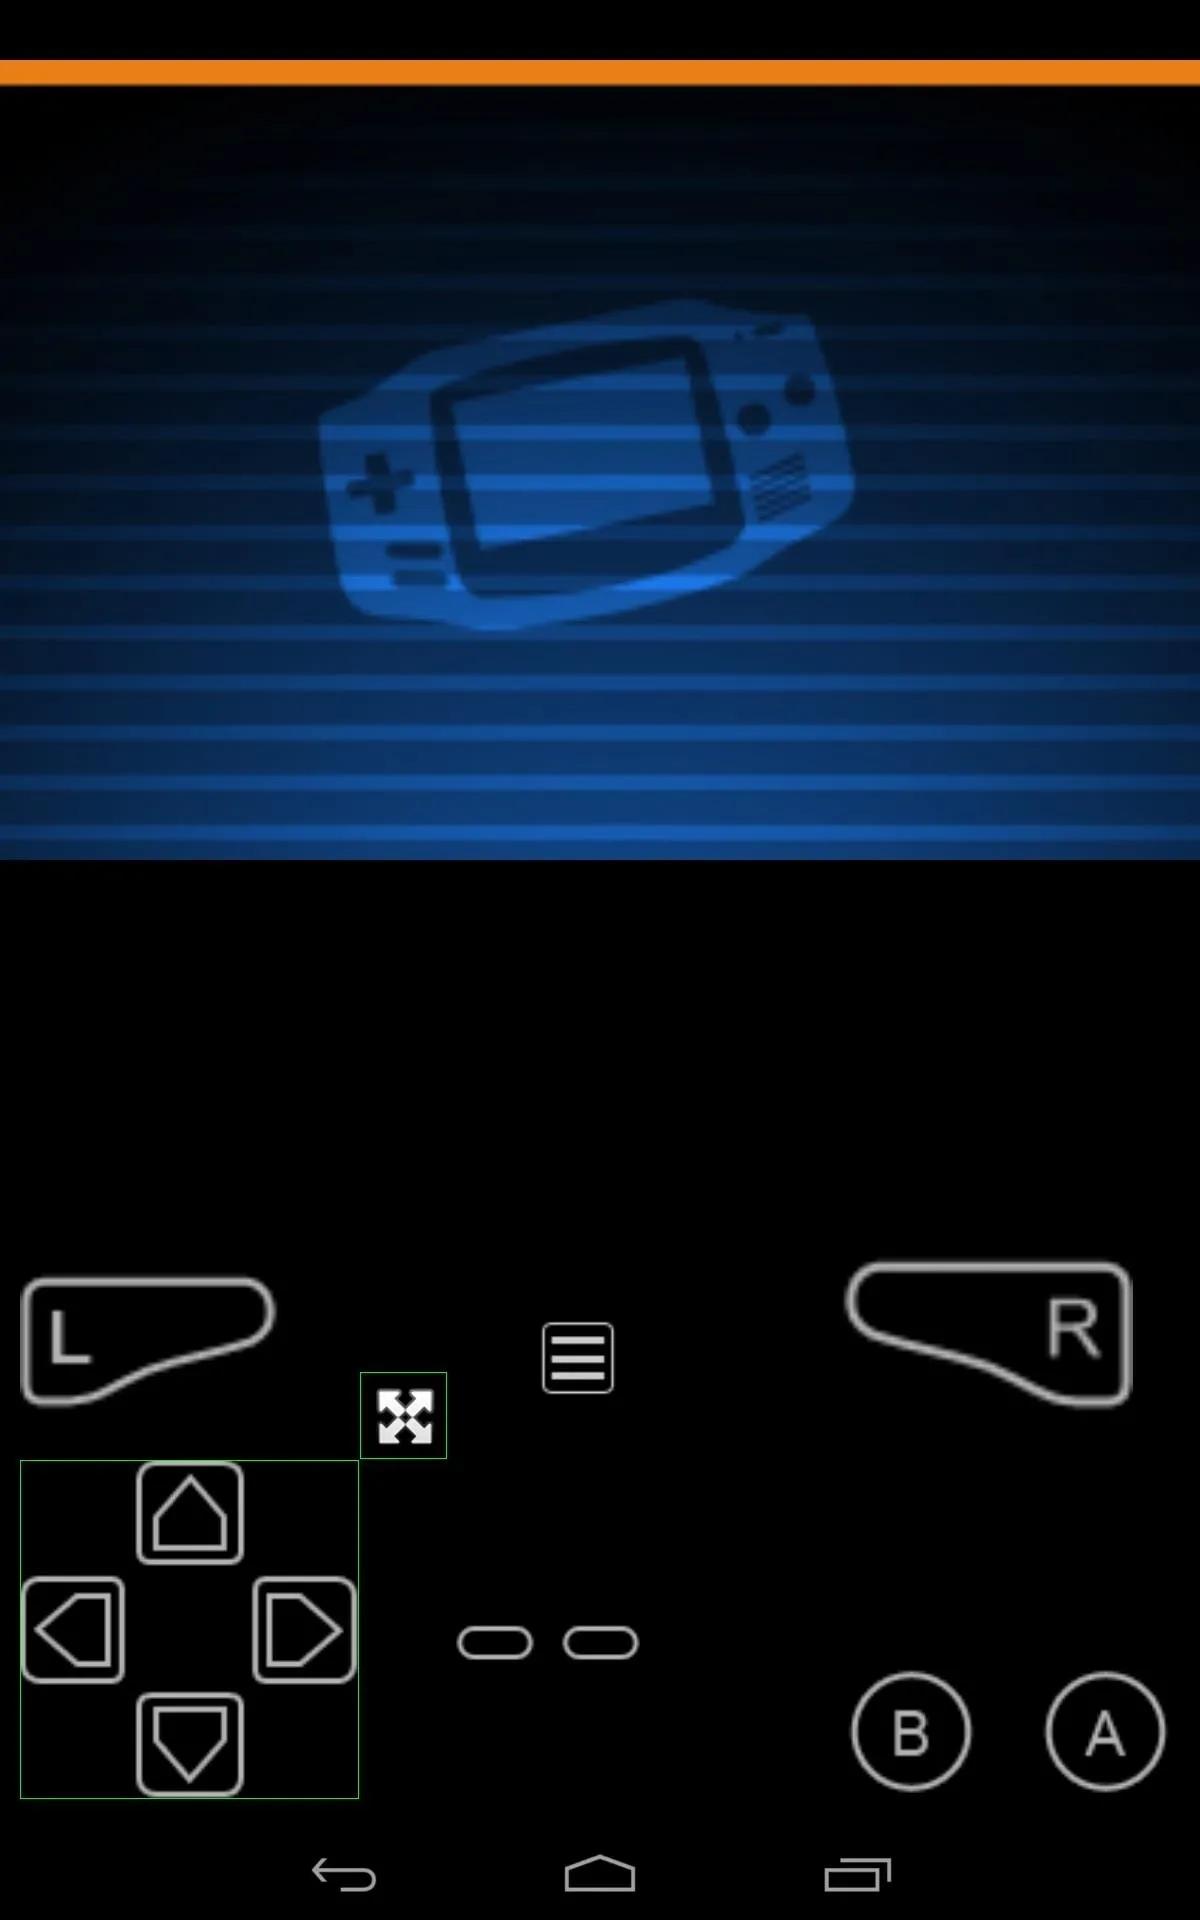


From the layout screen, you can move the buttons around, change their size (by moving direction arrows in and out), and you can also move the screen. Screen options, such as size and orientation, can be accessed by pressing and holding the screen image.
Save Your Progress
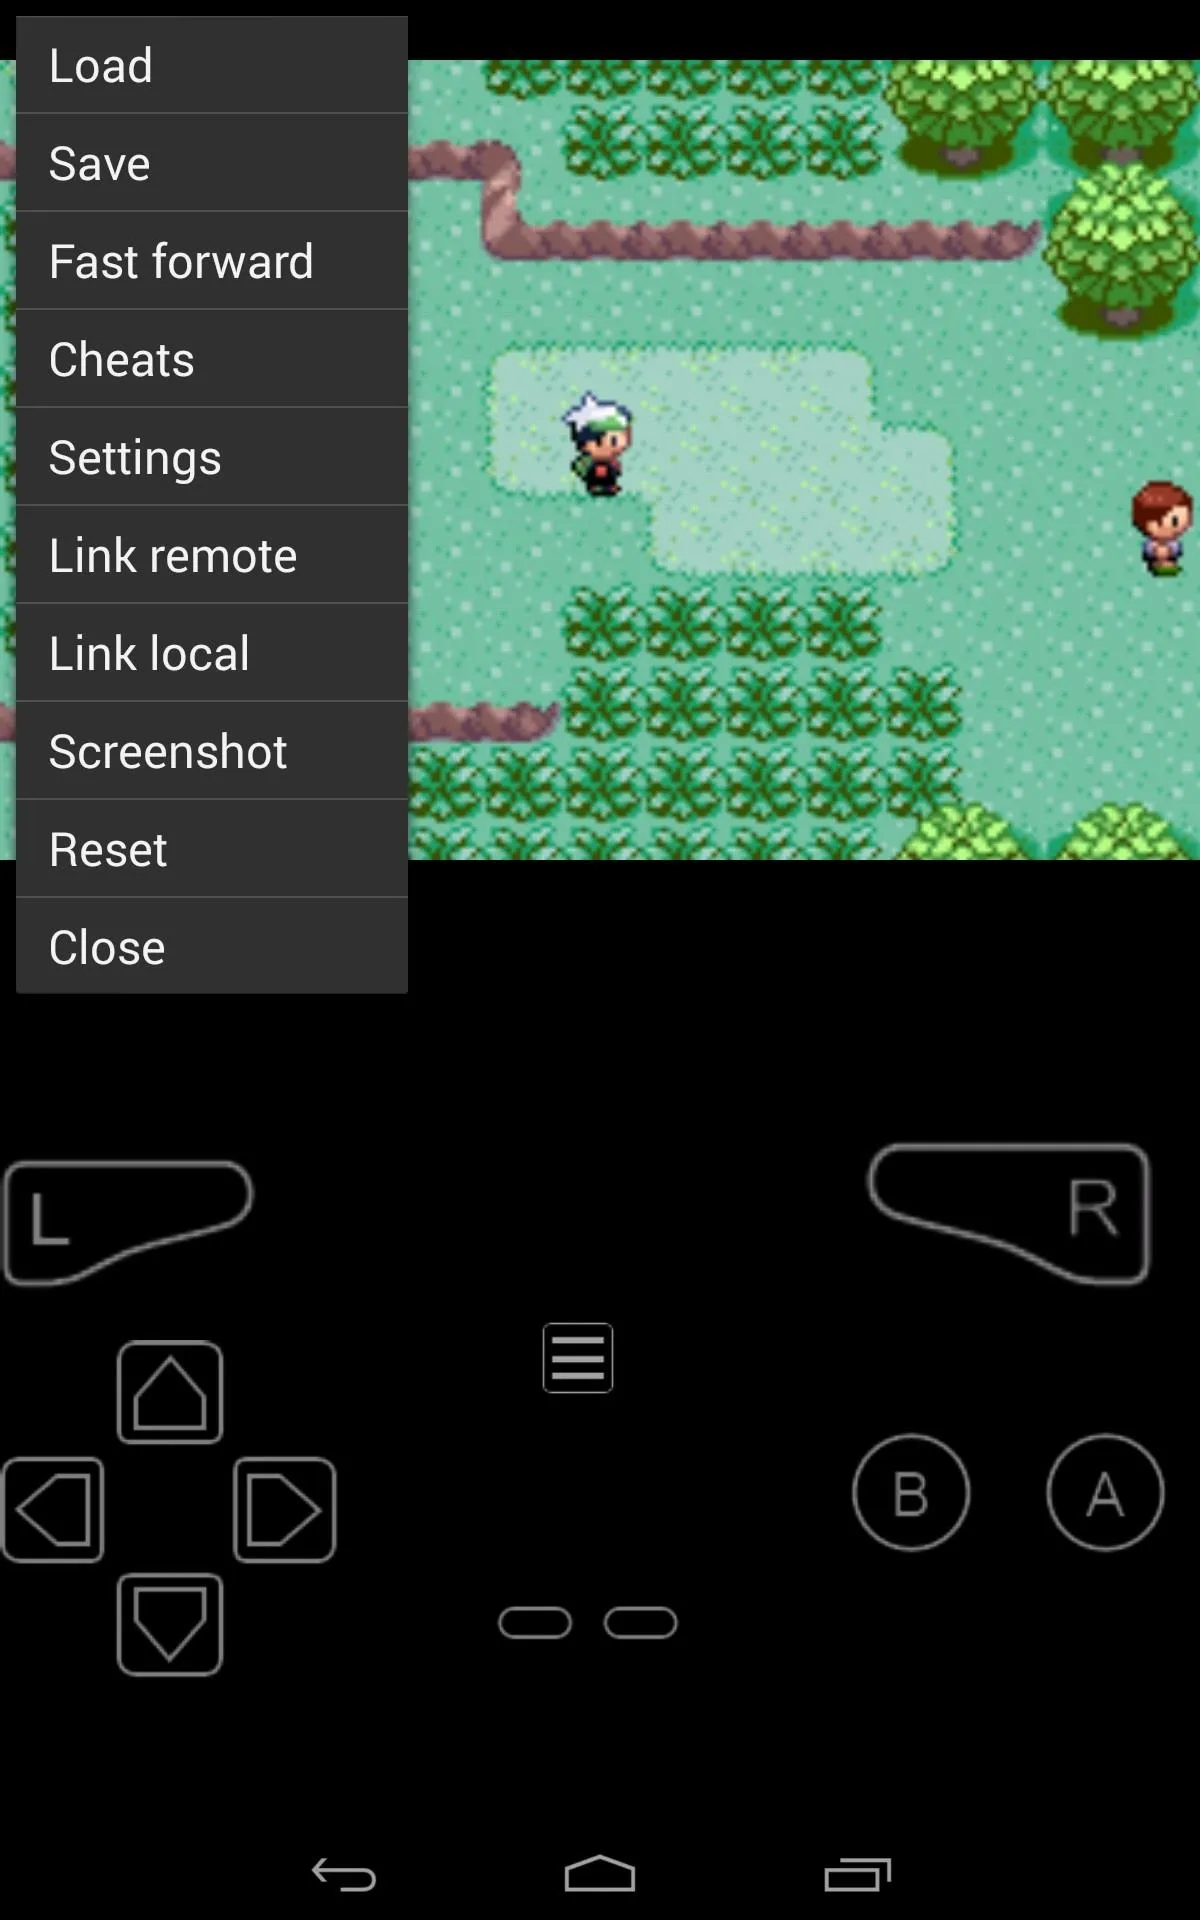
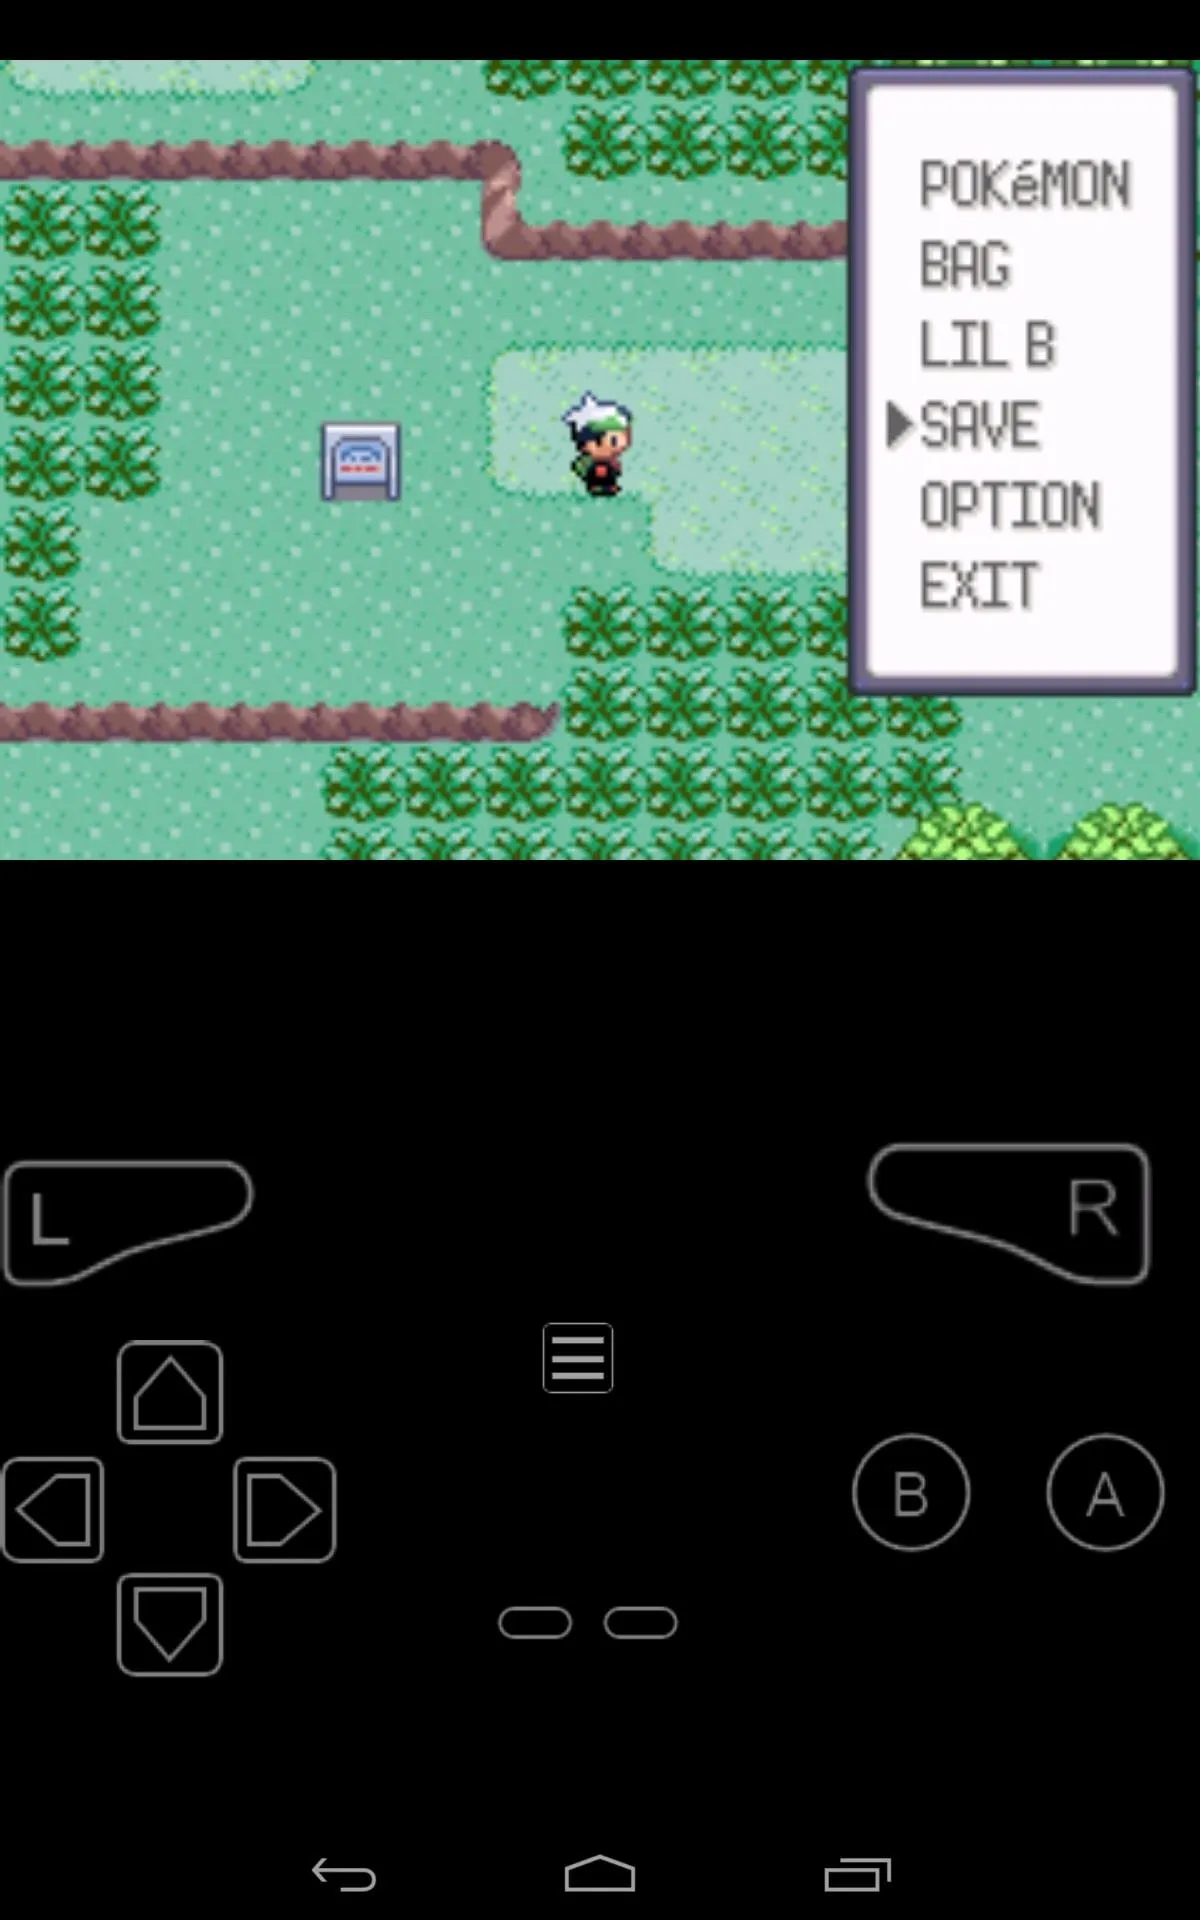
The full version allows you to easily save your game from any point by pressing their option button and hitting save, but like the dev explains, you can also save in-game like you normally would on a GBA using the free version, as long as the game has in-game saves.


Adding an Actual Controller
If you have a controller that has Bluetooth or Wi-Fi capability, then this just got a little better for you. Under the options, you can select Link remote and easily navigate your characters via controller.
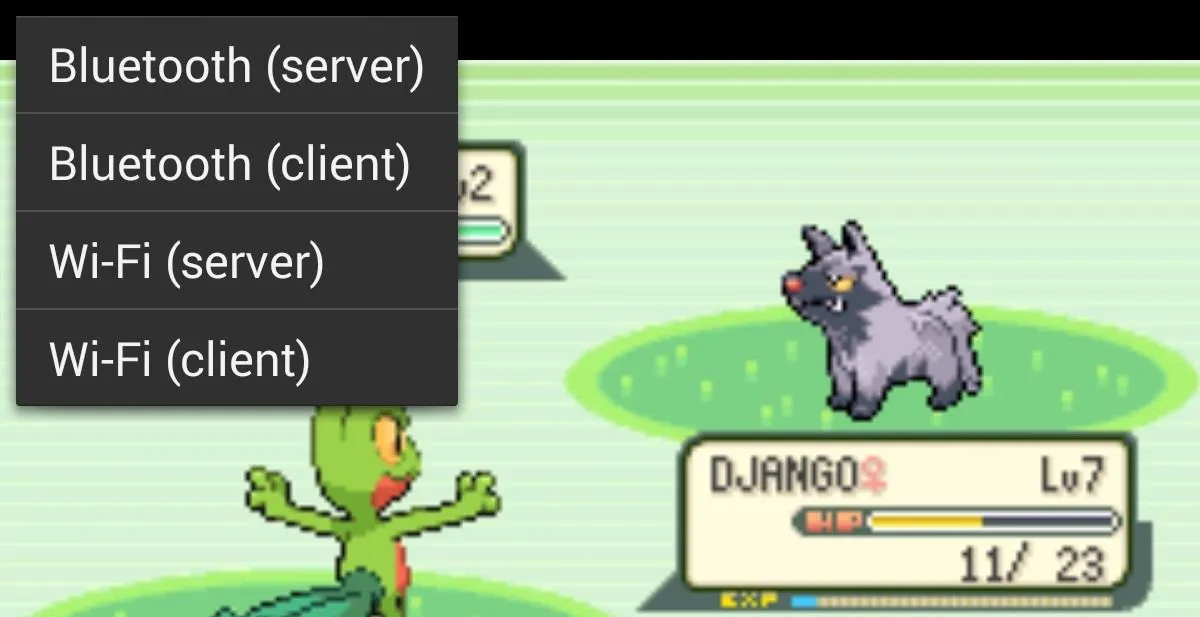
I haven't done it myself, but if you do, let me know how it works.
More Differences Between Free & Paid Versions
The paid version will allow you to speed up the game even faster with the Fast Forward button, which is included in the free version, just not as fast. You also have the Save option, as explained earlier.
If you enjoy playing how you did when you were younger, then just get the free version. It worked well for me and I had no issues, but if you do run into a game that has saving issues, then maybe look into paying the measly $4.99, especially if it's a hard game.
Hopefully, you enjoy playing some Pokémon, as much as I did, or any other GBA game you decided to acquire. This worked like a charm for me, but if there's any issues, just leave a comment below. If you want some other retro gaming options on your Nexus 7, make sure to check out our other Nexus 7 Gaming guides.


Comments
Be the first, drop a comment!