The new Jelly Bean is out in the wild, but if you've installed Android 4.3 from stock, you'll notice rooting is now not possible. If you miss the ad-blocking capabilities of AdBlock Plus, how Seeder made apps snappier, or the convenience of backing up with Titanium Backup, you'll need to get rooted.
UPDATE: If you have Android 4.4 on your tablet, or recently purchased a 2013 Nexus 7, check out our newer guide on how to root the Nexus 7 tablet running Android 4.4 KitKat instead.
Thankfully, there's a new rooting method for Android Jelly Bean 4.3 to get you softModded. Let's jump right in.
Enable USB Debugging
Begin by enabling "USB debugging" on your Nexus 7. This is the most important step because the toolkit we'll use in a later step will automate everything for you.
Enable "USB debugging" by going to Settings -> Developer Options -> USB Debugging.
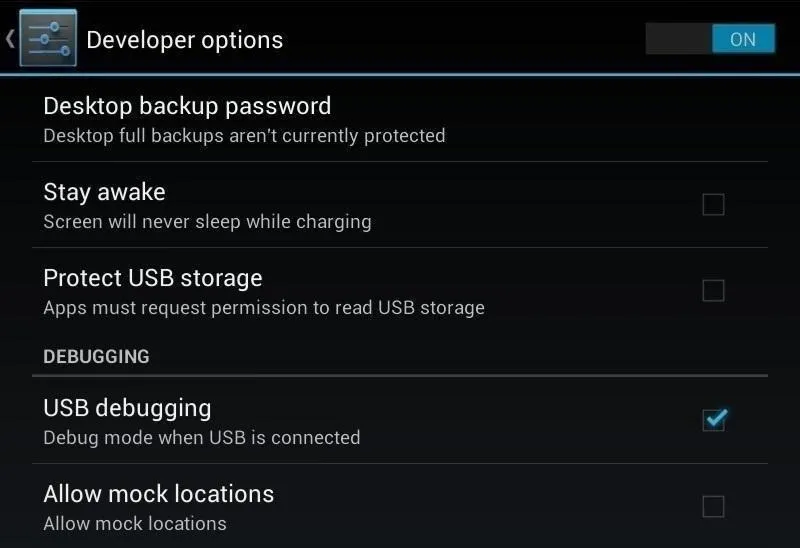
If you don't see the Developer Options, go to Settings -> About Device and tap your device Build Number repeatedly until these options unlock.
Download SuperSU
On your tablet, head over to this link on Chainfire to download the latest version of SuperSU. We'll be manually flashing the root files using a custom recovery.
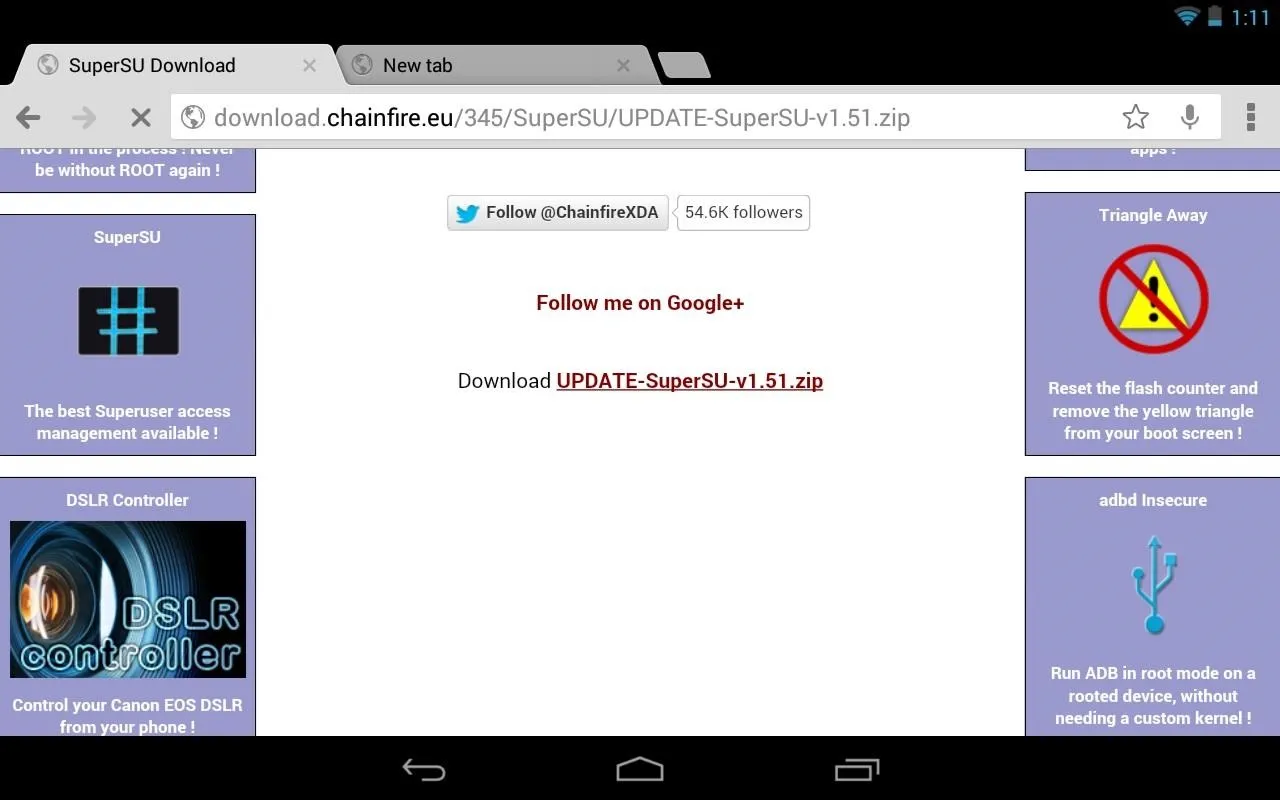
Next, head over to your PC, and plug in your Nexus 7 tablet.
Download & Install Wugs Nexus Toolkit
Yep, it's every softModder's favorite toolkit for the Nexus 7 (or any Nexus device for that matter). If you haven't already installed WugFresh's Nexus Root Toolkit (we installed when manually updating to Jelly Bean 4.3), you can grab the newest version over at the official WugFresh website.
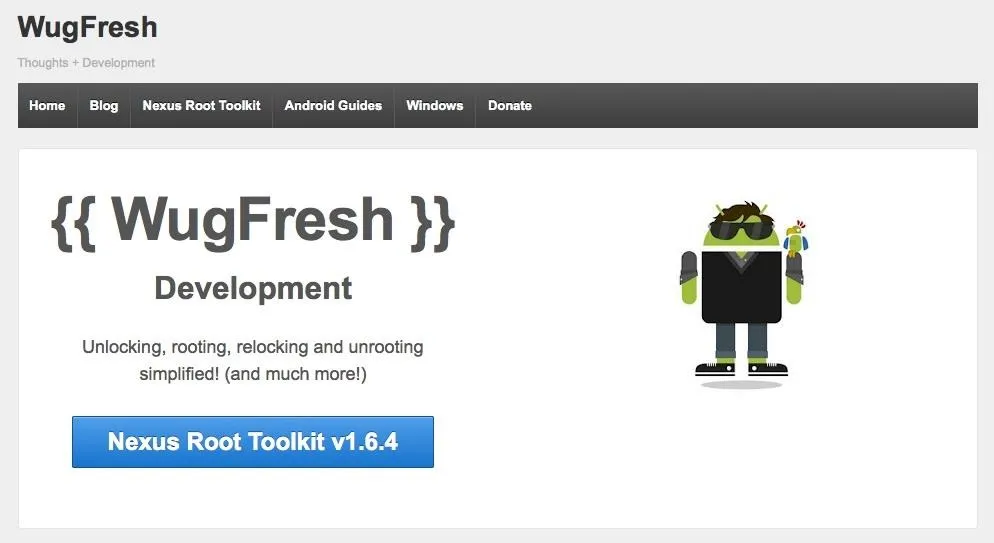
For those who don't know, a toolkit has all the tools and drivers needed to do any softModding job. Whether it's rooting, bootloader unlocking, ROM flashing, or restoring—a toolkit does it all, with ease and simplicity.
Set Up the Toolkit
Install the toolkit like you would any other Windows program (sorry, this will not work for Mac users). Launch the toolkit when done and a window will pop up asking for your device model. Choose your device from the list along with its OS version (any build) and click "Apply."

Currently, Wugs Nexus Root Toolkit hasn't been updated to root 4.3, so we'll just be doing it manually.
Now, Head over to "Initial Setup" and click "Full Driver Installation...."

Follow the guide provided in the toolkit to install the required drivers for your Nexus 7. I recommend "Driver Solution #3," but any of the three options should work. The toolkit has a built-in guide with pictures that will aid you in installing the drivers.

Installing drivers properly is the most important step (aside from making sure USB Debugging is turned on, of course).
Unlocking the Bootloader
Click on "Unlock" to unlock the bootloader. Everything will be automated, so just follow its lead.

WARNING
THIS DELETES EVERYTHING ON YOUR NEXUS 7! So, make sure you backup before continuing, unless you don't mind a fresh start.
Getting Rooted
Afterwards, tap "Launch" under Advanced Utilities.

A new window will appear. Tap "Boot Custom Recovery Temporarily."

Give it a few moments and your tablet will automatically launch the TWRP recovery. Use TWRP to flash the ZIP file downloaded earlier.
- Tap Install
- Tap the SuperSU ZIP file
- Swipe to confirm flash
- Tap Reboot
Once your tablet is fully booted up, open the app drawer and you'll find SuperSU, which gives you superuser access to your Nexus 7 tablet.

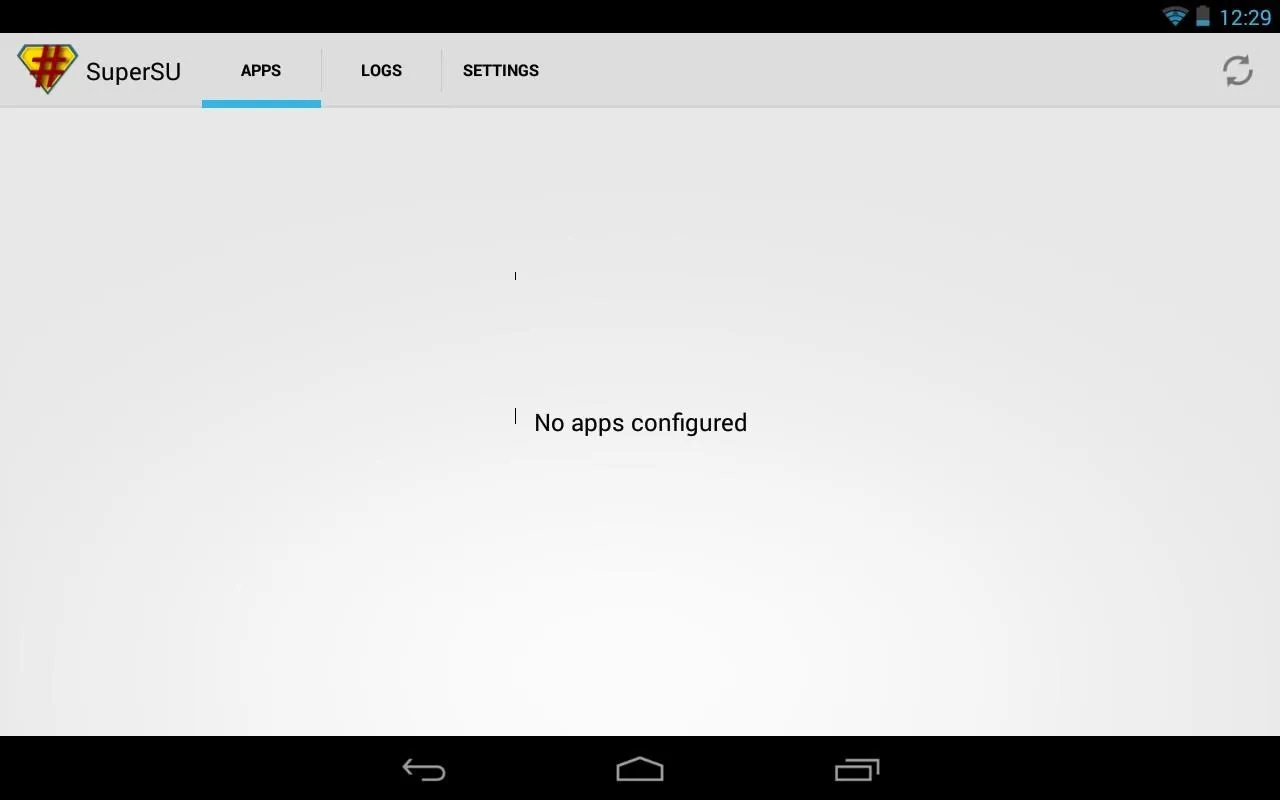


Your tablet is now fully rooted and ready for any softMods you throw at it. Whether it's installing a custom ROM, flashing a different custom recovery, or taking full advantage of the wide range of apps that require root, you're now ready for all of what Android has to offer.
Tell us if it worked for you, and feel free to ask questions below.


![Mr.Shield [2-PACK] Designed For Asus (Google) Nexus 7 FHD (2nd Generation) 2013 Tablet [Tempered Glass] Screen Protector with Lifetime Replacement](https://m.media-amazon.com/images/I/71ik6S-liFL._AC_UY218_.jpg)


Comments
Be the first, drop a comment!