


Customization of our Android devices, outside of what Google and mobile carriers allow us to do, used to mandate that our devices were rooted and running a custom ROM.
While rooting is fairly easy for the Nexus 7, many people don't like the idea of writing over their core system with a custom ROM. From non-working features to backing and wiping data, flashing a custom ROM isn't all it's cracked up to be.
A cozy middle ground was developed by Recognized Developer rovo89 when he created Xposed Framework.
Xposed is an application that allows customization of almost all aspects of your system, including many things that previously were only available by flashing custom ROMs. From securing our devices from prying eyes, to applying icon themes, to having the ability to save Instagram photos, this is a highly efficient tool for modding our Nexus 7 tablets.
Getting Started
Before I walk you through the install process, let's get a couple of prerequisites out of the way.
First, you'll need to be rooted. Check out our softModder guides on rooting your Nexus 7 for Windows and Mac.
Secondly, you'll need to have "Unknown sources" checked. To do that, simply go to Settings -> Security and check it off.

Get the Xposed Installer
Grab the latest version of Xposed Framework from here. The easiest way is to download the file directly to your Nexus 7.
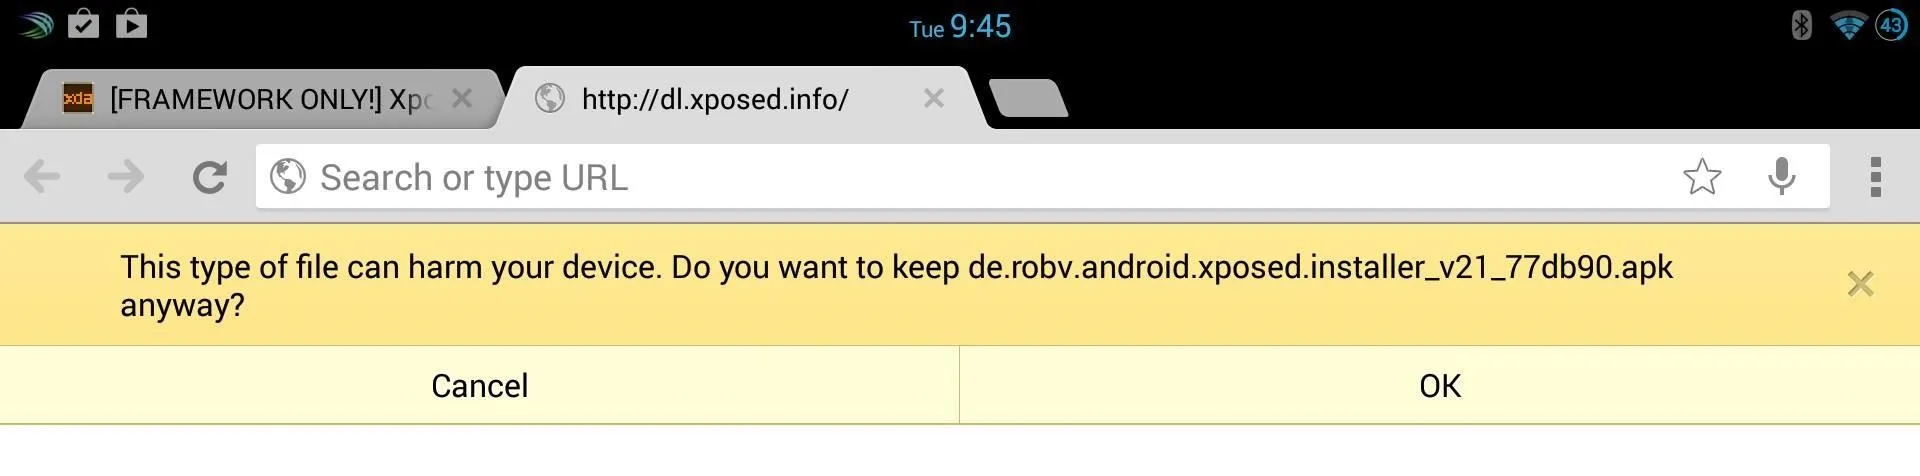
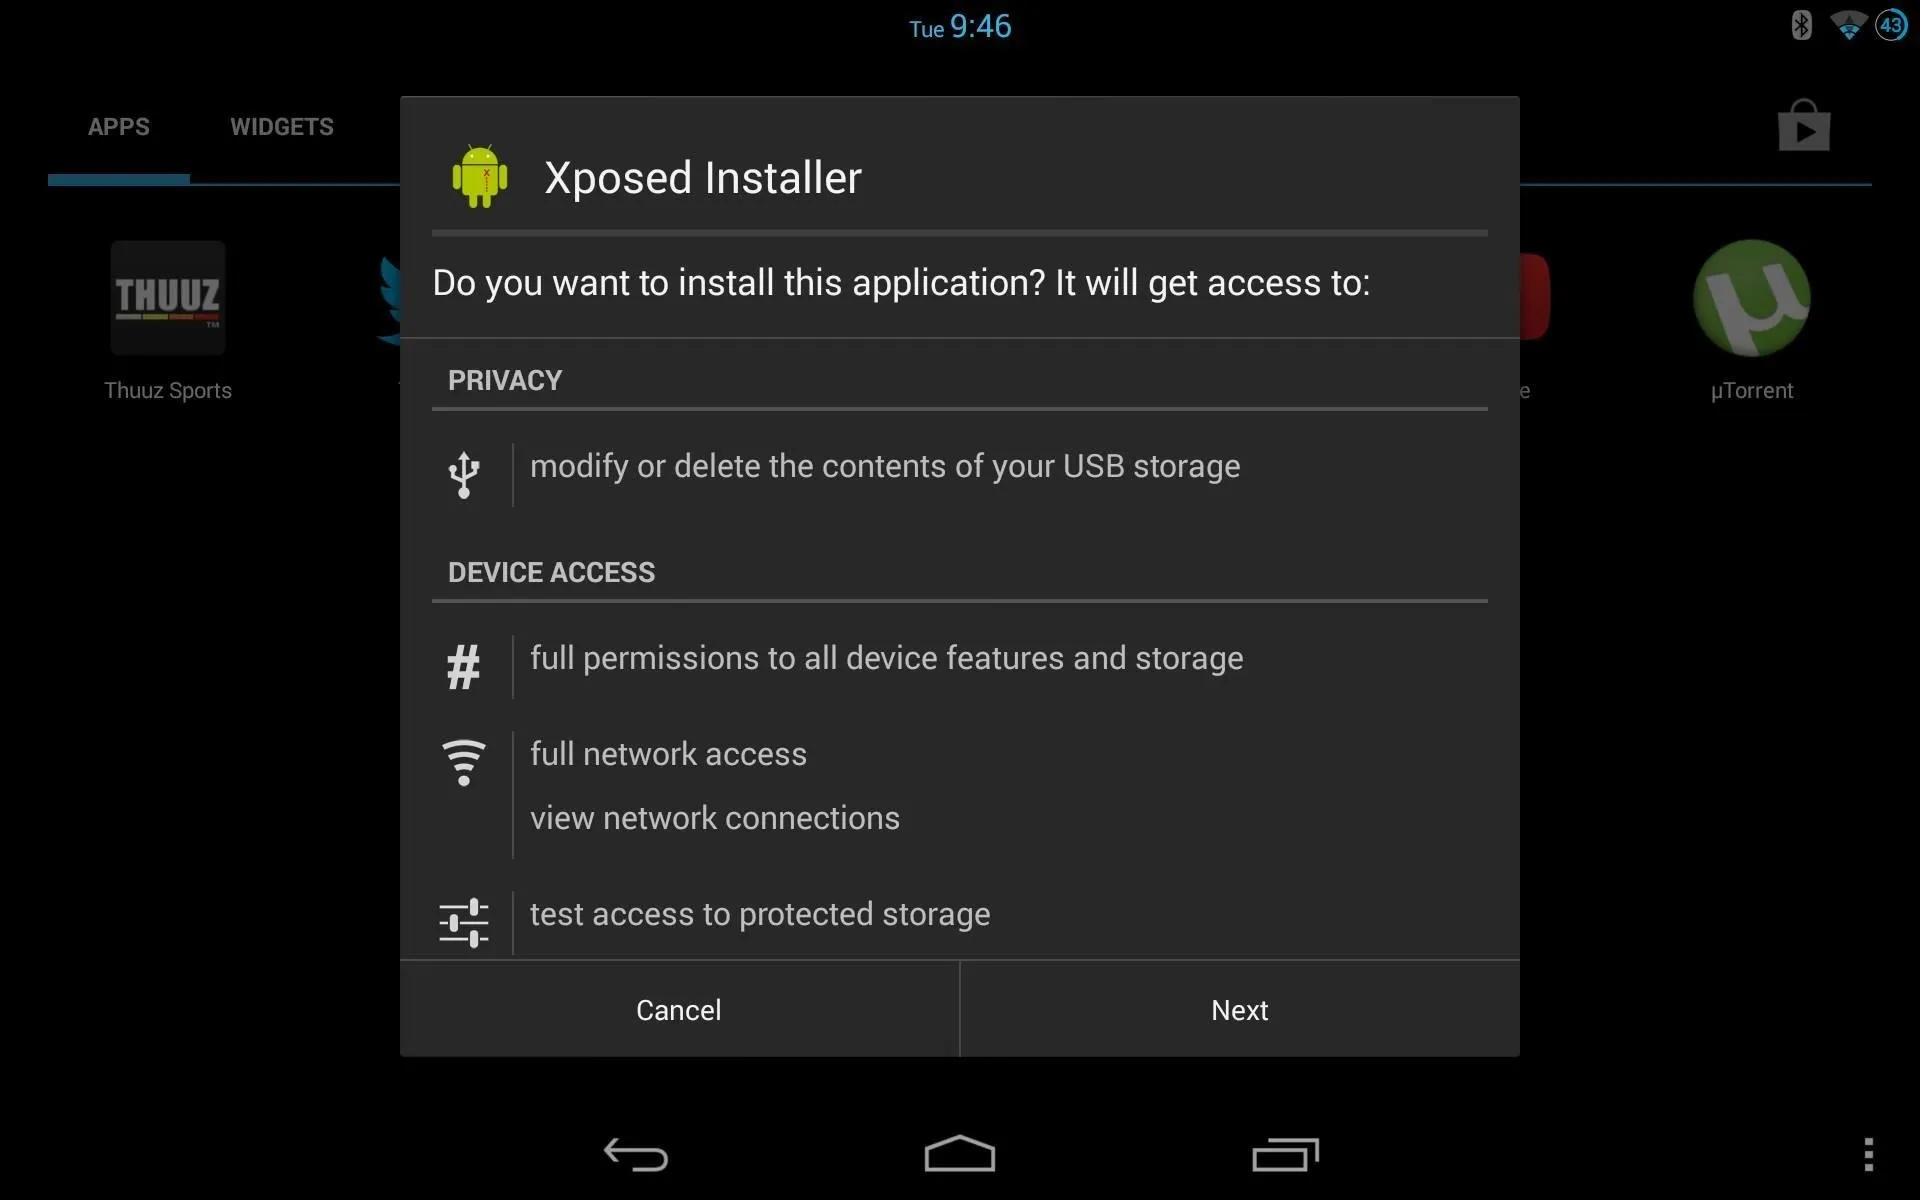
From there, go ahead and tap on the downloaded file from your Notification tray, and it'll install like any other app.
Update Xposed & Reboot
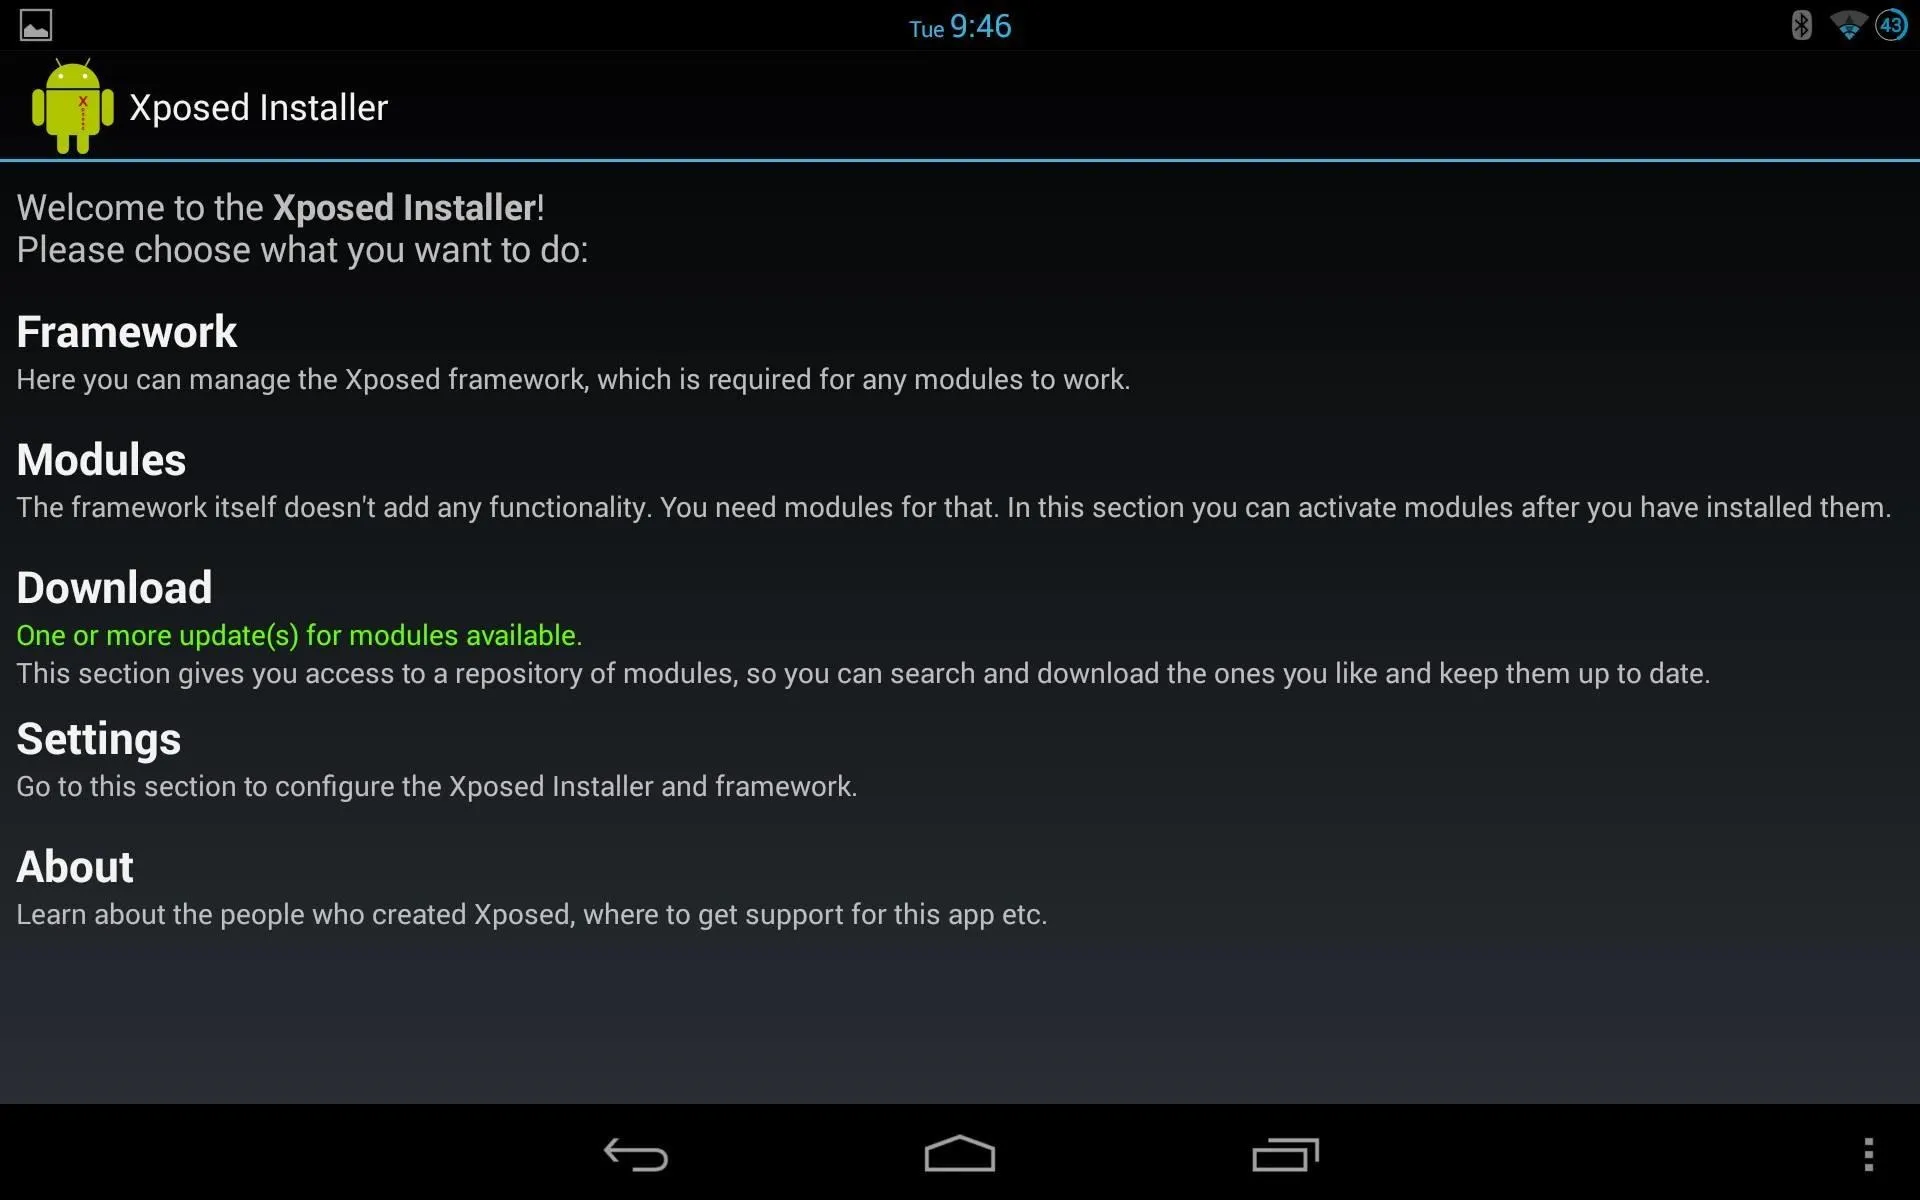
Now, open the Xposed Installer app and select "Framework."
From here, select the "Install/Update" option. This ensures that you are always on the latest version, so check this option regularly.
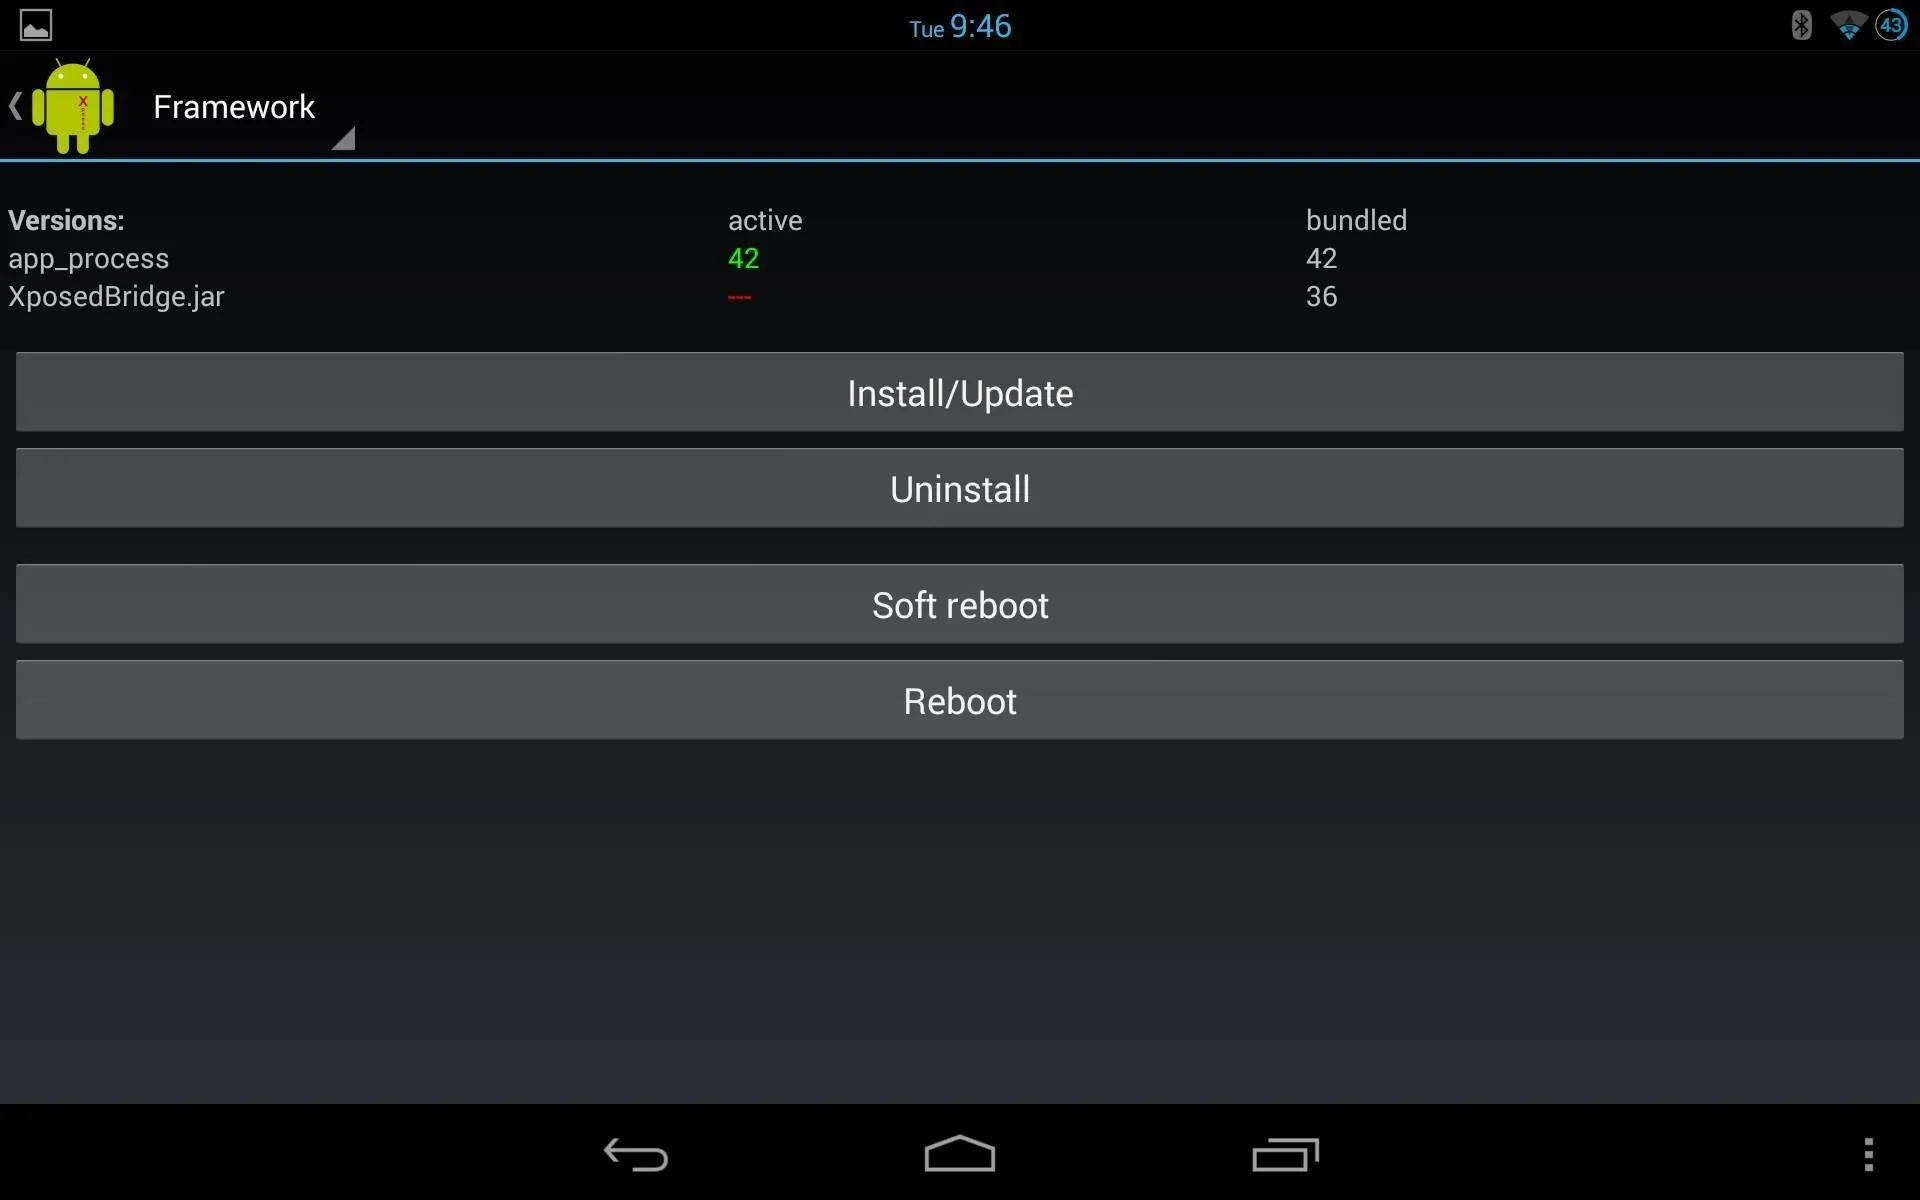
After you've updated, reboot your device. A reboot will be needed whenever you update or install a "module" (what the various hacks are referred as).

Install Modules
Now, from the main menu, select the "Download" option. Here, you'll see the various modules that are available directly in the app, and the list is always growing. To see some of them in action, check out our Xposed Mods section.
Be aware that not all modules will work for all devices. Make sure to read through the descriptions prior to installing, and check out their support forums for additional information.
That's it! Let us know if you find any cool modules, or any that you'd be interested in seeing a how-to on. And as always, feel free to post your comments and questions below, or over in the Nexus 7 softModder forum.


Comments
Be the first, drop a comment!