You've gotten used to your brand spankin' new Nexus 7 and finally have a feel for Android, but now you want more features. Well, user Juan Mercator was in that predicament, and asked how to install the ever popular CyanogenMod ROM on his Nexus 7 over on our Nexus 7 SoftModder forum.
Why install CyanogenMod you ask? Custom ROMs can offer you new UI features, better speed and performance, and not to mention the support of developers with weekly updates. So, in this article, I'll be showing you exactly how to install CyanogenMod on your Nexus 7 tablet using a Mac computer.
The following files are the ones you'll need for this. Don't worry about downloading them just yet. We'll get to that in the guide. Some you'll download onto your Mac and some onto your Nexus 7.
Unlock the Bootloader
Connect your Nexus 7 to your Mac with the micro USB cable and leave it connected. Power off your tablet by holding the power button. Once it's off, press and hold the volume up, volume down, and power button all at the same time. You'll now be in fastboot mode.
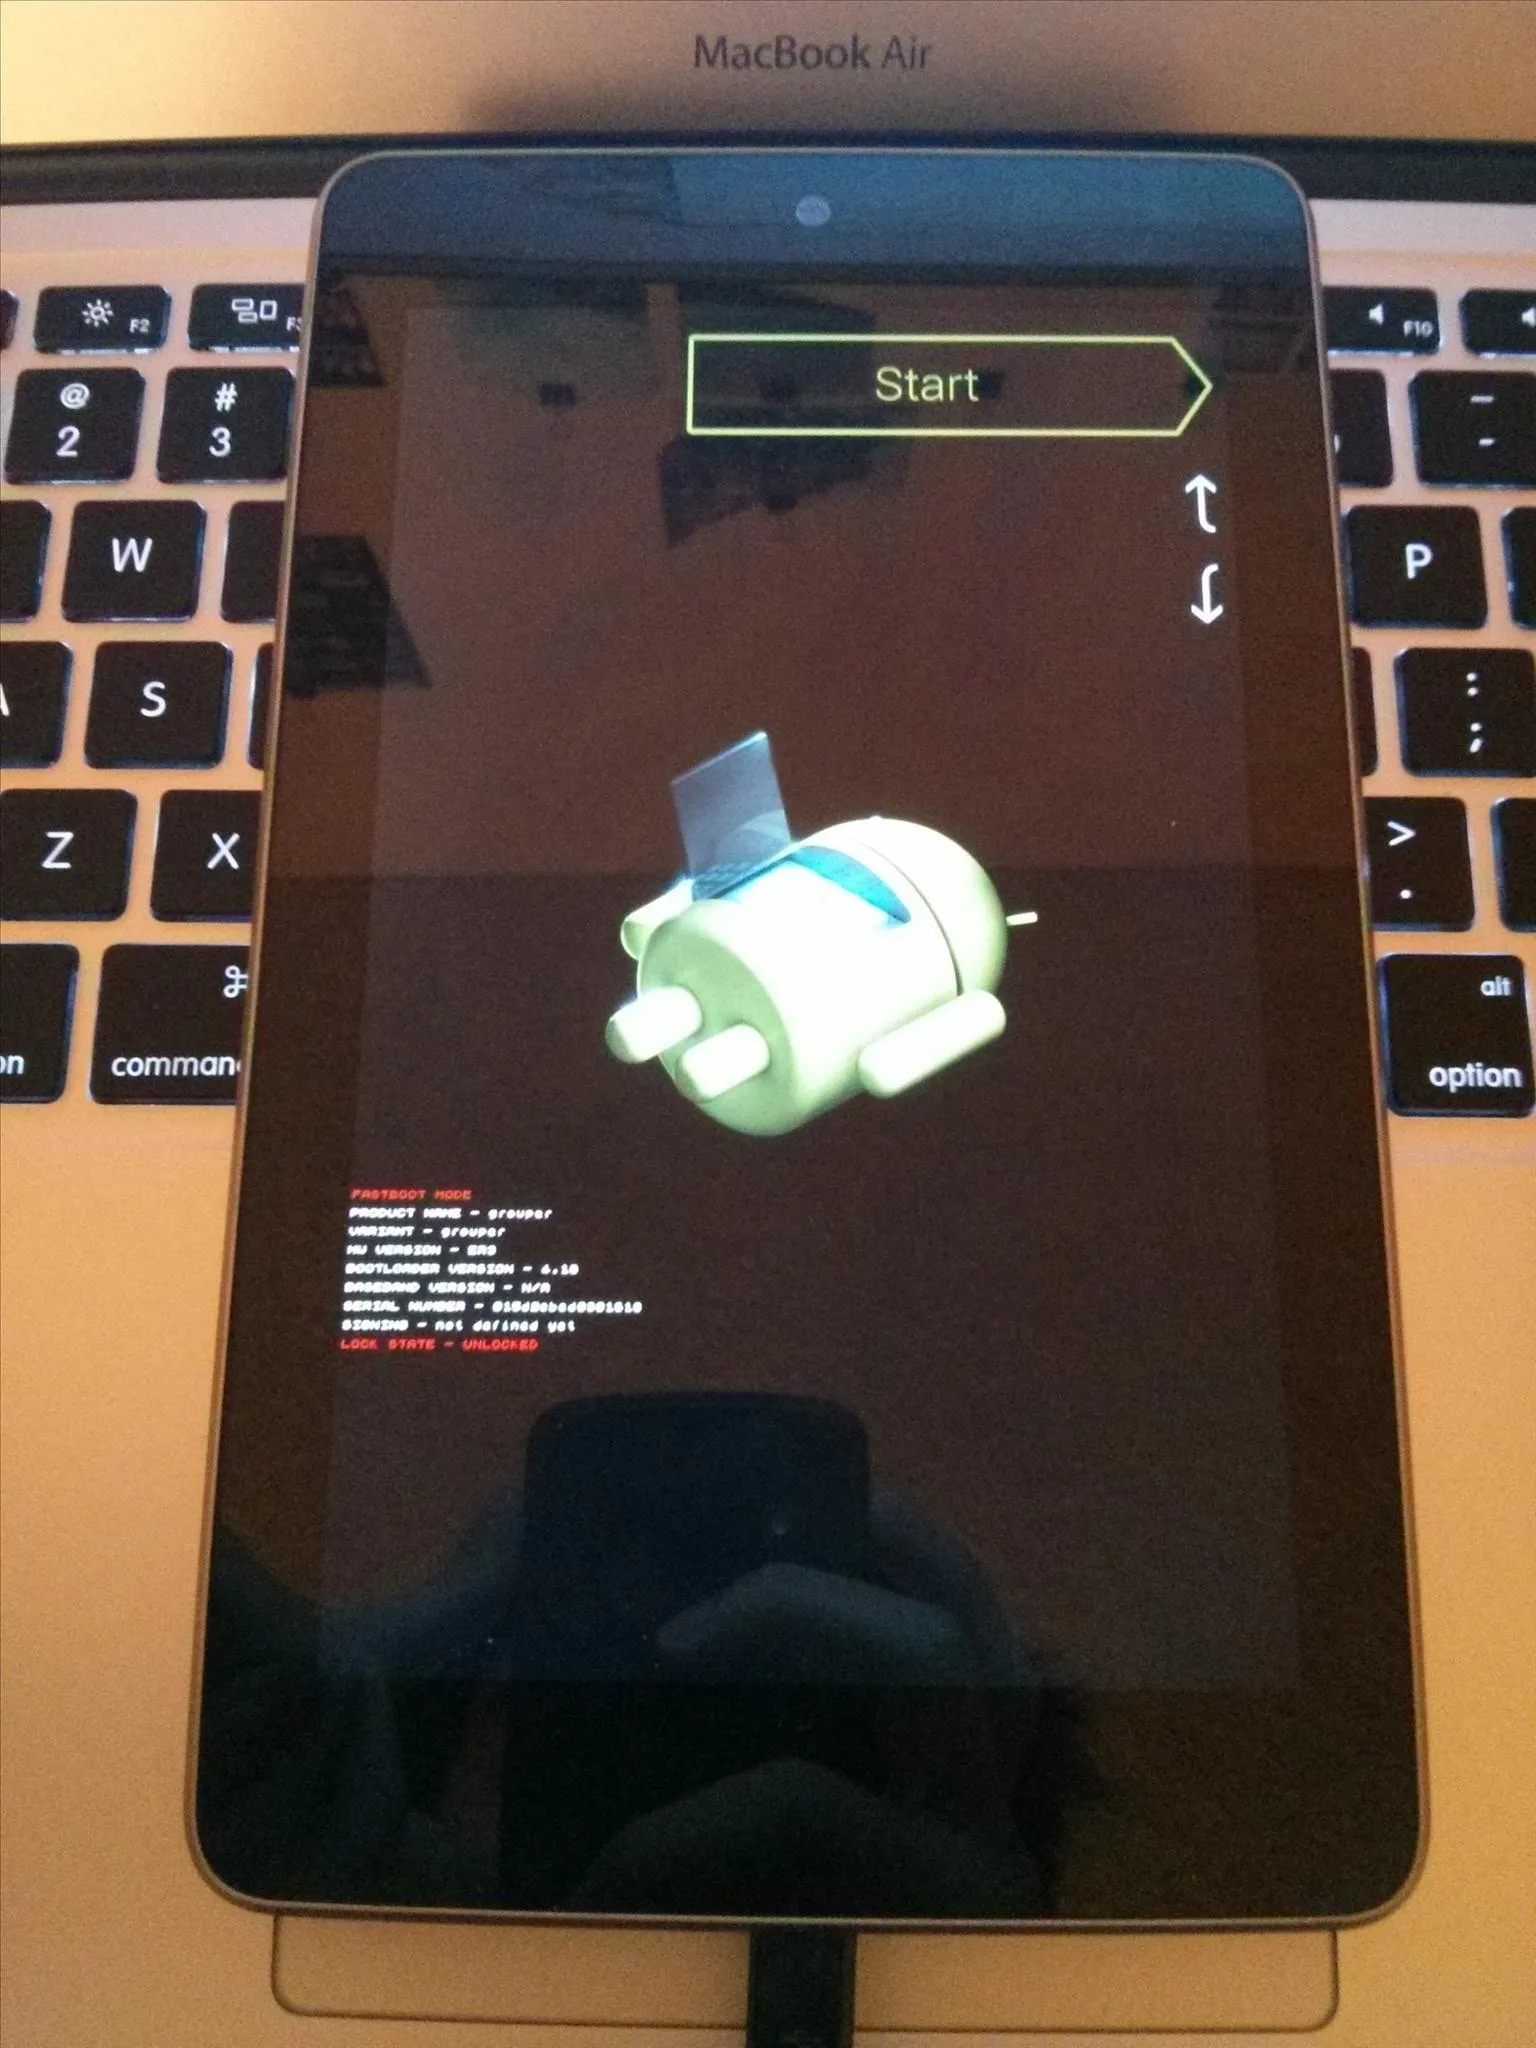
Download and unzip the "Unlock Bootloader Nexus 7" file onto your computer, then open the unzipped folder and double-click on the program. A terminal window will pop up. Now, follow the prompts to unlock your bootloader. NOTE: This will erase everything on your device—make a backup!
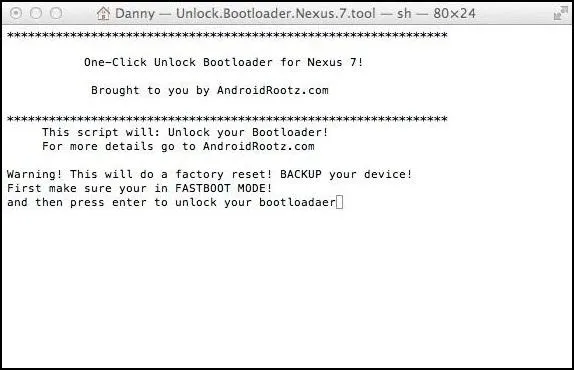
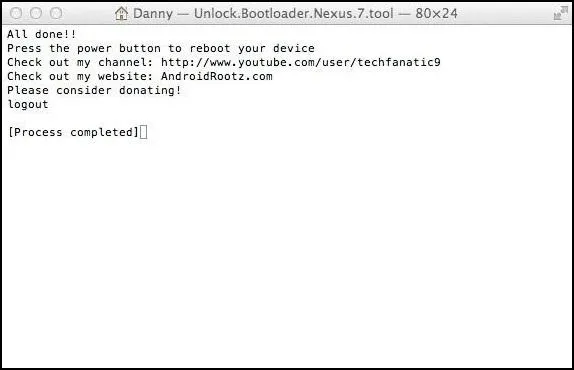


Make sure to press Yes when prompted on your Nexus 7.
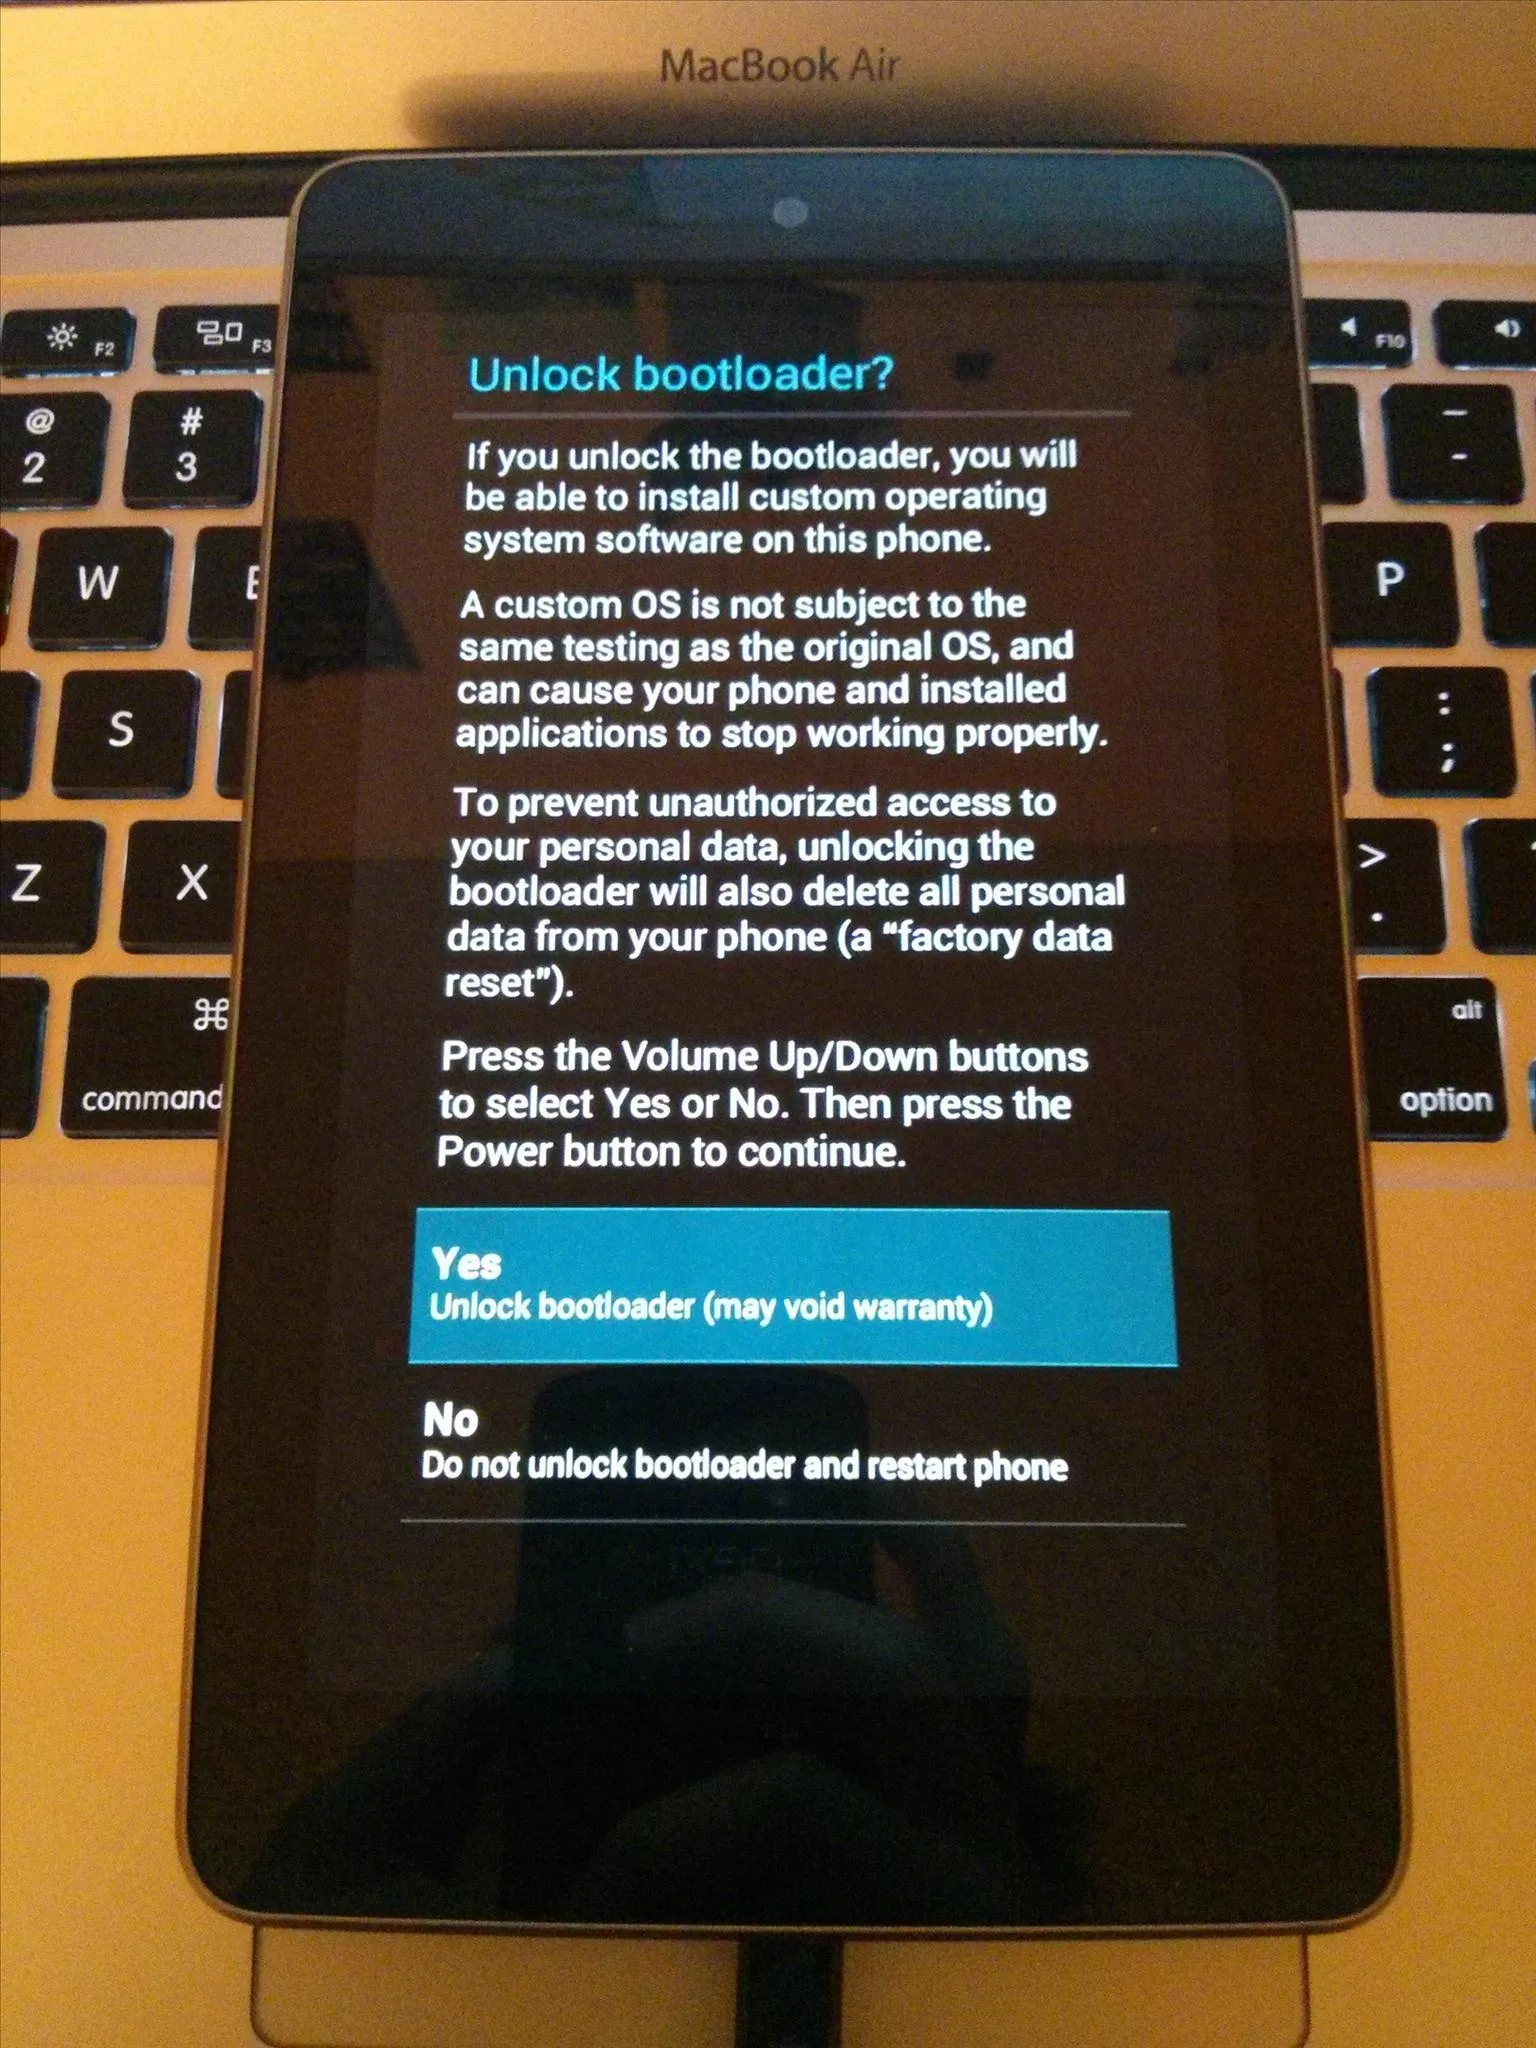
Afterwards, reboot your Nexus 7. Then go through the normal set-up process. Once you're at the home screen, open up the web browser.
Download CyanogenMod and GApps
Now, download the latest version of CyanogenMod and GApps using the web browser on your Nexus 7 (not your computer).
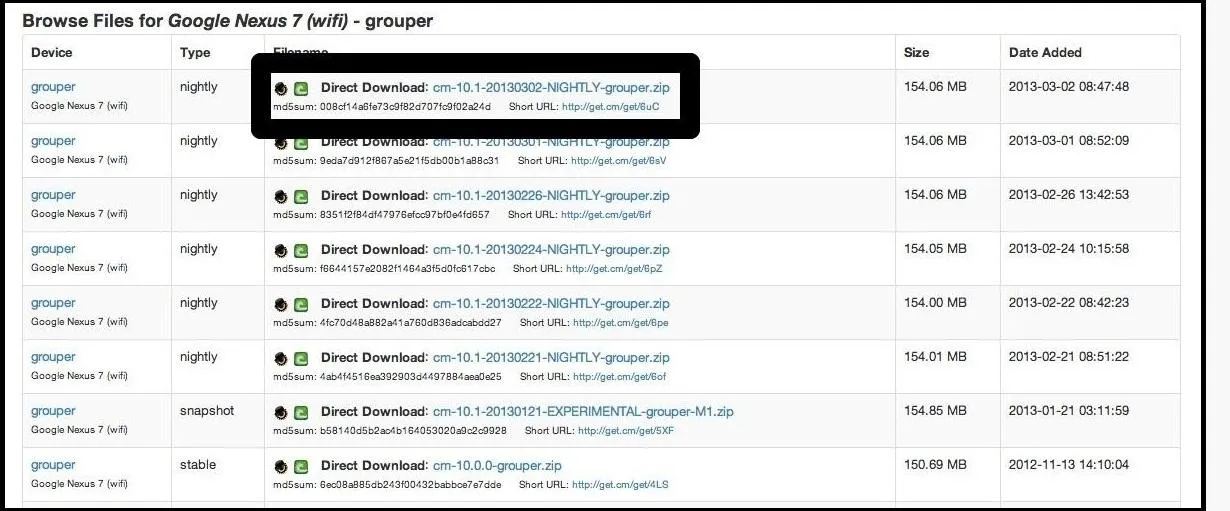
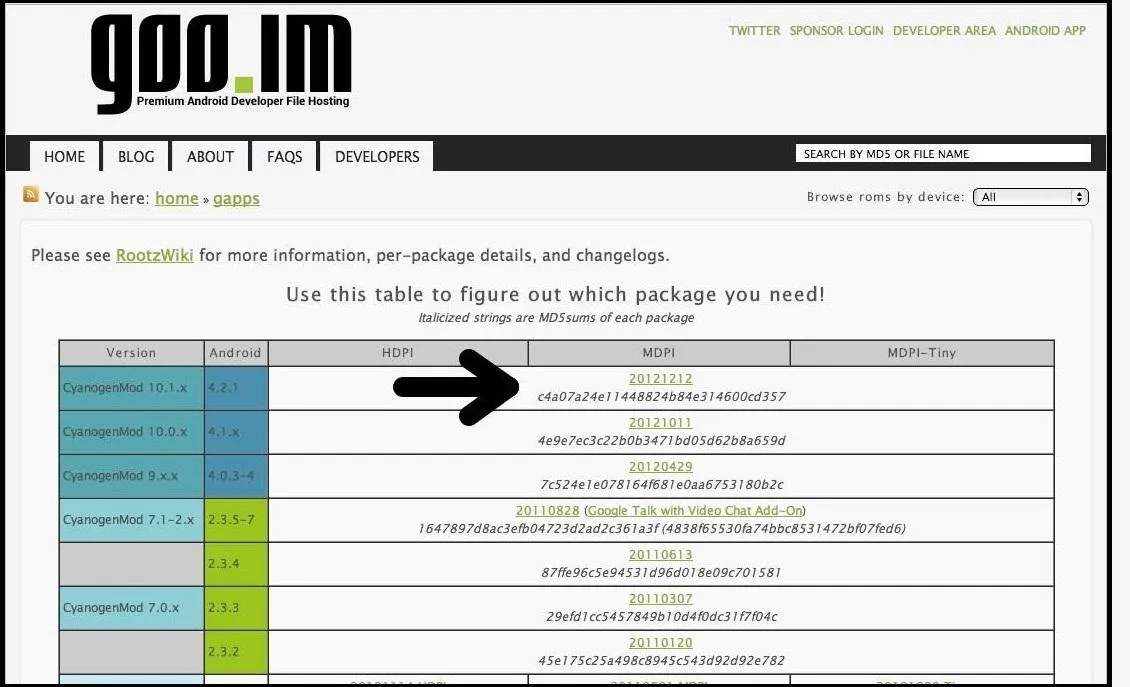


Once the downloads finish, power off your Nexus 7.
Installing ClockworkMod Recovery
Boot into fastboot mode again by pressing volume up, volume down, and the power button all at the same time. Now, download and unzip the Nexus 7 ClockworkMod Recovery Toolkit file onto your computer. Exactly as before, open the folder, double-click on the program to launch the terminal window, and follow the prompts.
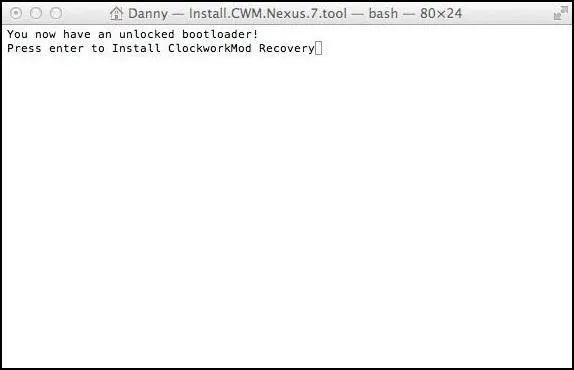
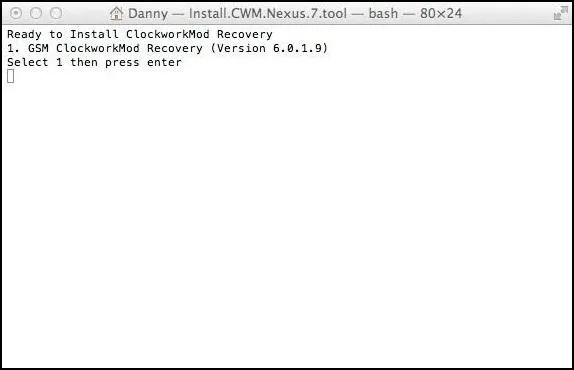


Almost there.
ClockworkMod Recovery
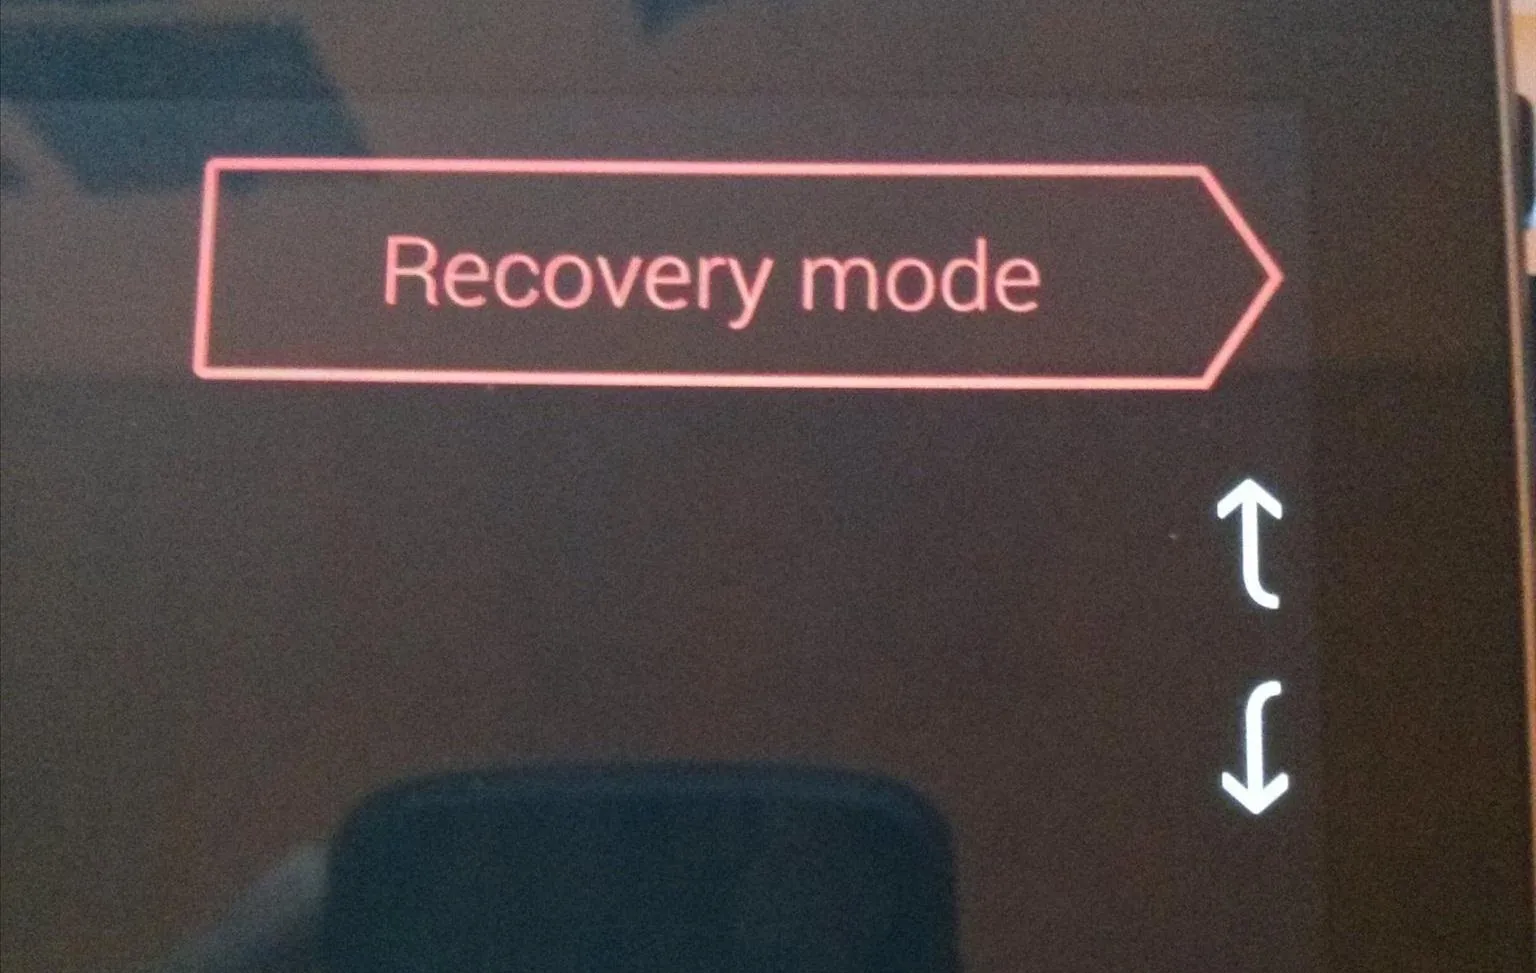
Now you'll have to boot into ClockworkMod Recovery by using the volume buttons to select "Recovery mode" , then press the power button.
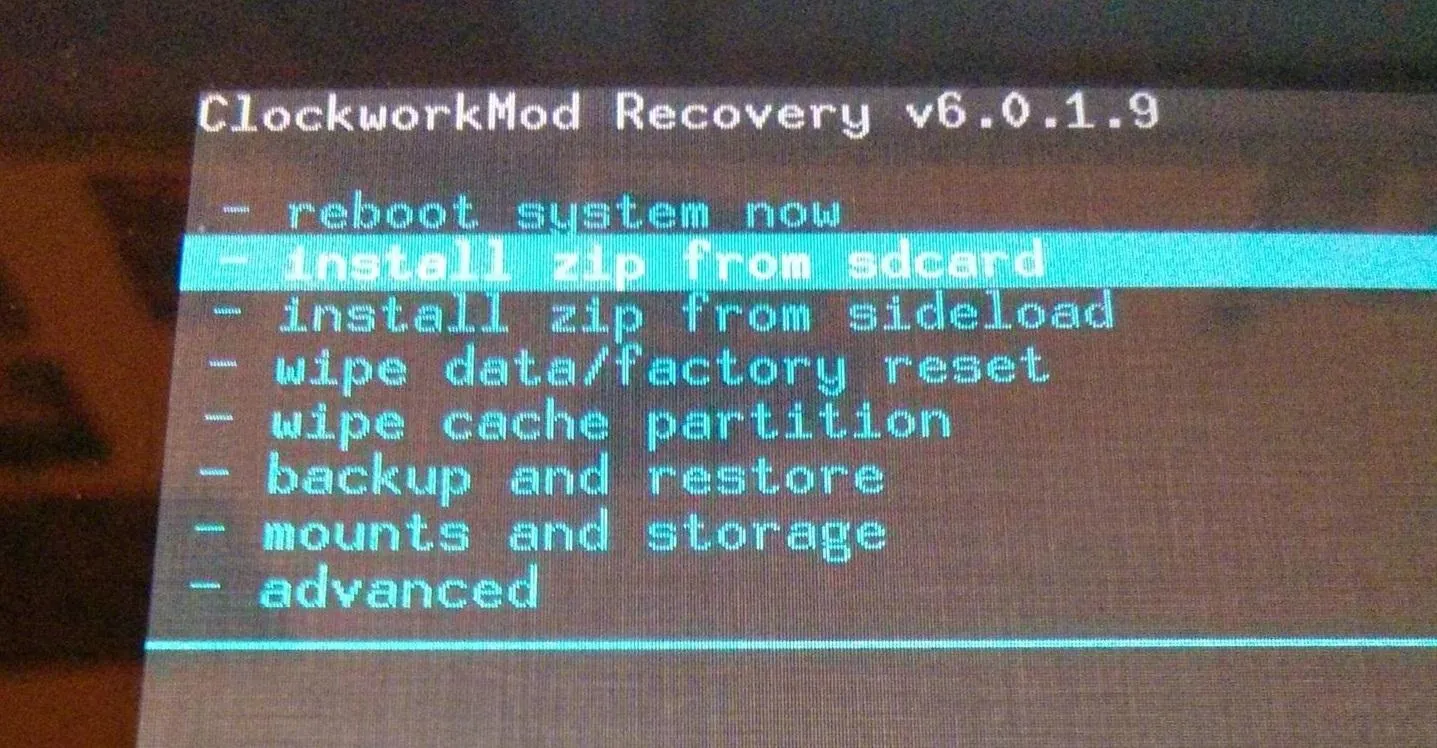
Using the volume up and down buttons, choose "Wipe Data" followed by "Wipe Cache". This will prepare your Nexus 7 for installing CyanogenMod.
Choose the "Install zip from sdcard" option.
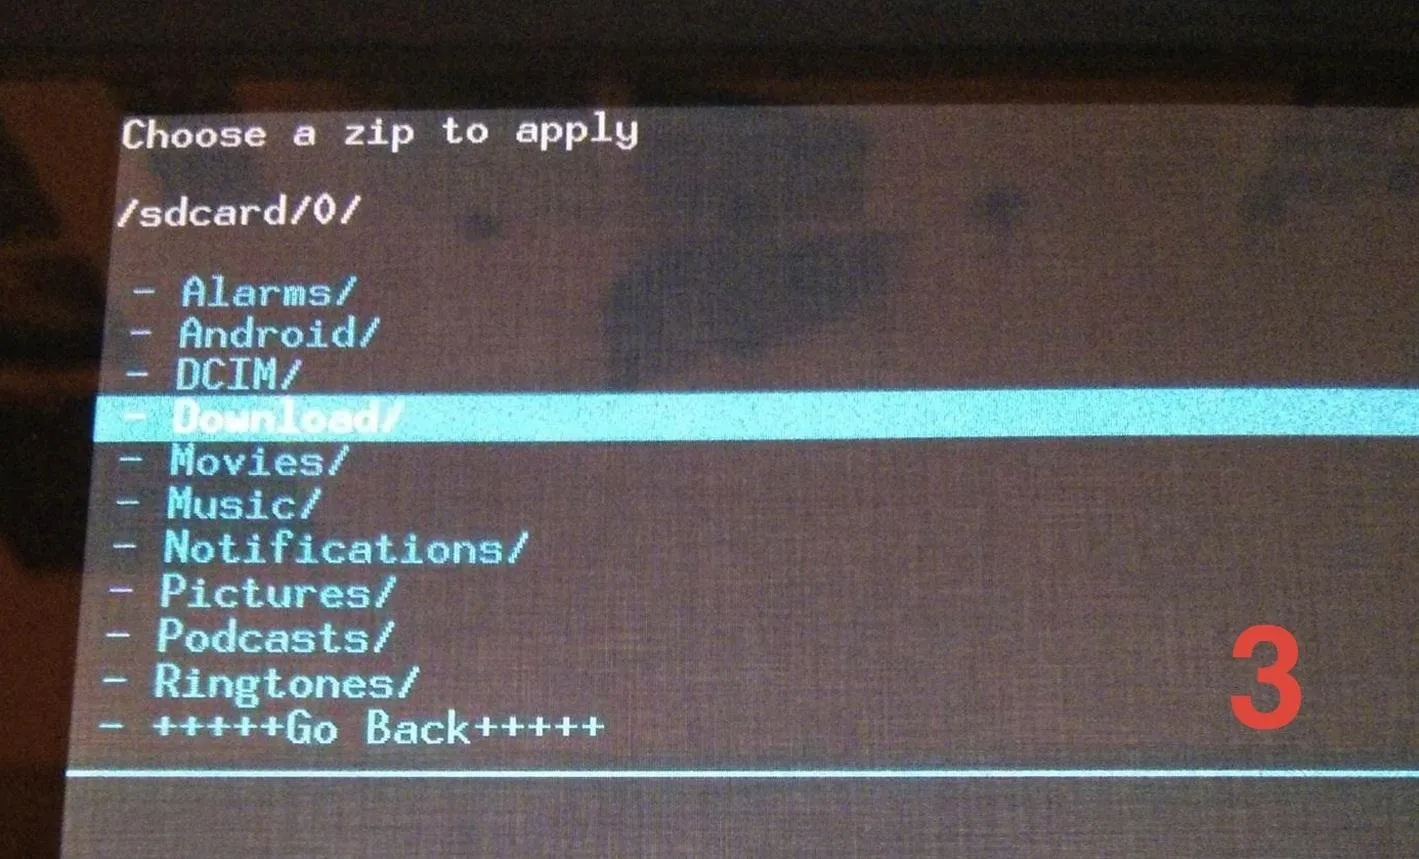
Go to the "Download" directory where you saved CyanogenMod and select the correct .zip file.
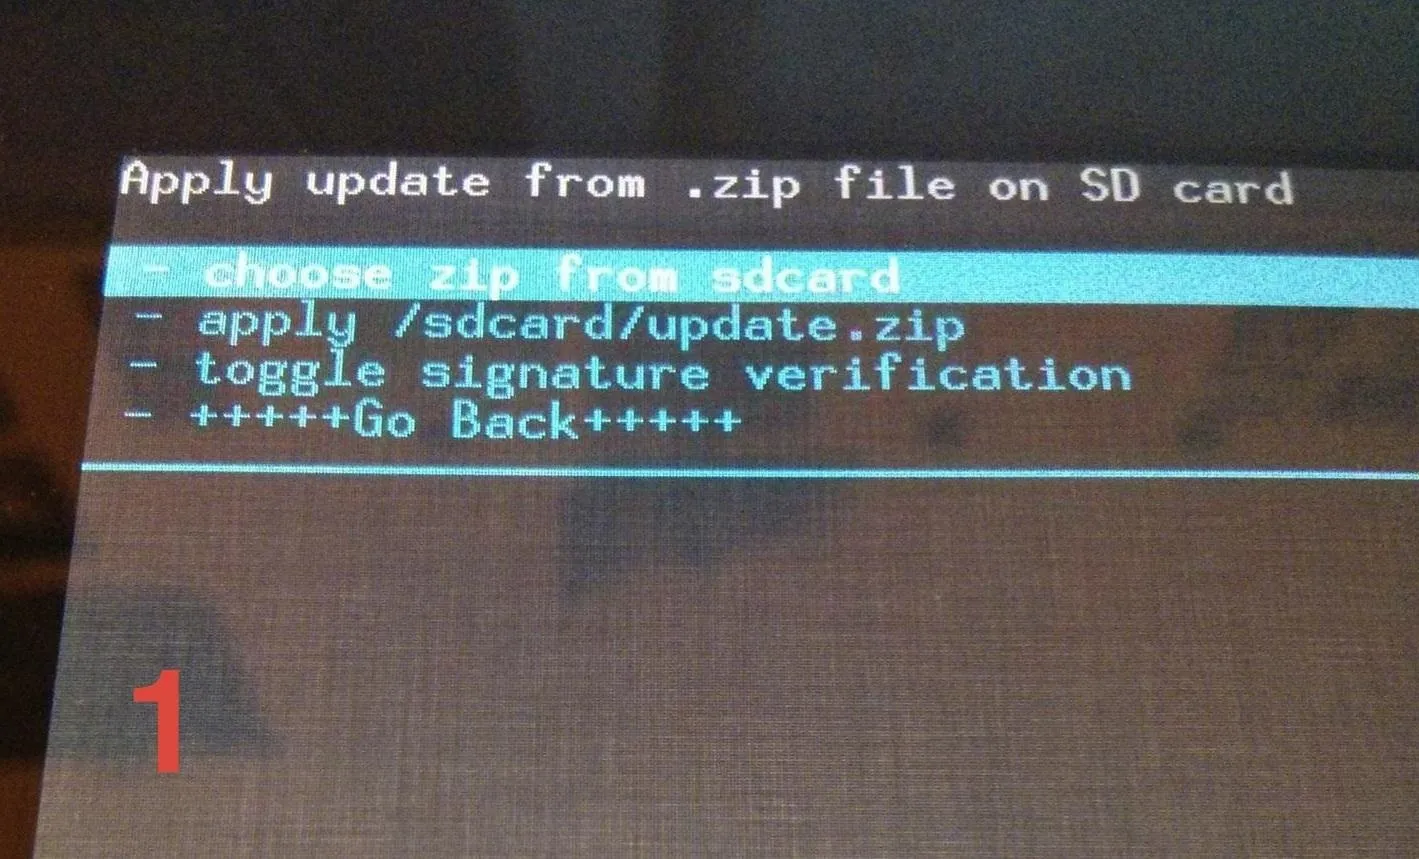
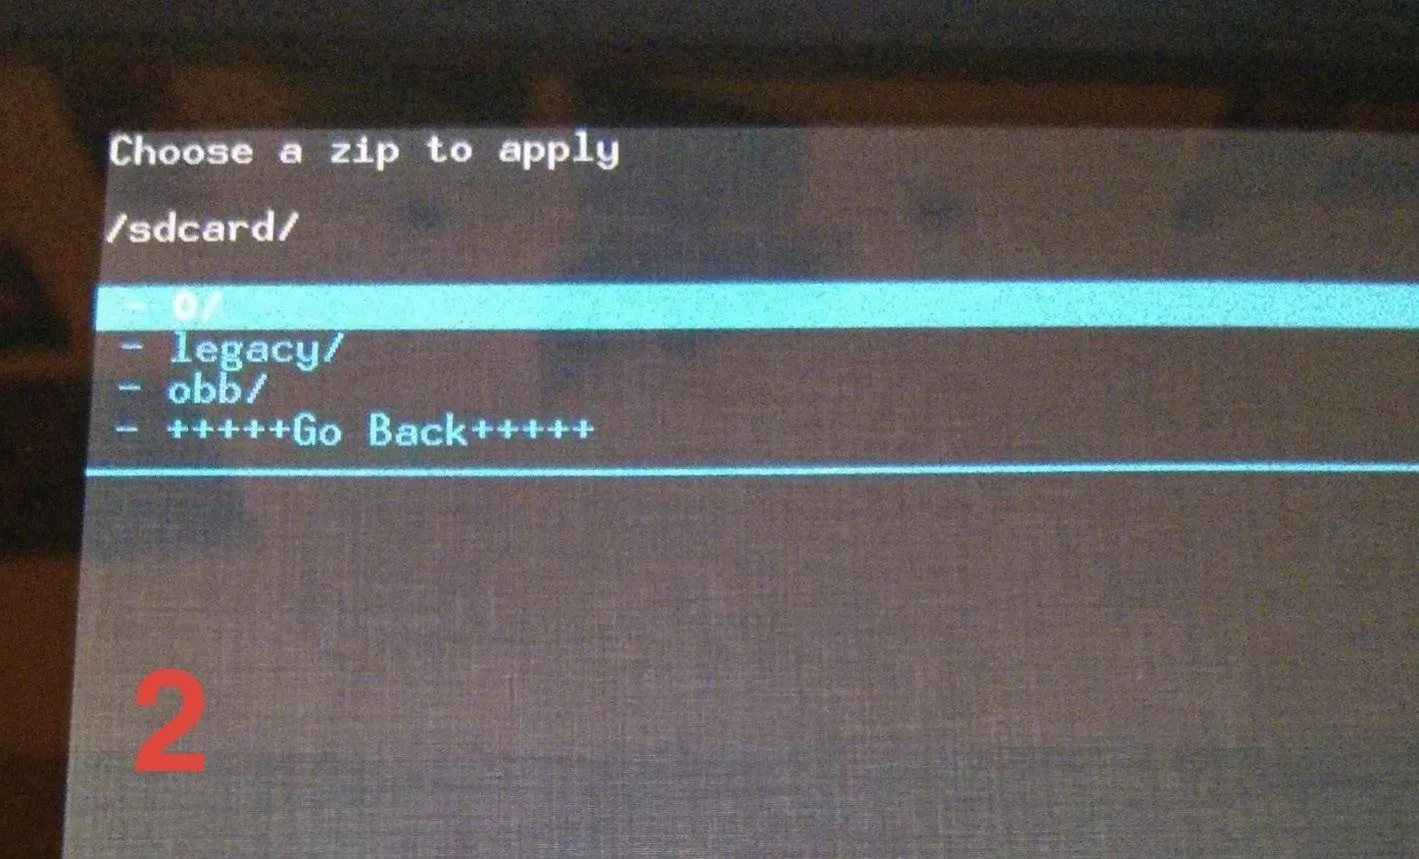
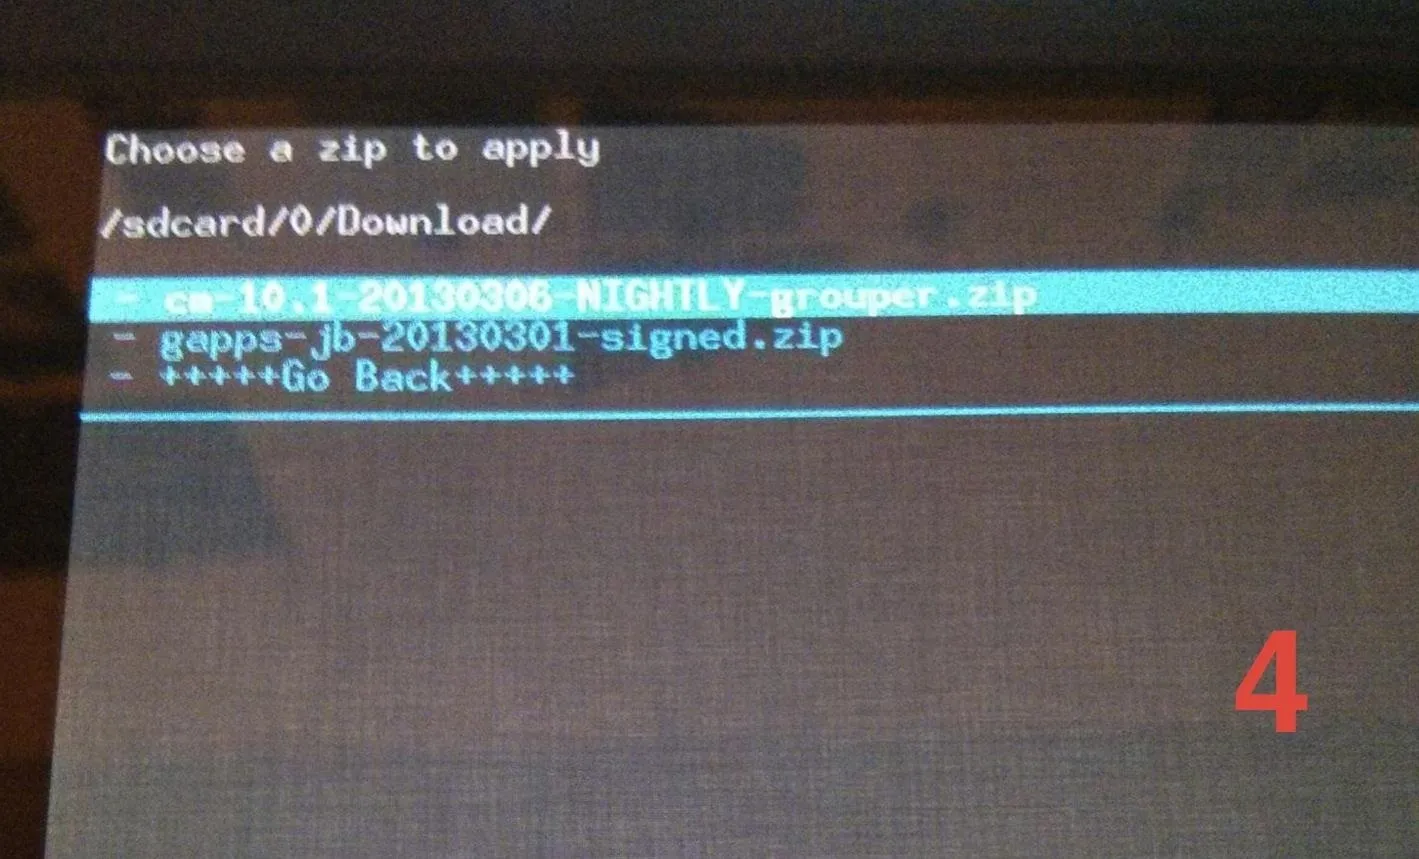


Your device will begin flashing CyanogenMod.
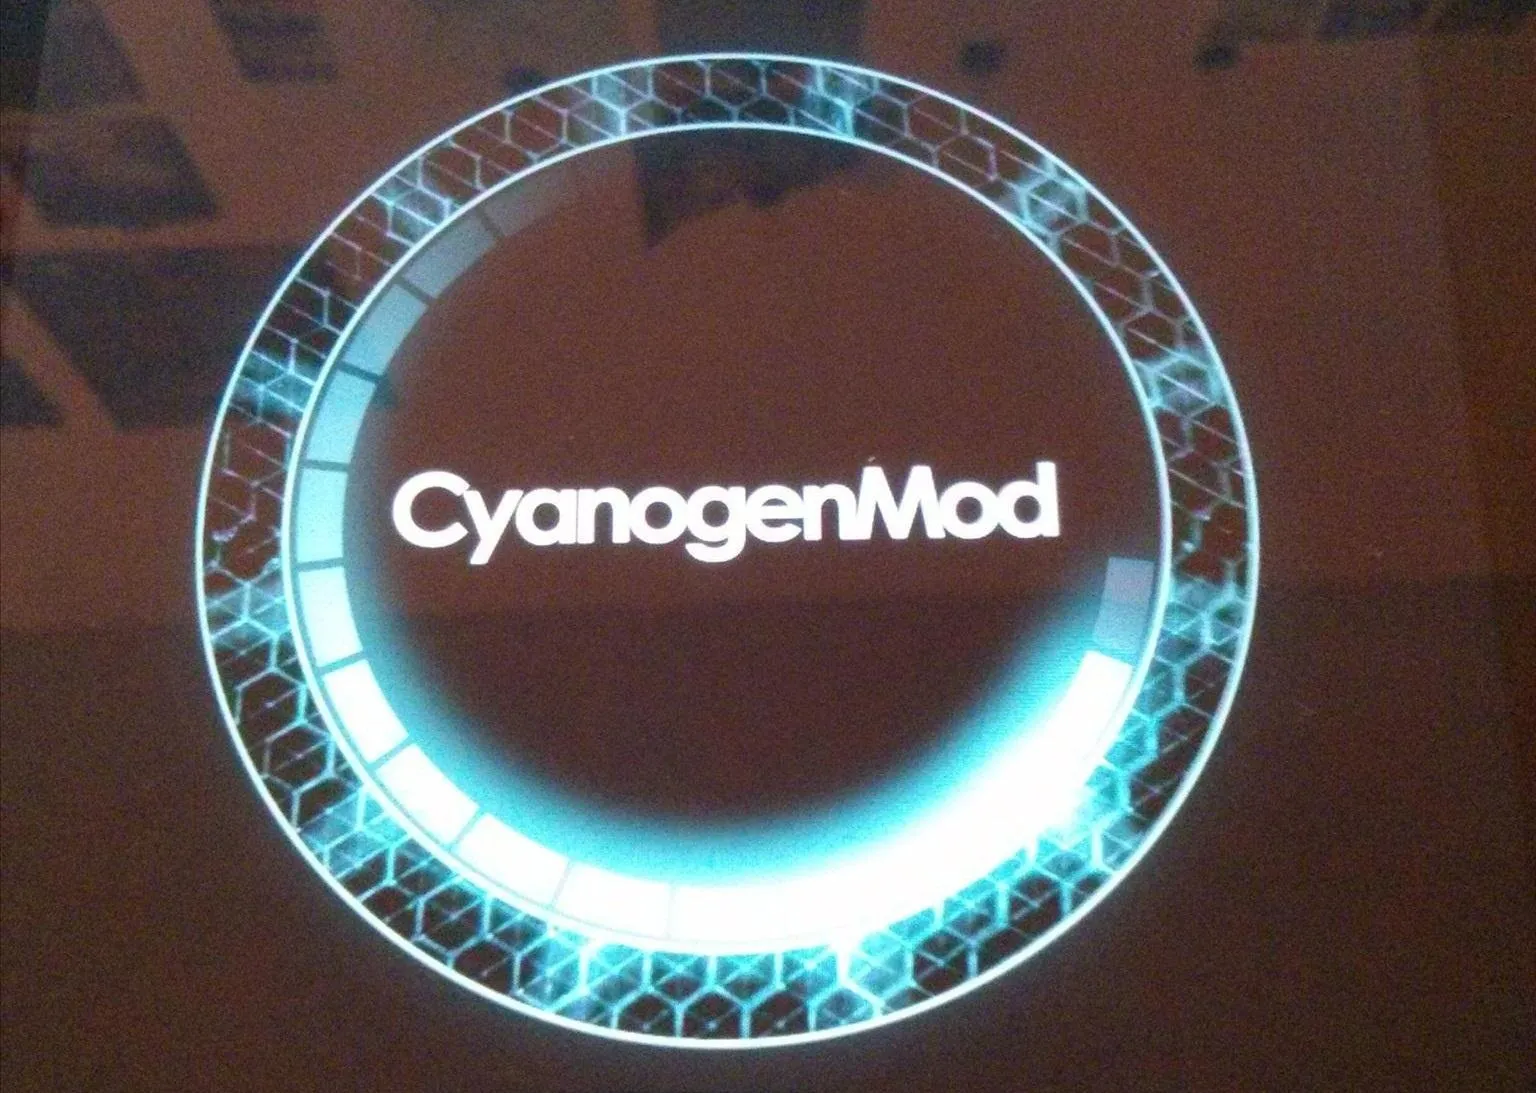
After that's done, choose "Install zip from sdcard" once again and choose the GApps .zip you downloaded earlier, and flash that as well.
Finally, reboot your Nexus 7 and enjoy CyanogenMod!
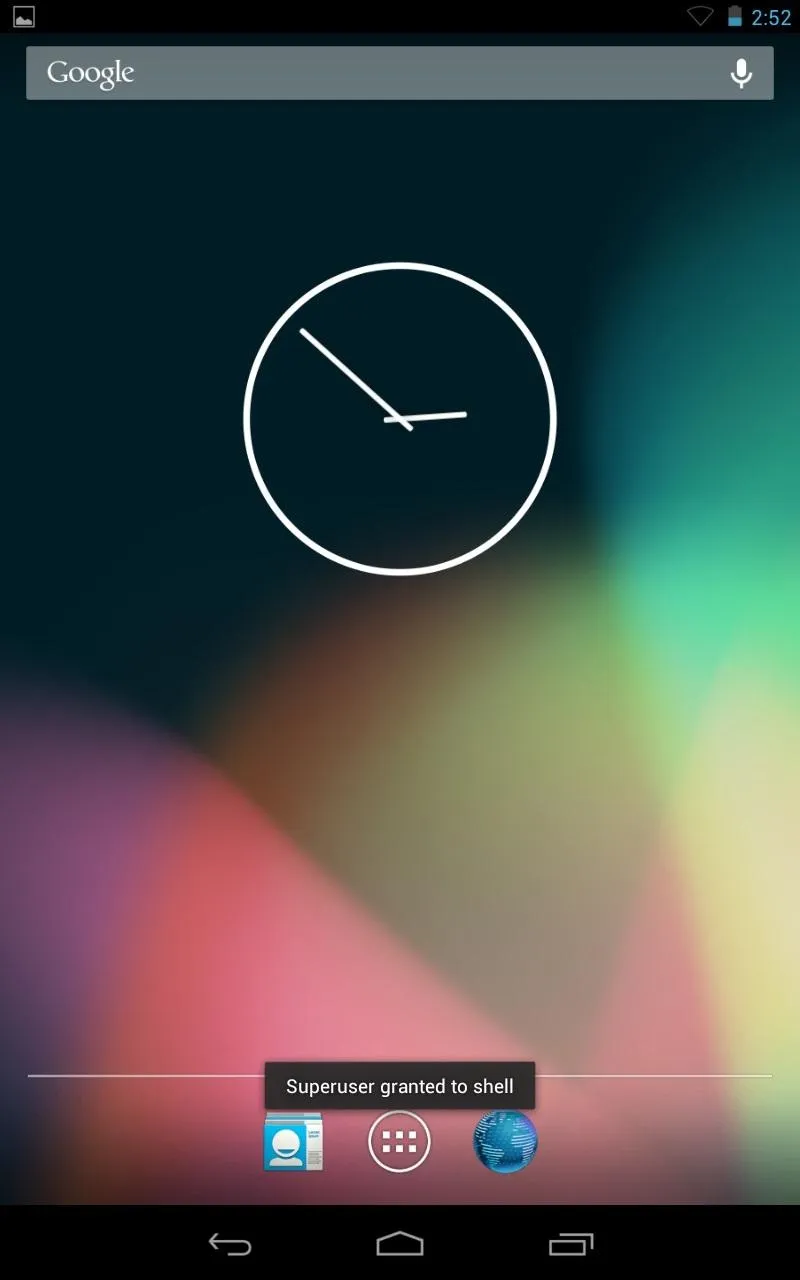
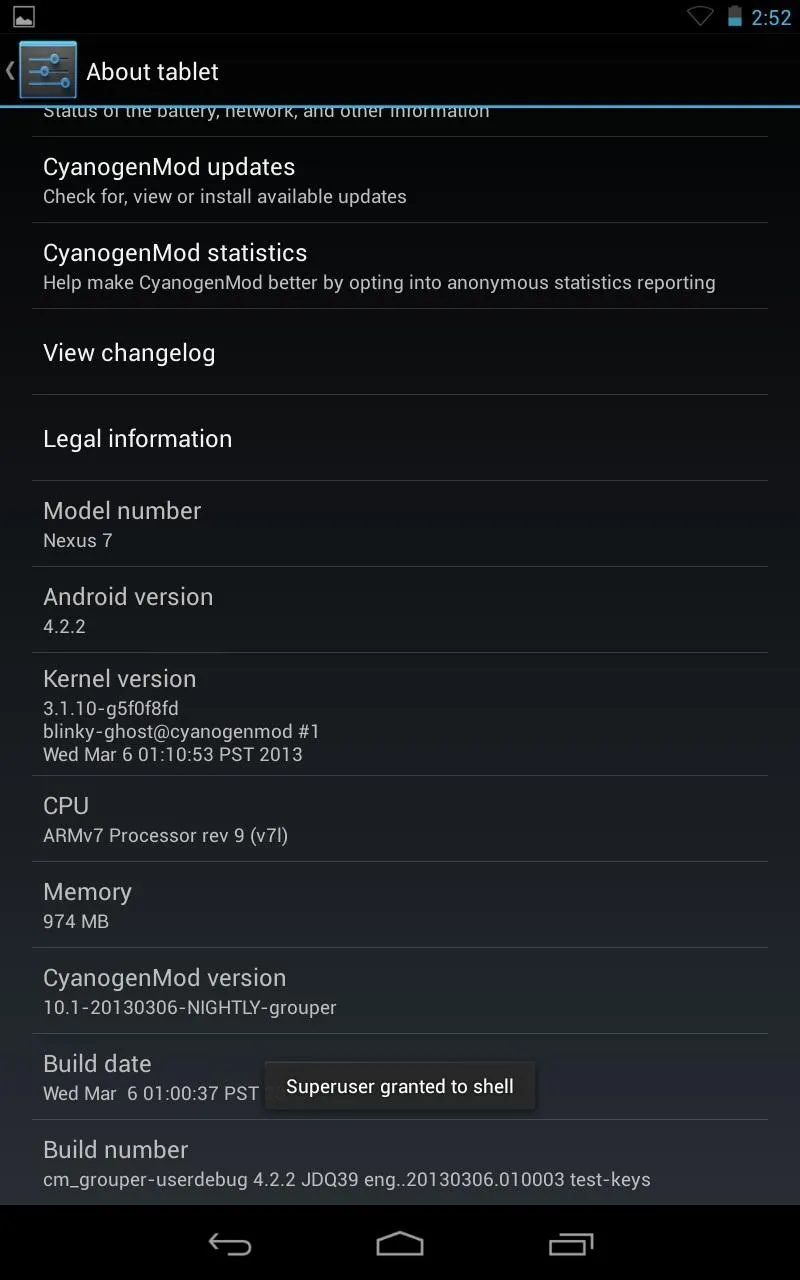


See, it wasn't that hard, was it?


![Mr.Shield [2-PACK] Designed For Asus (Google) Nexus 7 FHD (2nd Generation) 2013 Tablet [Tempered Glass] Screen Protector with Lifetime Replacement](https://m.media-amazon.com/images/I/71ik6S-liFL._AC_UY218_.jpg)


Comments
Be the first, drop a comment!