


Whether it's because you want to make a quick tutorial video or want to show off your gameplay skills, recording the screen your Nexus 7 tablet isn't an easy feat. At least, until now. Hidden inside Android 4.4 KitKat is a built-in screen capturing feature, but it takes a little effort to dig it out.
You can't just flip a switch and start recording, but there is an app called KitKat Screen Capture on Google Play that will let you basically do just that—as long as you're rooted.
If you don't want to root, the alternative, which I'll be covering, requires you to use ADB (Android Debug Bridge) on your computer. This means you'll only be able to record while connected to your computer. However, this screen recording doesn't capture sound, though in most cases you never need any.
Download the Tools
If you don't already, you'll need the latest versions of the Android SDK and Google USB Drivers on your computer in order to perform the ADB commands. Just install the drivers and unzip the SDK ADT bundle onto your desktop or wherever you'd like. Check out our guide on Samsung Galaxy Note 3 softModder on installing the Android SDK on a PC for more details.
Prepare Your Device
In order for your computer and your device to communicate, you will need to enable USB Debugging from the Developer Options on your Nexus 7 tablet.

If you don't see these options, just go to Settings -> About Tablet and tap on Build Number approximately seven times until the "You are now a developer!" notification pops up.
Afterward, plug your tablet into your computer and leave it at any screen you want to record.
Access the Command Window
To make the command window navigation easier, open your ADT bundle -> SDK -> Platform Tools. From here, you will hold SHIFT and right-click on an empty area within the folder and select Open Command Window Here.
How to Start/Stop Recording
As soon as the black command window opens, type or copy and paste adb devices. If no devices are listed, then it can be a faulty cord, USB port, or your drivers and SDK are not up-to-date.
So, your device is connected and we're running smoothly. To begin recording, type the following command, which specifies where to send the recording (SD card) and the file name.
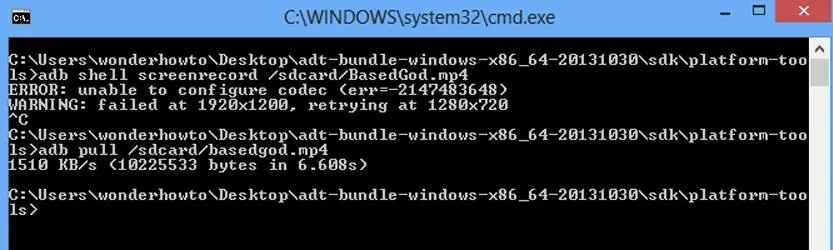
- adb shell screenrecord /sdcard/(file name).mp4

You are now recording!

You may receive an error that says it failed at a certain size and it's retrying at the insisted 1280 x 720 image size. Don't worry, it's still recording. it took me a while to realize this, since there is no notification that you are recording.
To stop the recording process, simply press Cntrl+C in the command window.
Retrieving Your Recording
Chances are you want to edit your video or upload it somewhere, so you'll need it on your computer. You can locate your device on your computer and check the hard drive, or you can use this easy command!
- adb pull /sdcard/(your file name).mp4
This will place the mp4 video in your system tools folder, where you can then place anywhere you want.
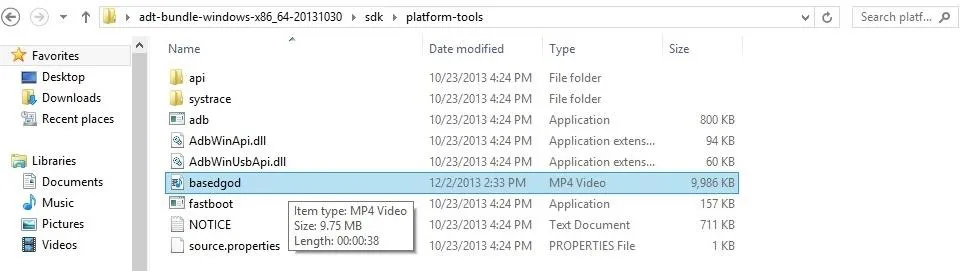
Here's my full command window for reference:
Need Help?
Fortunately, there's a screen recording options command to help with some of the basic functions like size and length. Type in:
- adb shell screenrecord --help
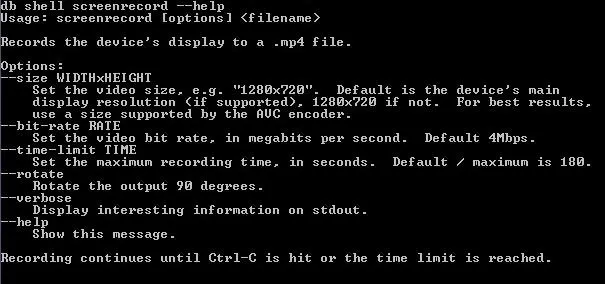
To easily make a change to the recording, just type in:
- adb shell screenrecord --(whichever option) /sdcard/(your file name).mp4
Enjoy Recording Your Screen
Here's an example of what I captured. I think we can all find this useful, and maybe we'll be able to record sound as well in the future.
Let me know if anyone needs help. Enjoy!


Comments
Be the first, drop a comment!